Black Ops 7 Zombies · Main quest, step by step.
Based on MrRoflWaffles' No-Nonsense Guide.
Tap any screenshot to open that exact moment of the video.
📋 How the quest fits together
The quest is a murder investigation: you collect five sets of evidence, pin them
on the evidence board in the meditation room, then deduce the killer and fight the boss.
Steps can be done in varying orders, but this guide follows an order that is known to work:
Setup — Activate Pack-a-Punch, grab the toxin note + first two parts (jump)
Cat Grenade & Wonder Weapon — needed for almost everything after (jump)
🔒 Order requirements (hard gates)
The mask evidence must be on the board before the coin purse; the coin purse before
gardener/merchant/nobleman; all accomplice evidence before the scroll puzzle & pufferfish;
all kintsugi steps before the final clock part. The plum pit and plant steps can be done early.
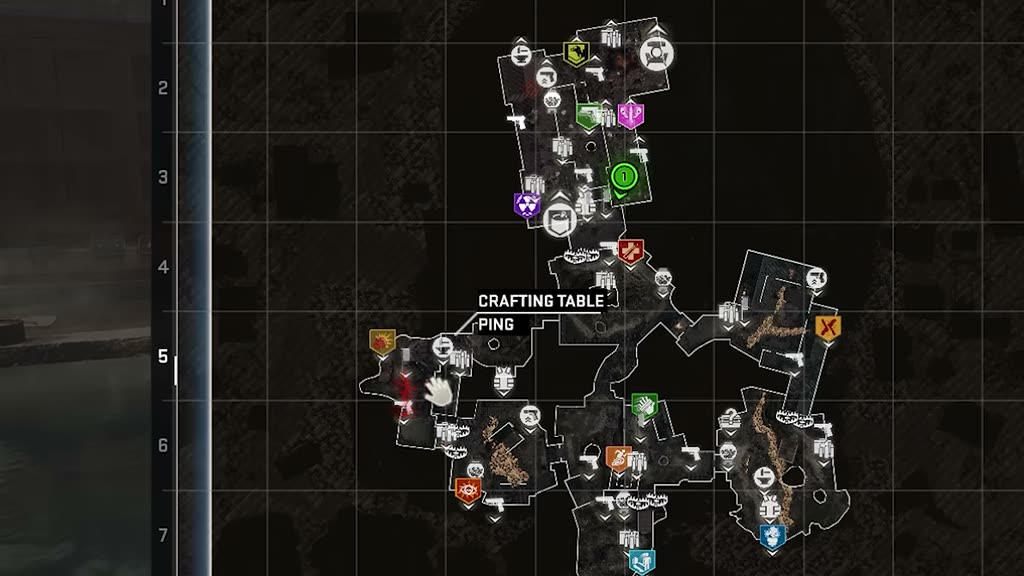
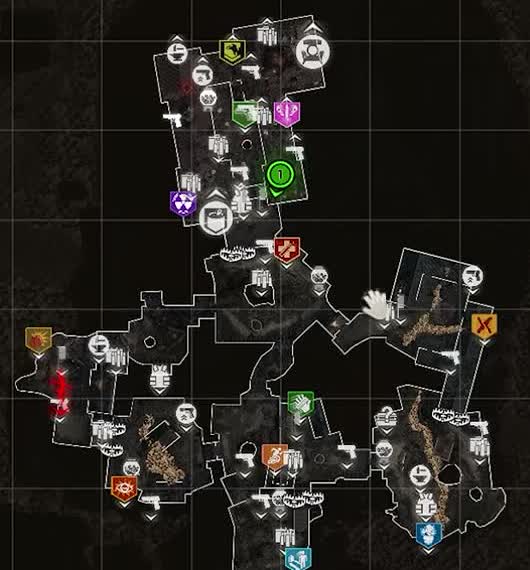
🗺️ Kowakujo at a glance — the same base map repeats through this guide with step markers. Castle to the north, spawn to the south, Kitchens east, Tea Garden/Training west, Stables southwest.
🎒 Loadout recommendations
What to bring for a smooth run (video: 0:00–0:53):
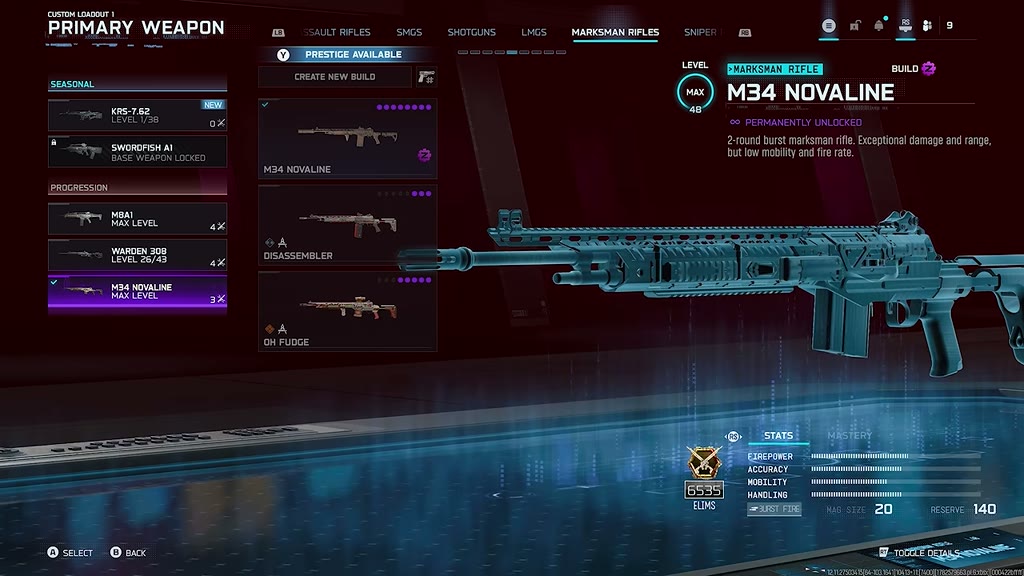
Primary weapon with good range and low recoil — the boss fight punishes inaccurate, high-recoil guns. You don't have to keep the bullet gun all game: Ray Gun Mark I / Mark II are also viable for the boss.
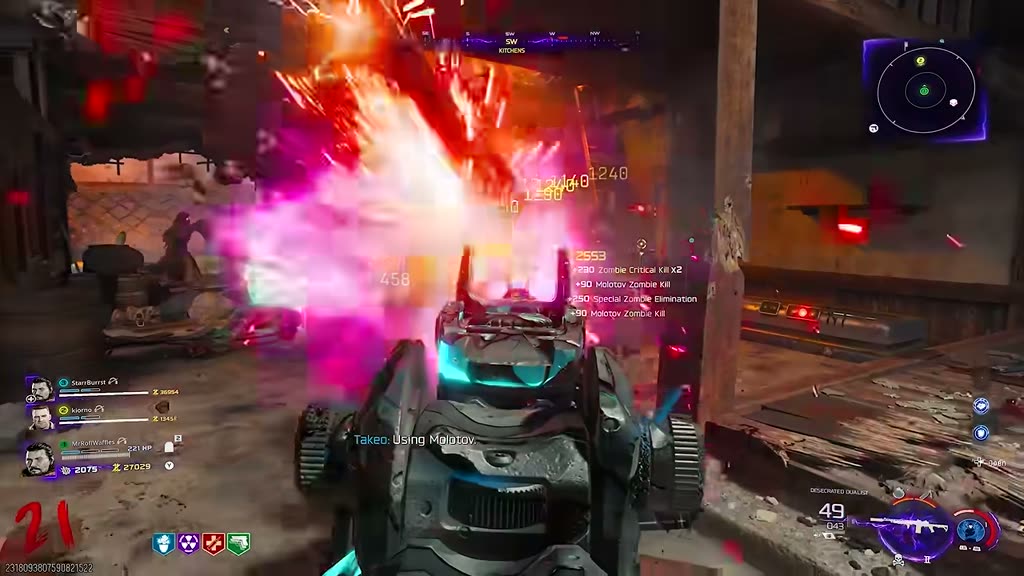
Lethal: Molotov — required to dislodge the statue from the lava (quest step).
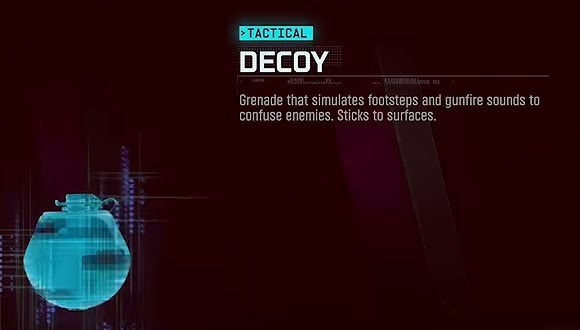
Tactical: Decoys — needed for the Nobleman's Hat step (or craft them mid-game at a crafting bench).
GobbleGums — usual boss-fight gums: Near Death Experience, Pop Shocks, Perkaholic if you have one. Standard blue gums work fine too.
Perks picked up during the run: PhD Flopper (required — Wonder Weapon step) and Death Perception (highly recommended — highlights the creaky floorboards).
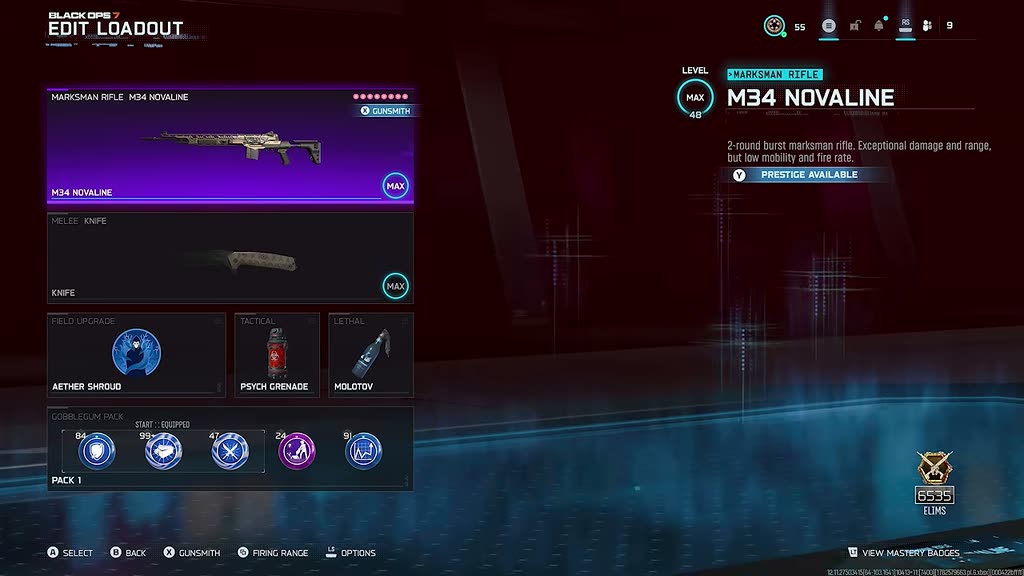
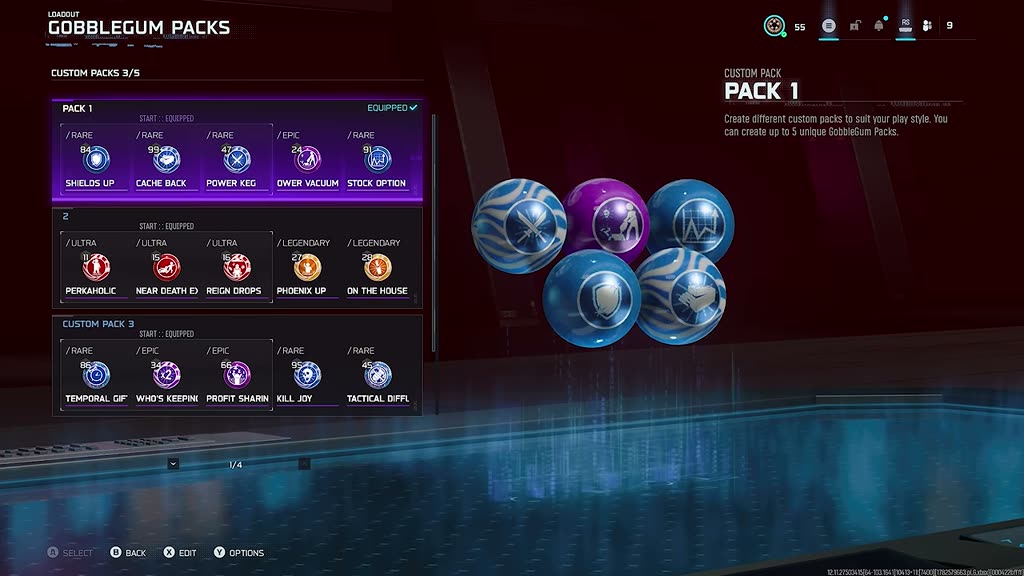
Primary — M34 Novaline (2-round-burst marksman rifle: "exceptional damage and range, but low mobility and fire rate"). Note: the video never shows an attachment build — Milo's advice is simply good range + low recoil, so run your own accuracy-focused build. Ray Gun Mark I/II also work for the boss.The Voyak KT-3 full-auto AR — the gun used through most of this run. High damage, excellent handling. (Same note: no attachment build is shown in the video.)The rest of the loadout: Aether Shroud field upgrade, Molotov lethal, knife secondary. Use this screen for the accessory slots, not the gun.Tactical — take the Decoy. You'll need three thrown in fast succession for the Nobleman step.GobbleGum packs: Pack 1 is standard rares (Shields Up, Cache Back, Power Keg…). Pack 2 is the boss-fight pack: Perkaholic, Near Death Experience, Reign Drops, Phoenix Up.
💡 Solo tip Many timed/fiddly steps are easiest at the end of a round with one or two zombies held alive. You'll see this advice repeated — it's the single best habit for this quest.
1️⃣ Setup: Pack-a-Punch, toxin note, first two parts
Your first priority after spawning in (video: 1:25).
11234
Setup order: 1 capture both wards (left & right sides) → 2 castle: kill the Oni, insert the Hanko → 3 fill the World Seed → 4 Stables: Molotov the statue in the cooled lava.
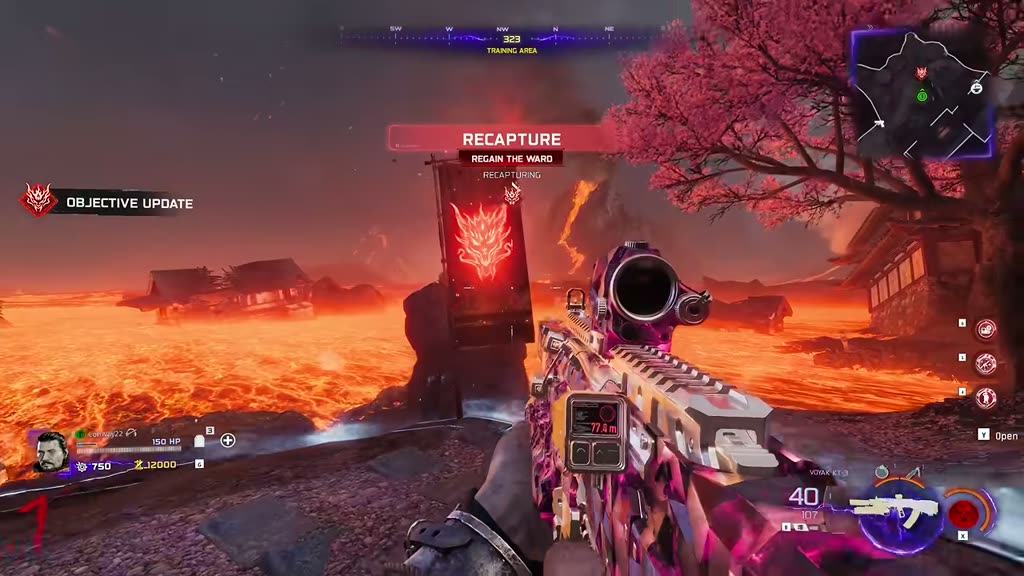
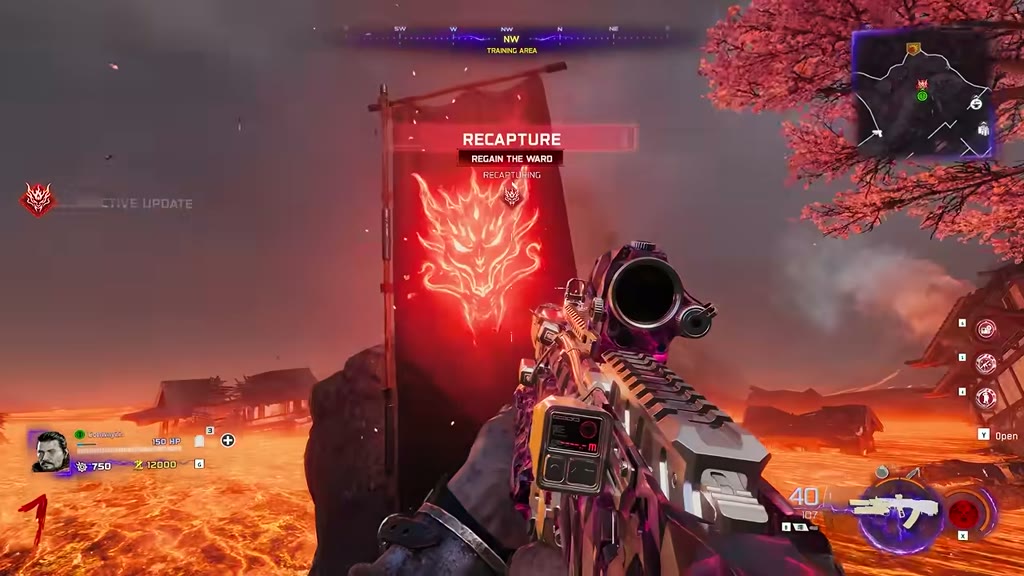
1.1 Capture the two wards
Open your map: on the left and right sides of the map are two ward defenses. At each one, hold interact on the banner, then stand inside the circle to capture the point.
A ward banner (red demon crest). Hold interact, then defend the circle. Do both sides — objective tracker top-left shows "Recapture Wards 1/2".Ward areas sit on opposite sides of the map (this one near the Tea Garden side). Expect zombies while capturing.
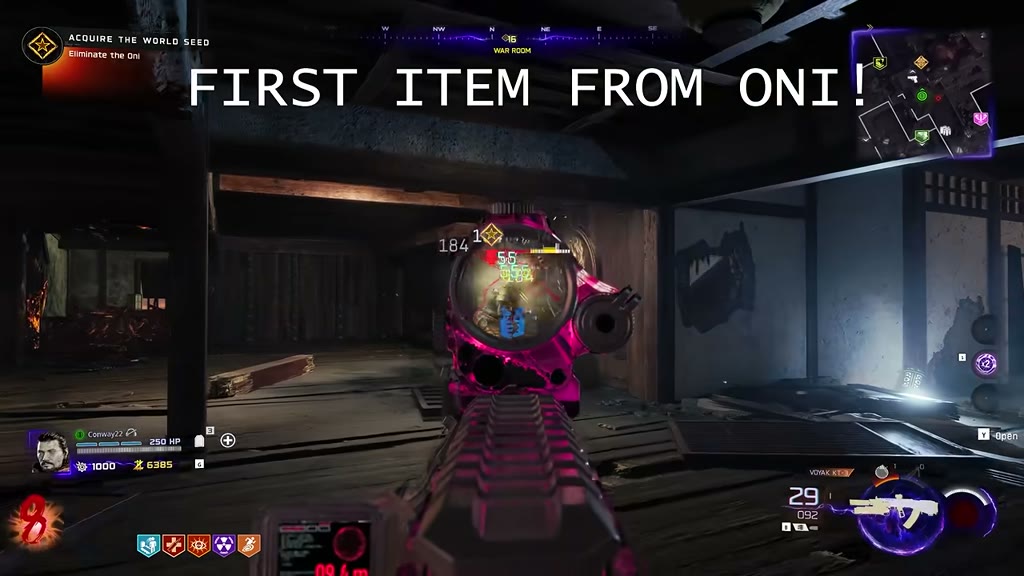
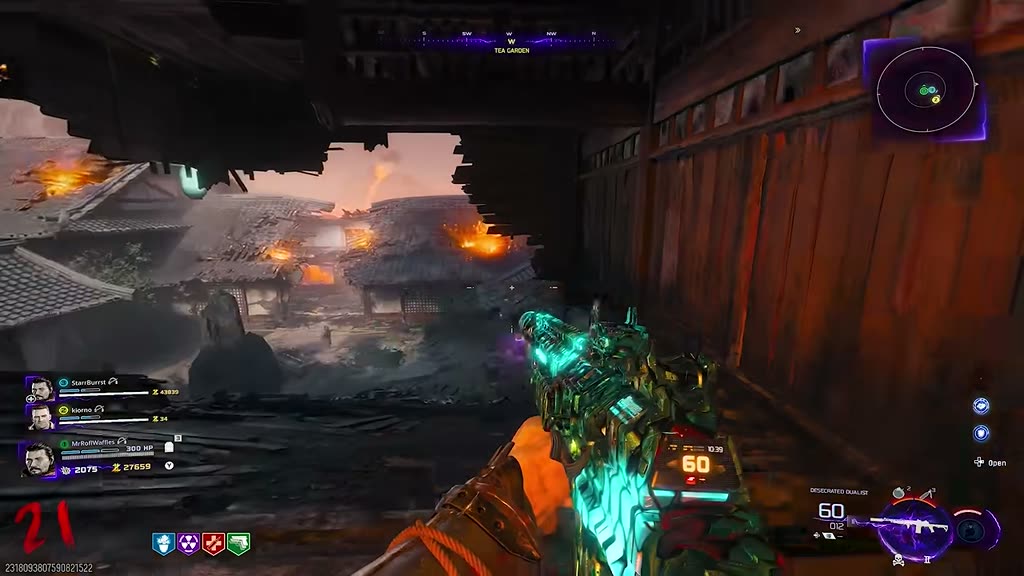
1.2 Enter the castle, kill the Oni → first part
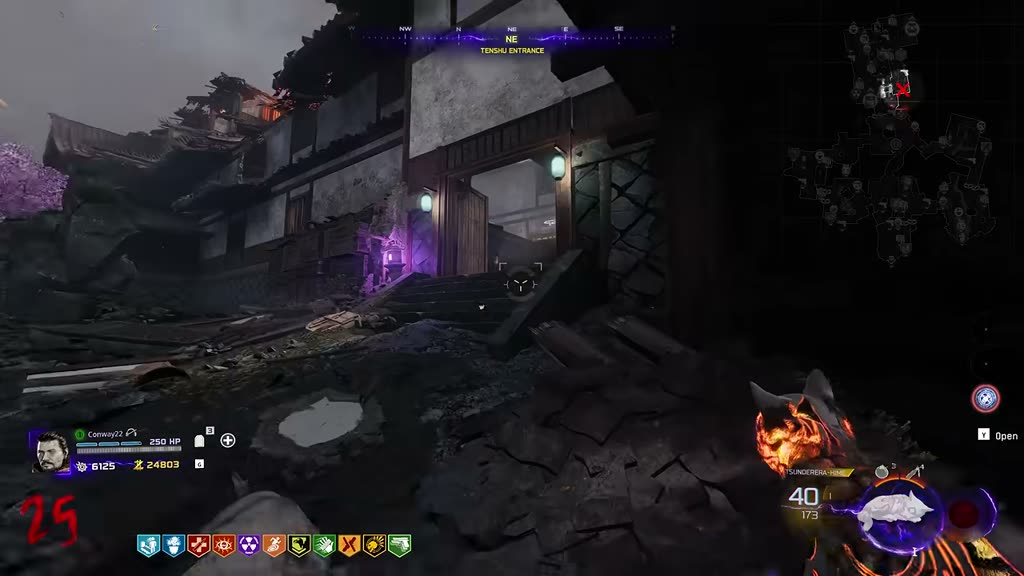
With both wards done, the wards on the castle entrance can be removed. Head inside and towards the Pack-a-Punch staircase. An Oni (mini-boss) spawns — kill it and it drops your first Easter egg part (a Hanko seal). Pick it up and insert it into the golden door, then go upstairs to the World Seed.
The Oni in the war room, near the PaP stairs. Kill it — it drops the first part.Insert the Hanko into this golden door ("Open the Door to the Shogun's Sanctum"), then head upstairs.
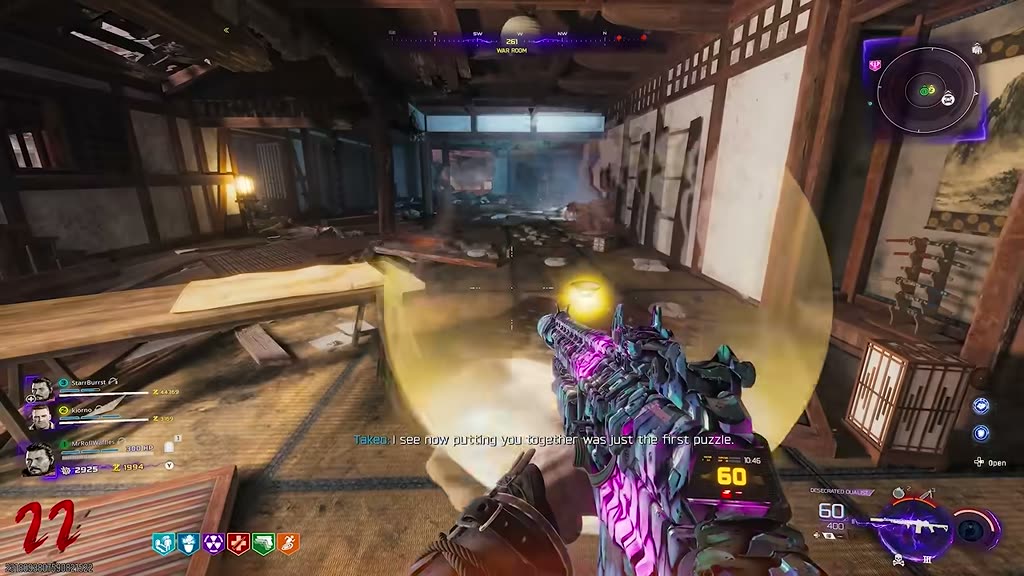
🧪 Don't miss: the toxins/poisons note!
On the bottom shelf of the wall right next to where the first Oni spawns in, at the bottom of the Pack-a-Punch stairs, sits the toxins note. You will need it for the final deduction. (Straight from Milo's pinned comment; there's a
reference picture on kronorium.com.)
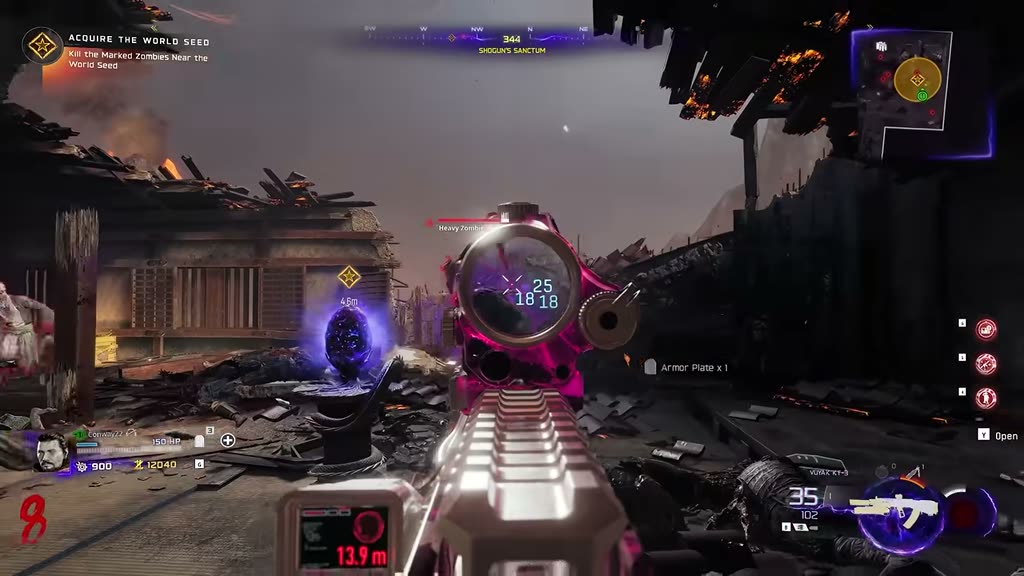
1.3 Fill the World Seed → activate Pack-a-Punch
At the World Seed (the big egg), kill the marked zombies near it — their purple souls fill the seed. When it's full, Pack-a-Punch activates.
The World Seed (purple egg, left). Objective: "Kill the Marked Zombies Near the World Seed".
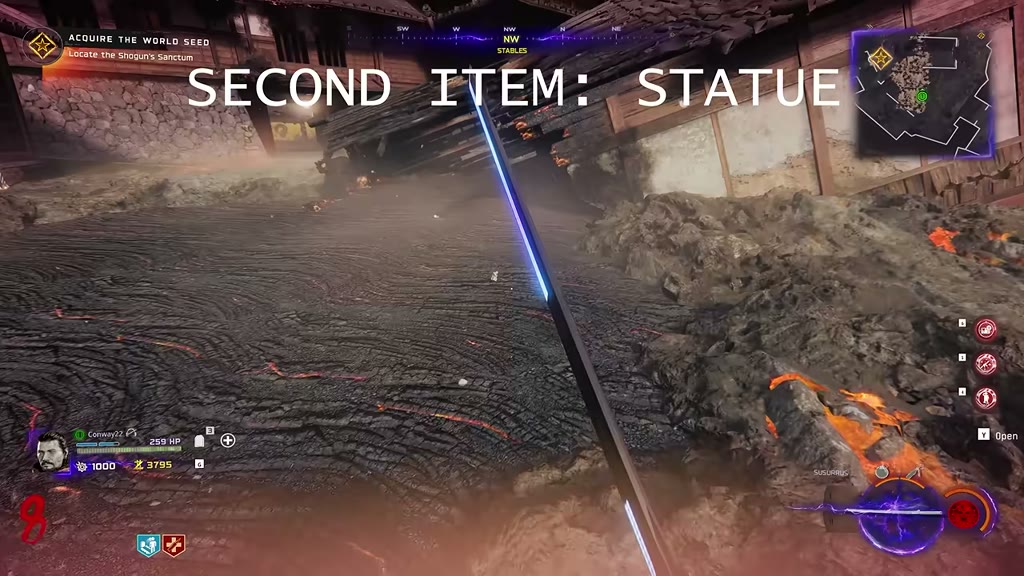
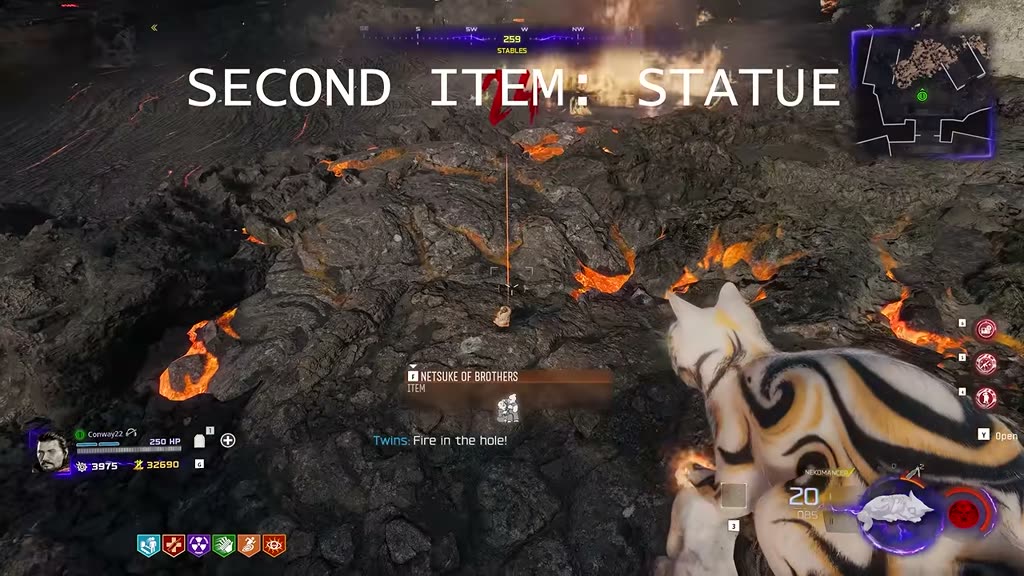
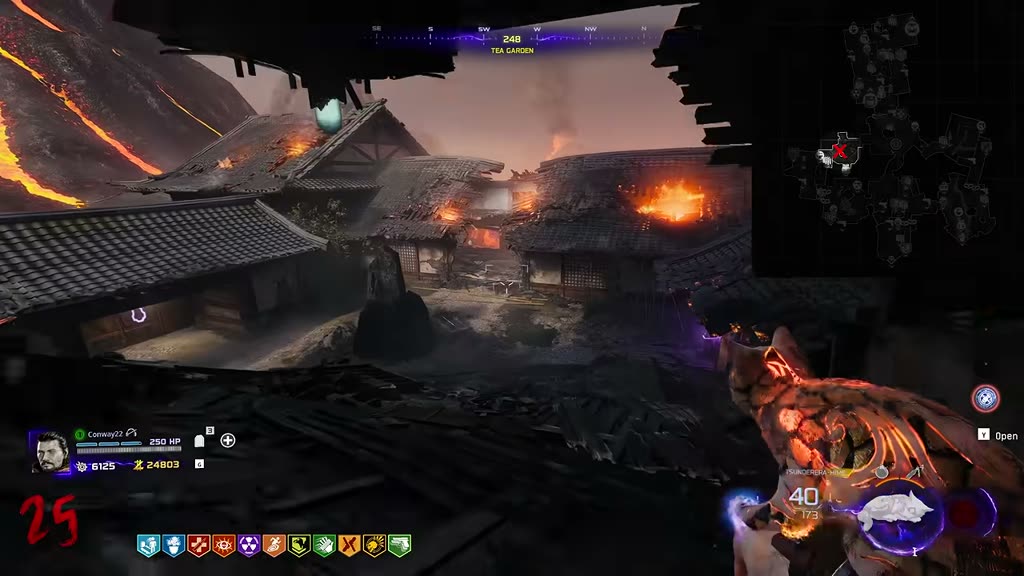
1.4 Second part: the Twin Brothers statue (Molotov!)
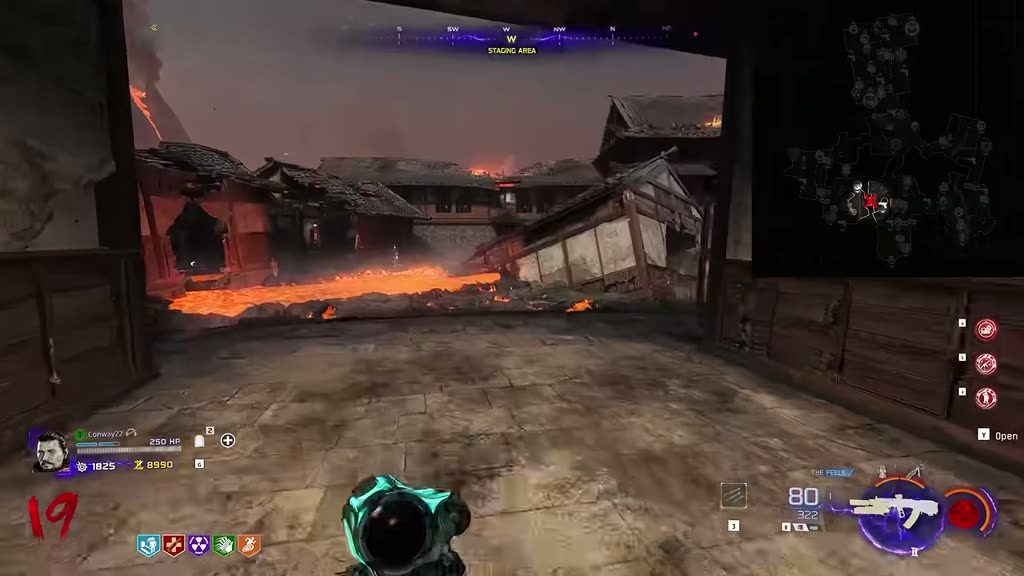
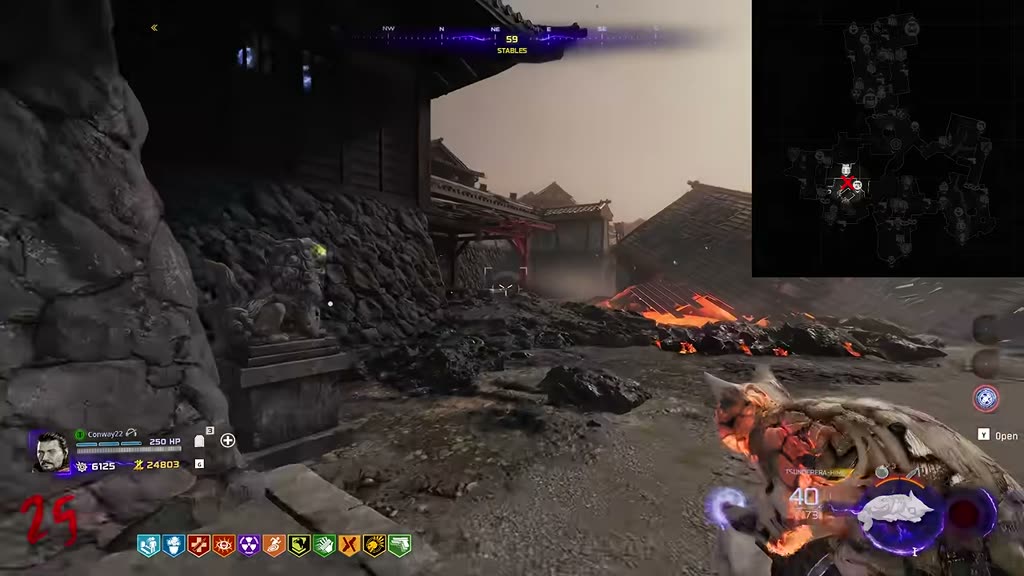
Go to the Stables (left-hand side when leaving spawn) — it's full of lava. Every couple of rounds the lava cools down. When it's solidified, you'll see a little statue stuck in it: the Netsuke of Brothers. Throw a Molotov at it to dislodge it, then pick it up a few meters away.
The Stables area (see minimap top-right). The statue sits in this lava field.Lava cooled: the Netsuke of Brothers marked in the rock. Molotov it to dislodge.After the Molotov, pick the statue up nearby.
🔒 Third part comes much later
The final part in this evidence category (the Crest Medallion, from the clock puzzle) only unlocks after ALL other evidence sets are done — see Final evidence. Don't hunt for it yet.
2️⃣ Build the Cat Grenade
Three parts, each with three possible spawns — check them all in your game (video: 3:29). Hold interact to pick each one up.
1112223C
Spawn areas: 1 cat figurine (Gatehouse / Kitchens ×2) → 2 bell (Stables / Training / Staging) → 3 samurai figure (all three spawns in the PhD–Storage hallway) → C craft bench (Workshop, next to Storage). Markers show the district — the screenshots below pin the exact spots.
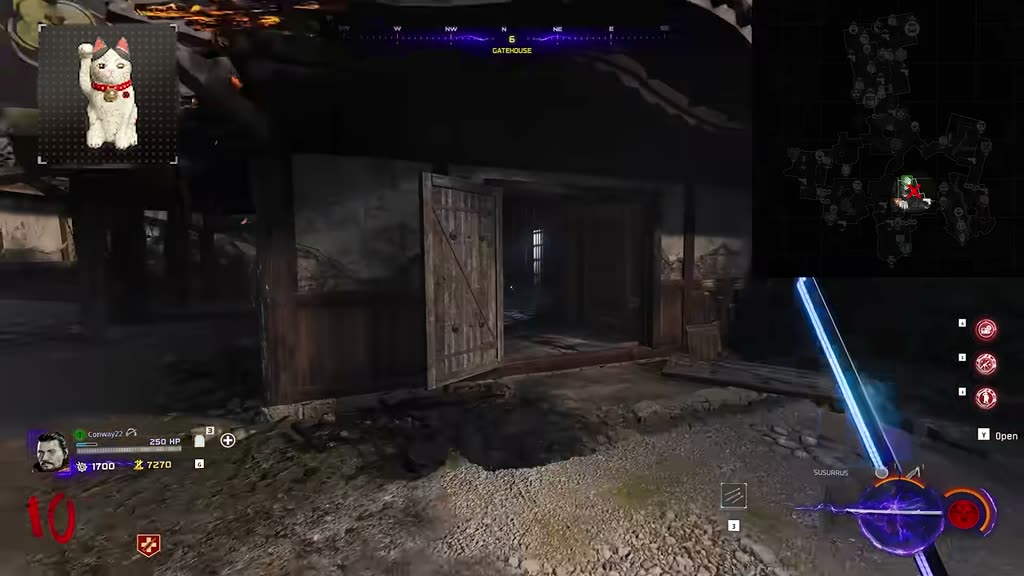
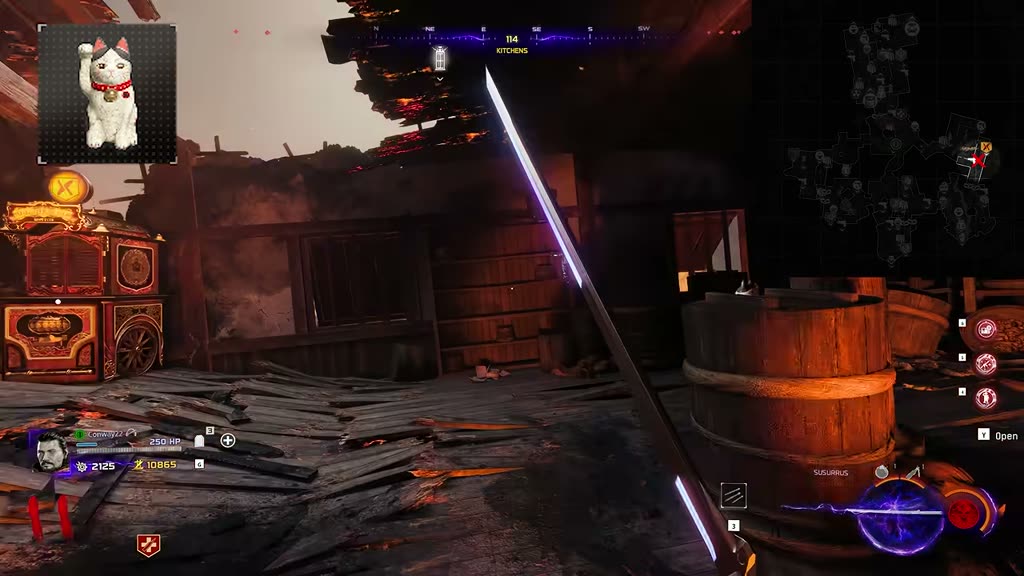
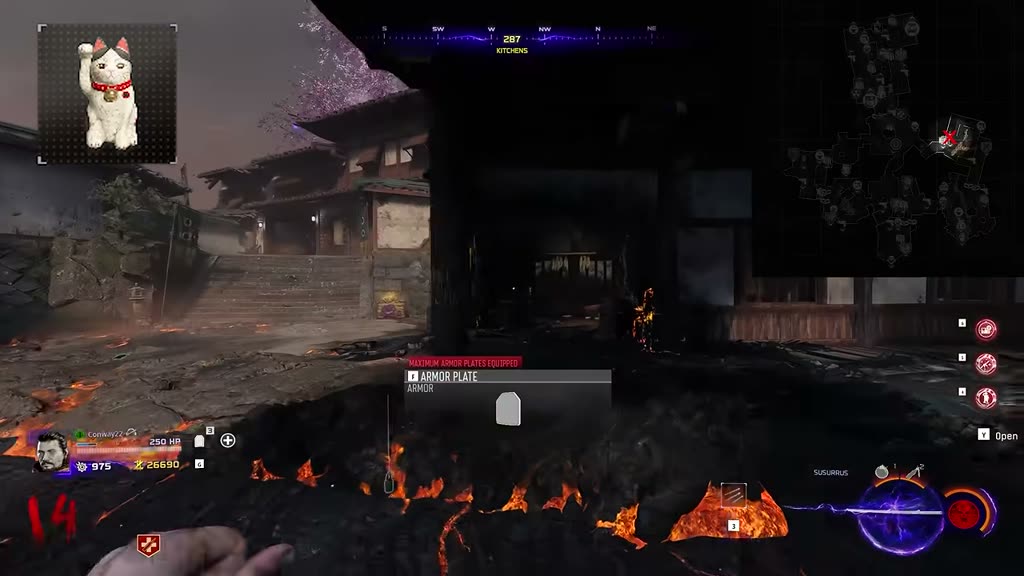
2.1 Part 1: Cat figurine (3 spawns)
Spawn A — Gatehouse: on the barrels by the door (item inset top-left shows the white maneki-neko figurine).Spawn B — Kitchens: again on barrels, next to the red karakuri machine.Spawn C — opposite side of Kitchens, on a barrel.
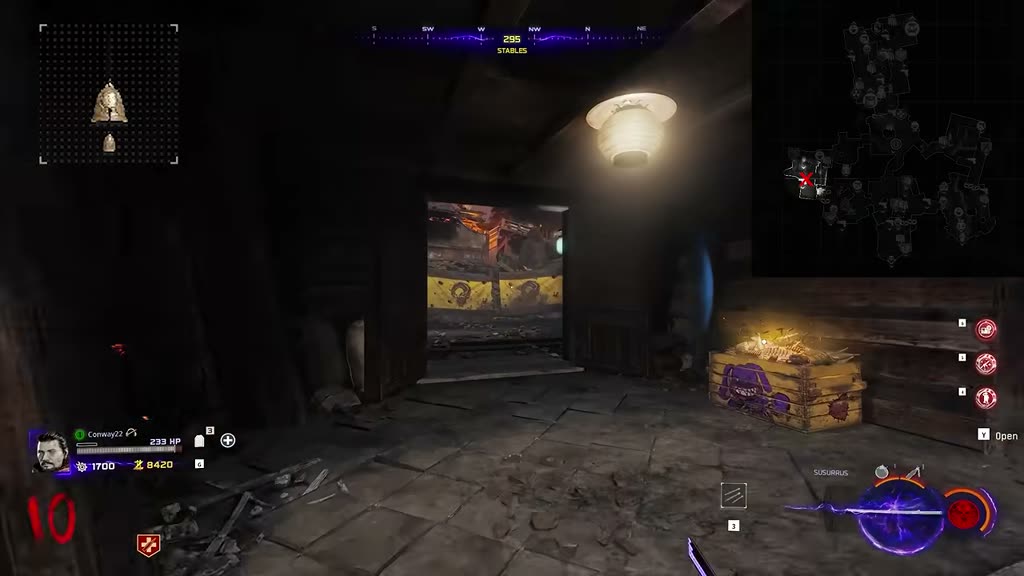
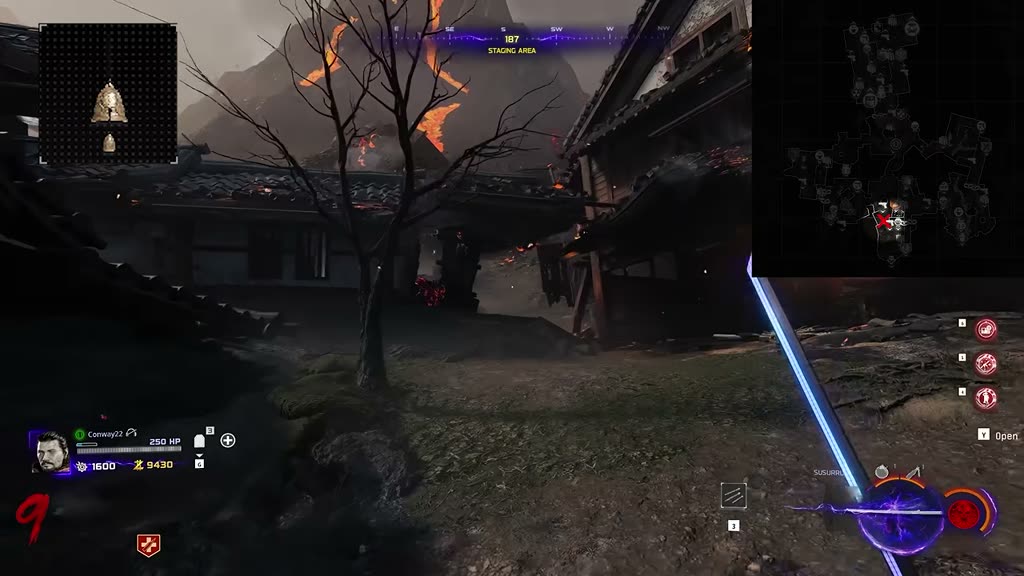
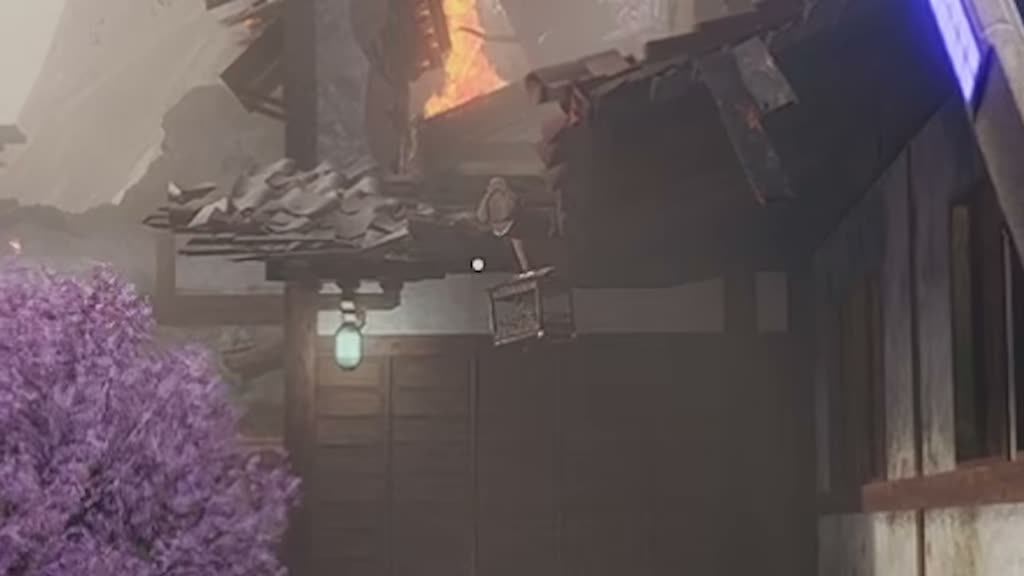
2.2 Part 2: Bell / "Furin" (3 spawns)
Spawn A — Stables: hanging on the front door of the submerged house.Spawn B — Training Area: to the right of the wall-buy, pinned on the wall.Spawn C — Staging Area: left of the spawn door, hanging on the wood.
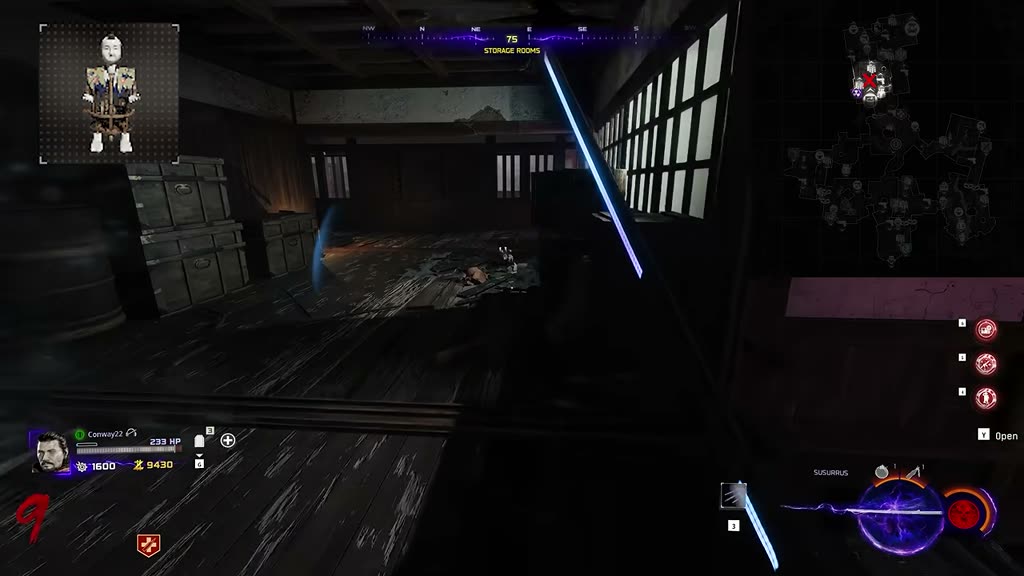
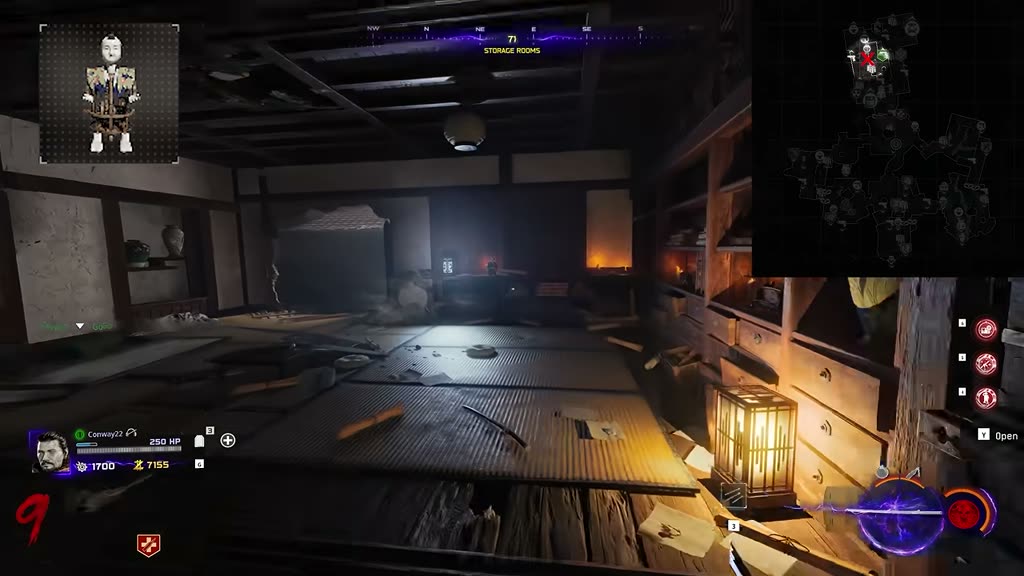
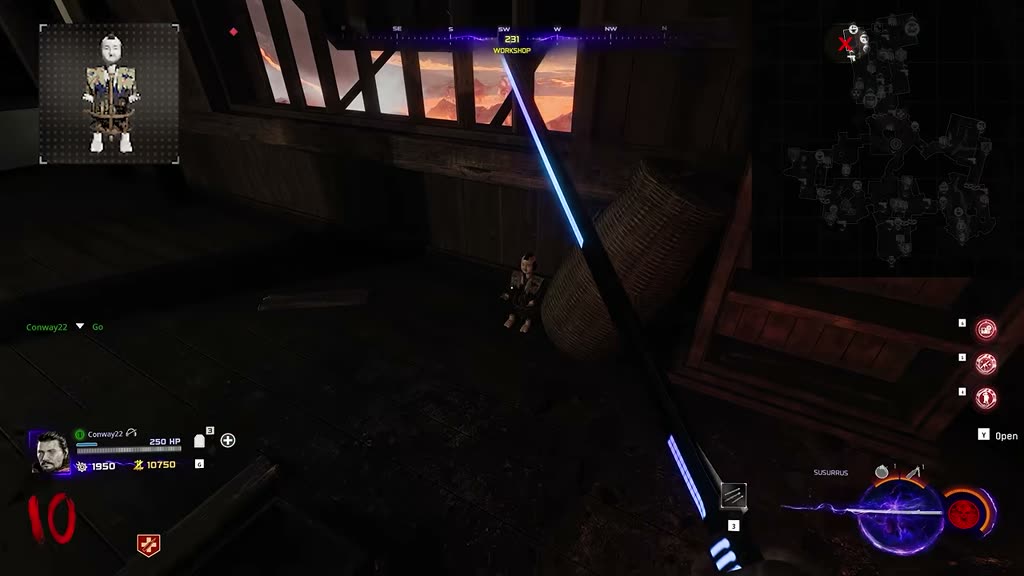
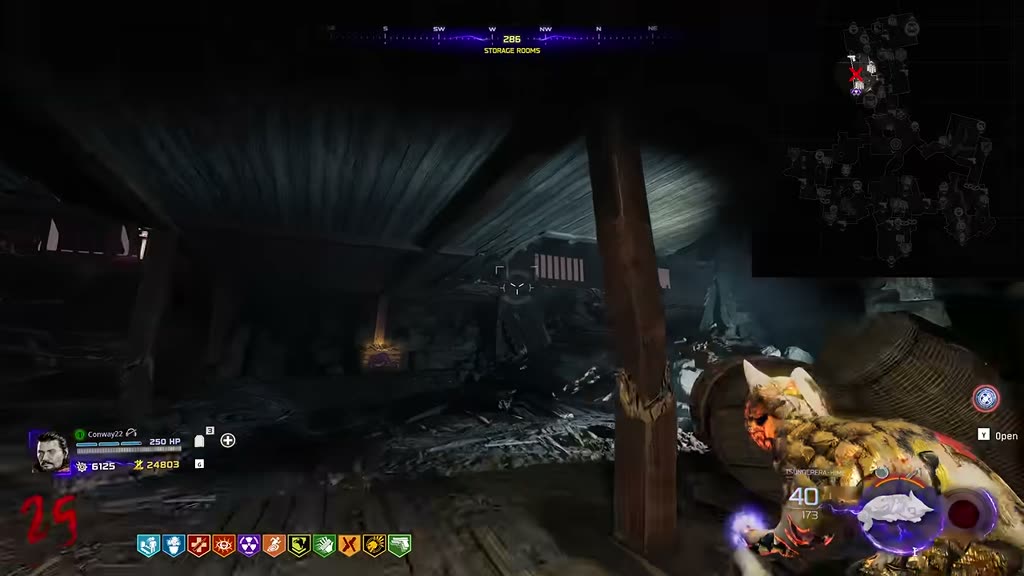
2.3 Part 3: Samurai figure (3 spawns)
Spawn A: across from the PhD Flopper machine, on the ground (Storage Rooms).Spawn B: down the hallway, on top of the table on the right-hand side.Spawn C: further down the hallway, on the floor against the wall (by the wicker basket).
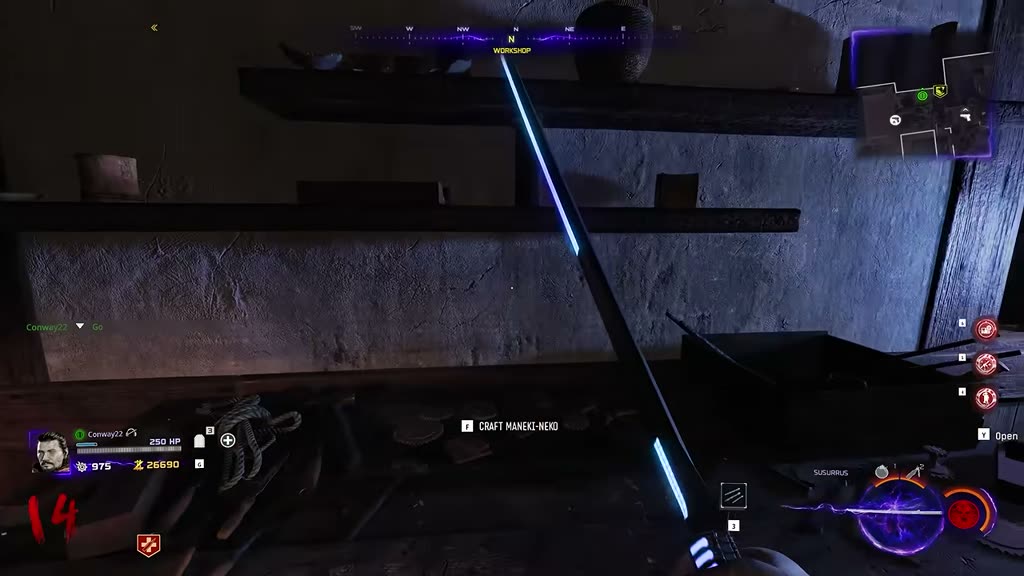
2.4 Craft it
Take all three parts to this workbench (Workshop) and hold interact: "Craft Maneki-Neko" — that's your Cat Grenade.
💡 Ran out of cat grenades? Come back to this same bench and buy another for salvage. You'll need one again at the end of the paw-print step, so keep one in stock.
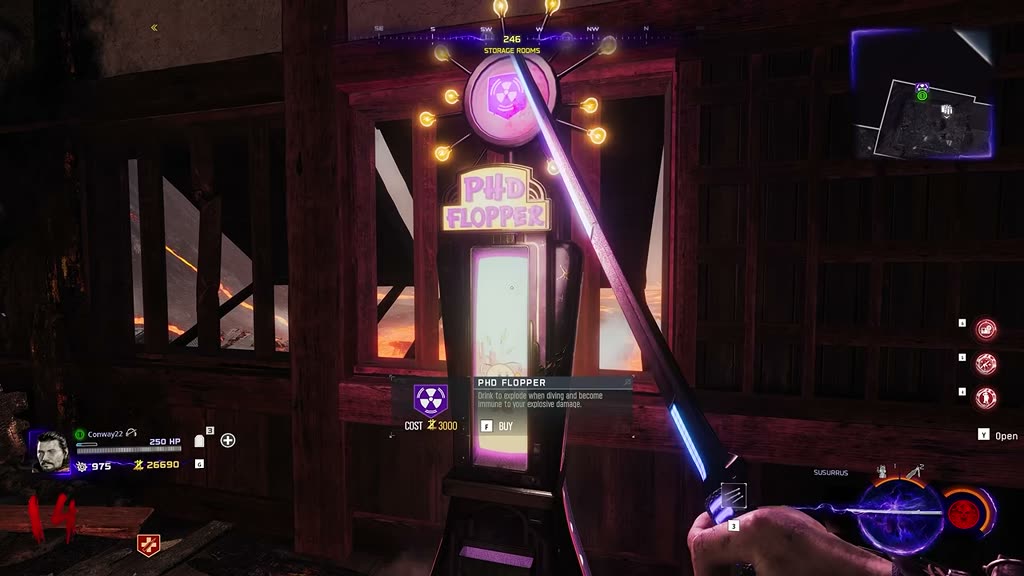
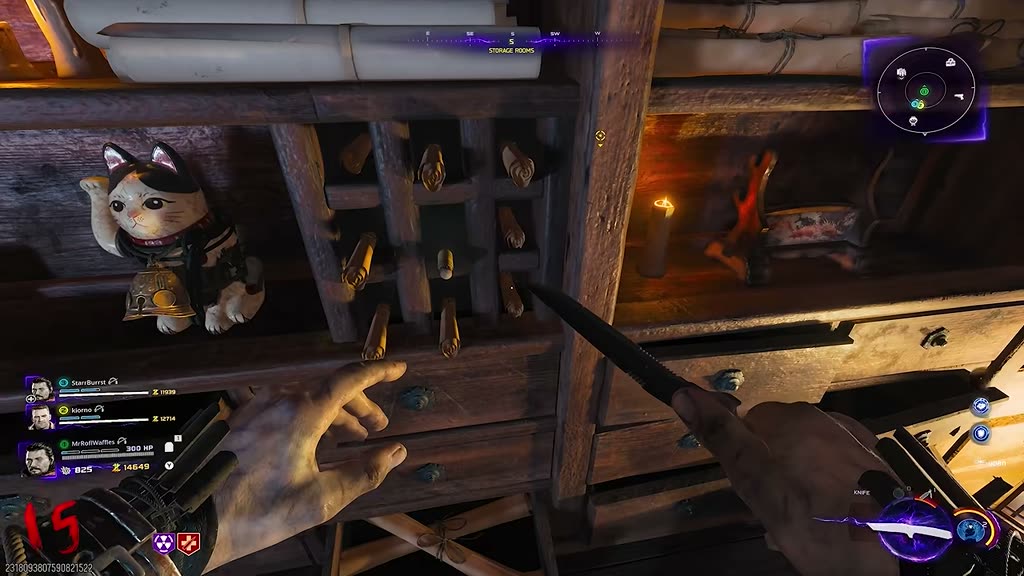
Buy PhD Flopper (3,000 essence) from this machine near Storage Rooms.This wooden cage with the cat sits under a roof eave. PhD-flop (dive) near it — the explosion knocks it down. Then hold interact to pick the cat up.
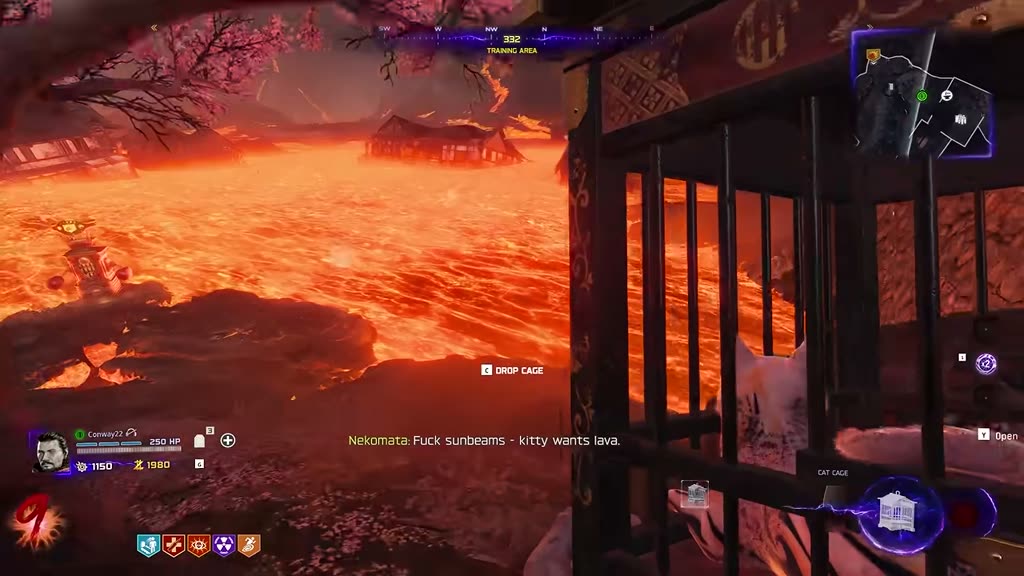
3.2 Throw the cat into lava, flip the round
Carry the cage to any patch of active lava and drop it in ("kitty wants lava"). Then go to the next round.
⚠️ If paw prints never spawn later — you may have missed the lava. The cage might still be sitting on the ground waiting to be picked back up. Also make sure the player hunting paw prints has the cat grenade equipped.
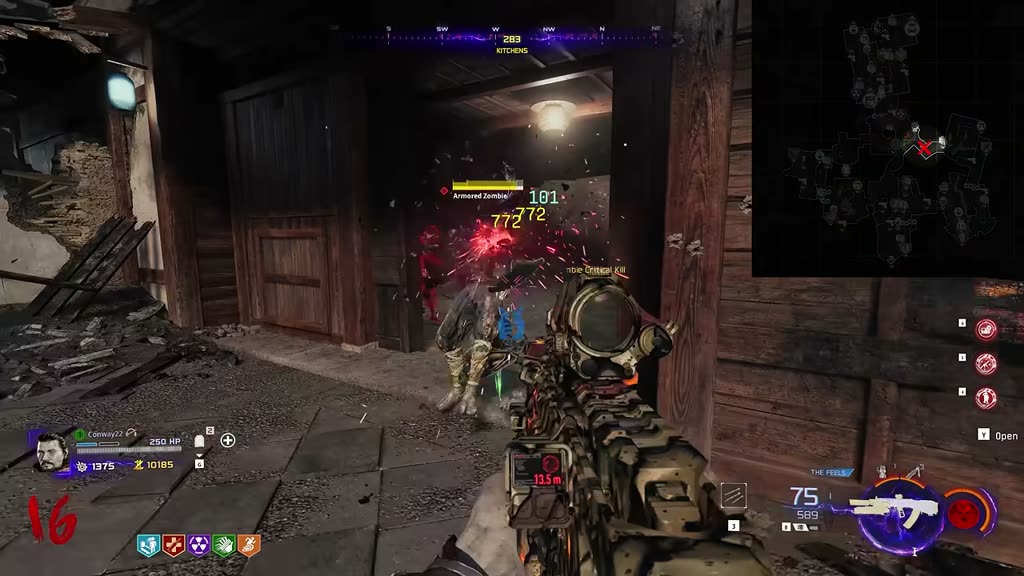
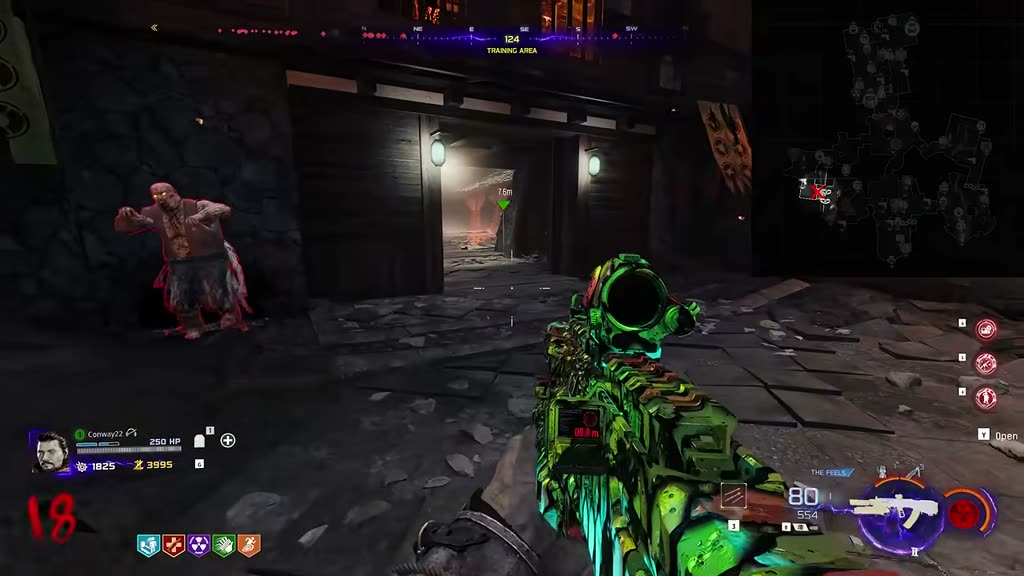
3.3 Check the four gateways for paw prints
During the next round, kill a couple of zombies at each of these four gateway areas until glowing paw prints appear. If ~5 kills in the right spot produce nothing, move to the next gateway.
1234
Approximate gateway check order: 1 Kitchens · 2 Training Area · 3 Staging Area · 4 Kitchens steps. Tap the screenshots below for the exact spots.
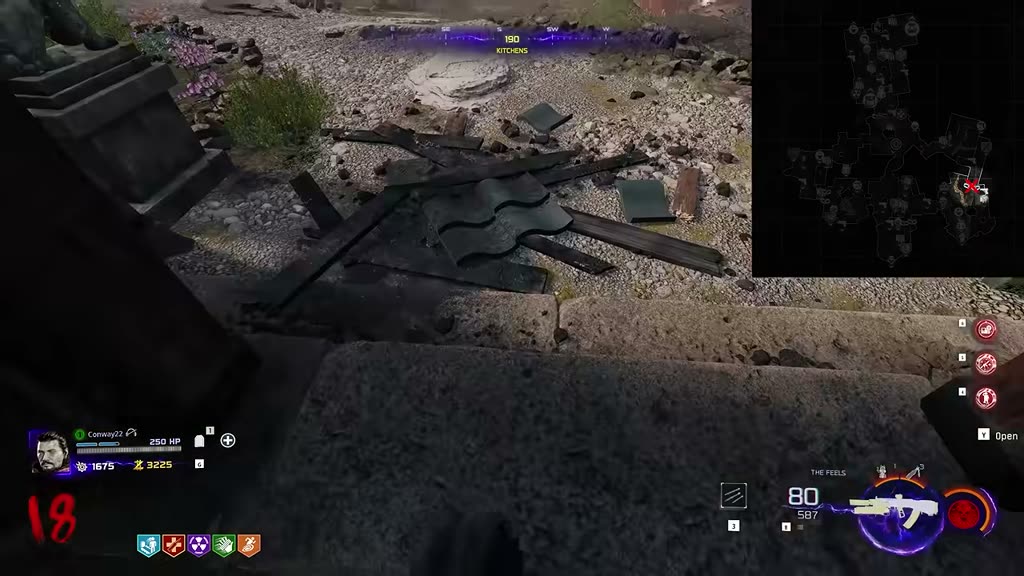
Gateway 1 — Kitchens side. Kill a couple of zombies here and watch for prints.Gateway 2 — Training Area gate.Gateway 3 — Staging Area side, overlooking the lava.Gateway 4 — by the stone steps (Kitchens side). Rumors of a fifth location exist — check the video description if none work.
3.4 Follow the paw prints, close the circle
Glowing paw prints. Kill zombies standing just in front of where the prints point — line up the direction, kill ahead of them. Each batch of kills spawns the next set of prints. Repeat until the prints form a small circle.
⚠️ Two ways to fail the throw When the circle forms, throw your cat grenade into the middle. (1) Don't miss — it can bounce. (2) The lava in that area must be active/fiery, not cooled over.
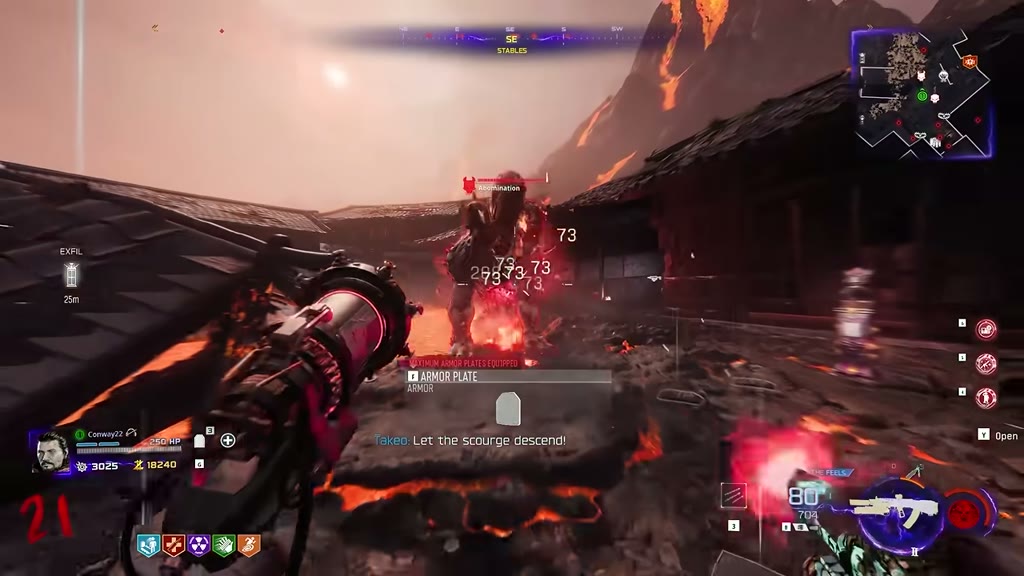
3.5 Kill the Abomination
An Abomination spawns out of the lava. Kill it — it turns into a cat that runs into a wall. Flip the round before continuing.
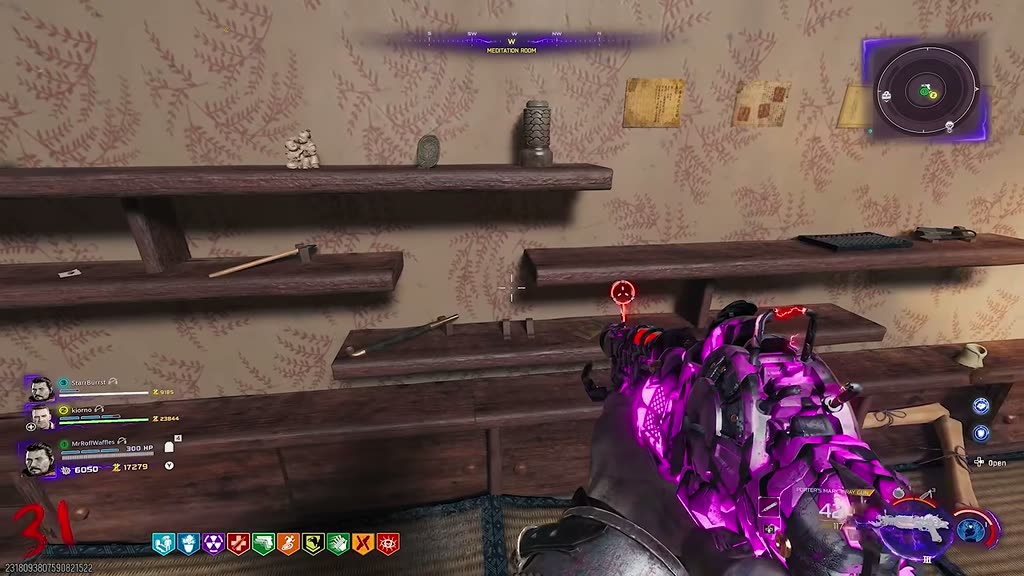
3.6 Find the sleeping cat (creaky floorboards)
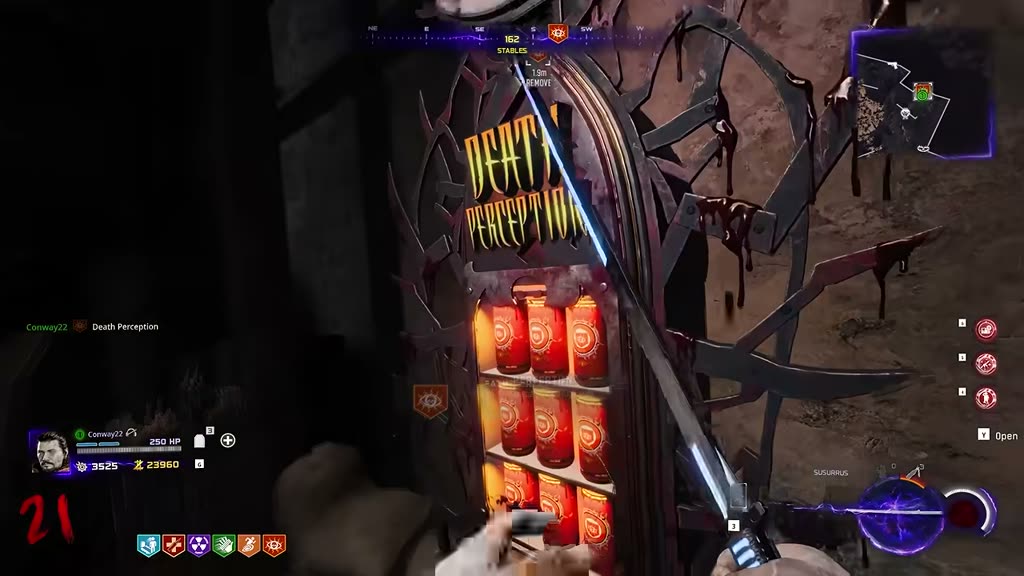
Grab Death Perception — it highlights the creaky floorboards you must avoid. Kill to the end of the round and hold one or two zombies.
The Death Perception machine (near Stables). Strongly recommended for this step.With Death Perception, the creaky floorboards glow orange. There are three floorboard spawn areas (near Kitchens, Training Area, and Stables) — the cat sleeps at the back of one of them in your game.Crouch and approach slowly, stepping between the boards. Don't shoot, sprint, or use a field upgrade nearby — that startles it. Reach the cat and hold interact to pick it up.
💡 No cat at any spawn? You probably startled it already — go to the next round and check again.
3.7 Corrupt the cat at the World Seed
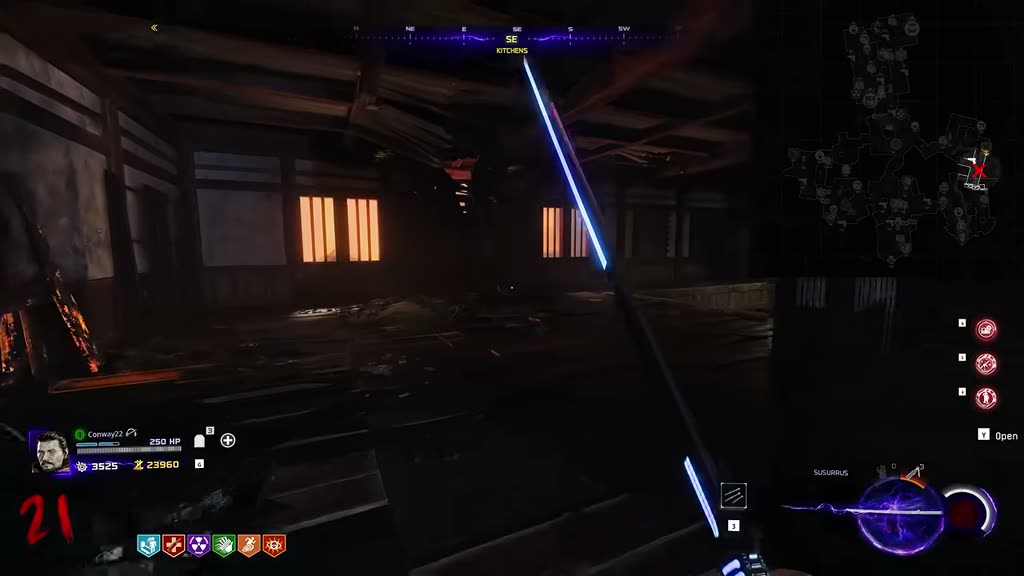
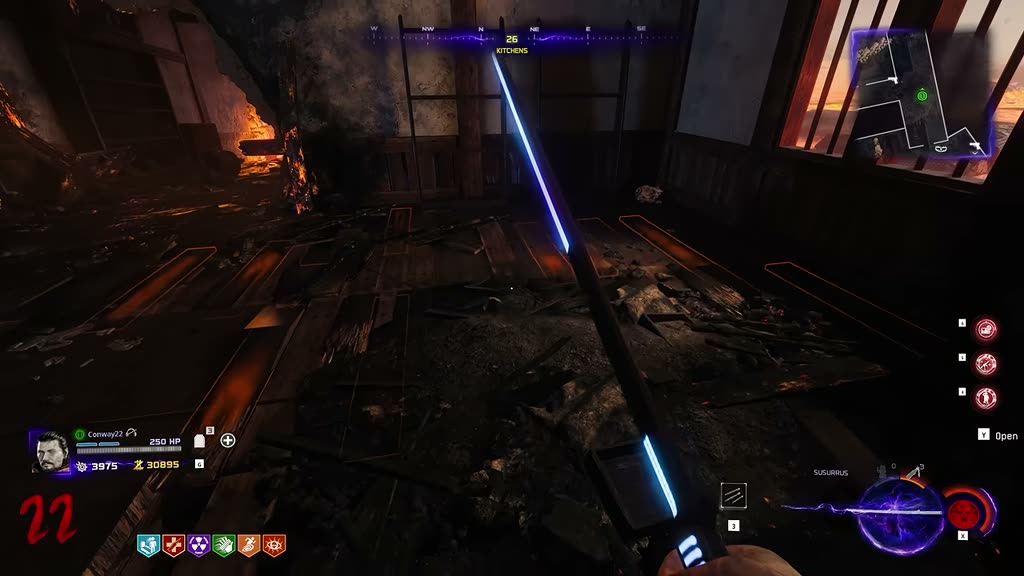
Bring the cat to the World Seed and hold interact. The cat floats into the egg and becomes corrupted — wait for it to start pulsing red.Melee the World Seed several times — it knocks you back with red pulses, so hit it between pulses. After the animation, pick up the cat: Cat Wonder Weapon crafted!
4️⃣ Suspect evidence: the Mask
You need the Cat Wonder Weapon for this whole set (video: 10:37).
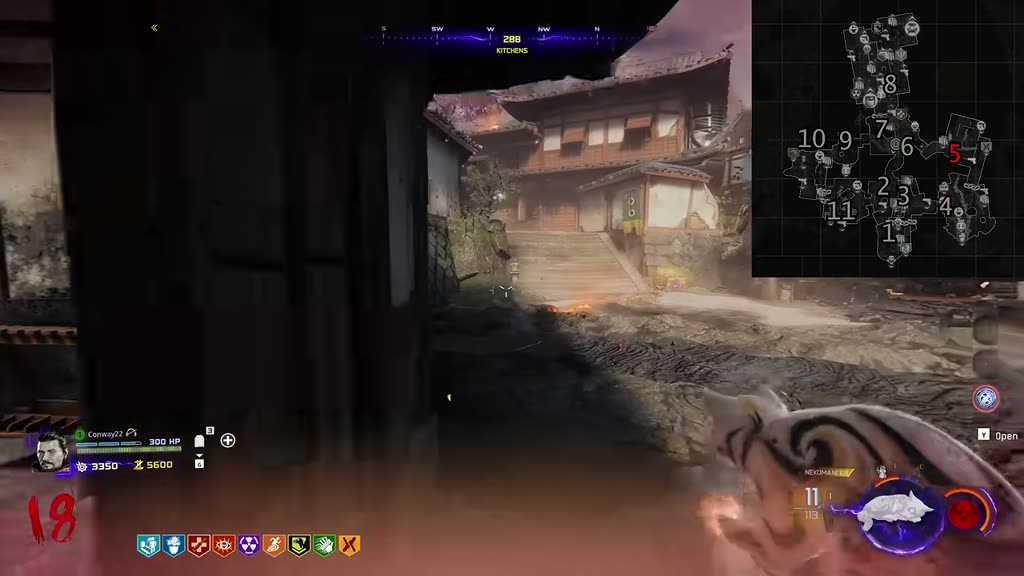
4.1 Shoot all 11 lanterns (timed!)
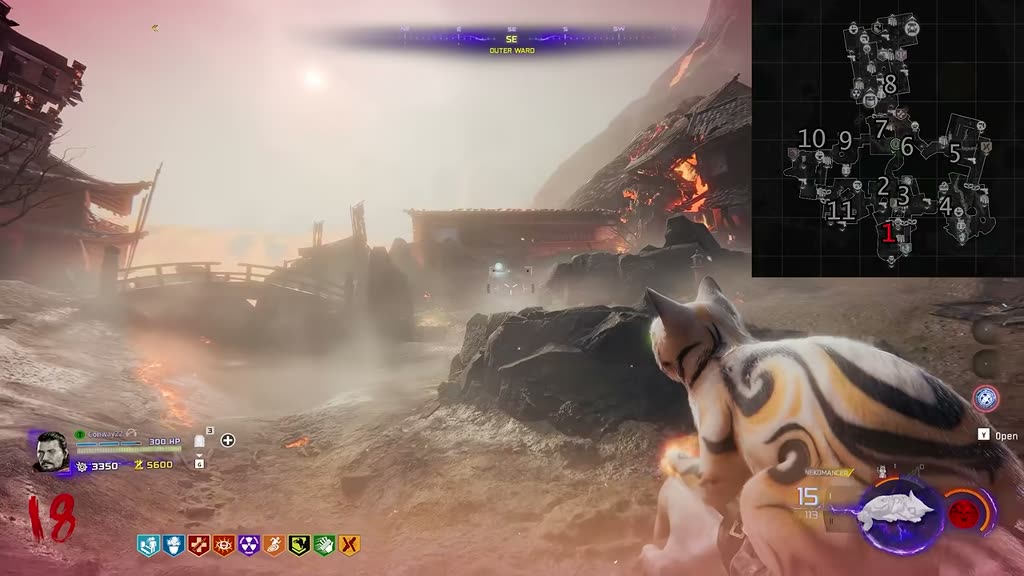
Use the cat weapon to shoot 11 lanterns under time pressure — move fast between them. Here's the full route on the map, then each lantern in order. A sound cue confirms when all 11 are lit.
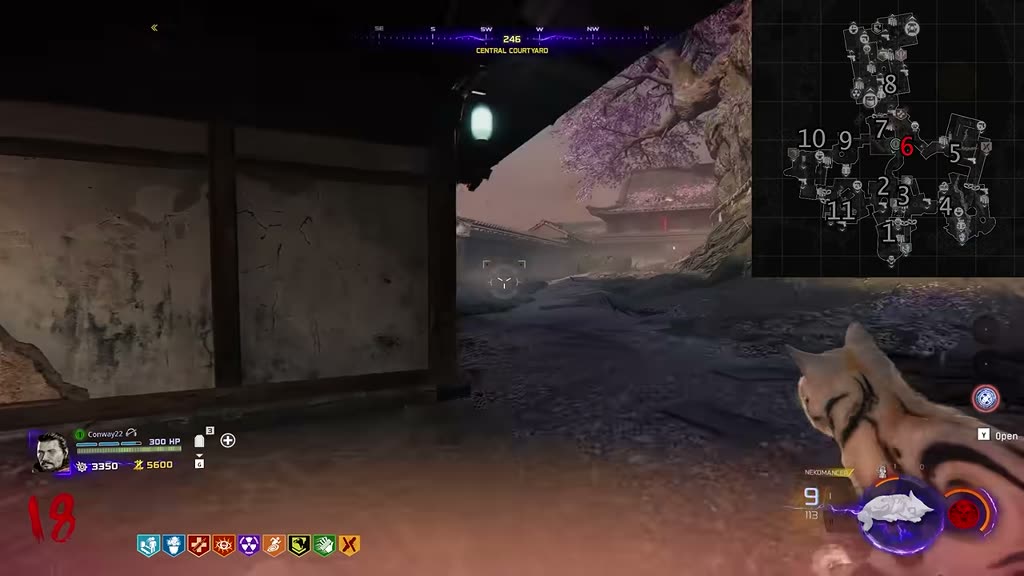
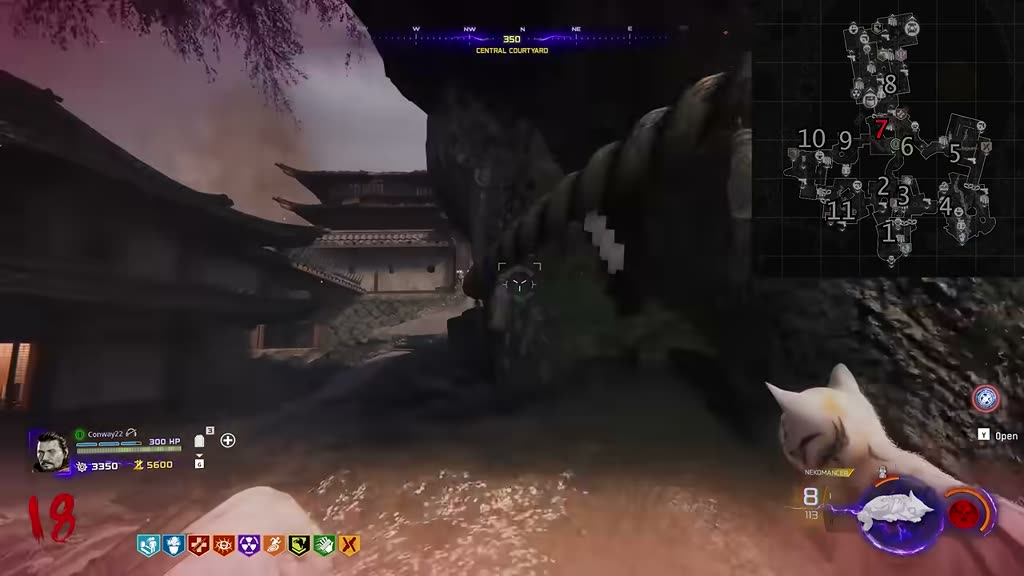
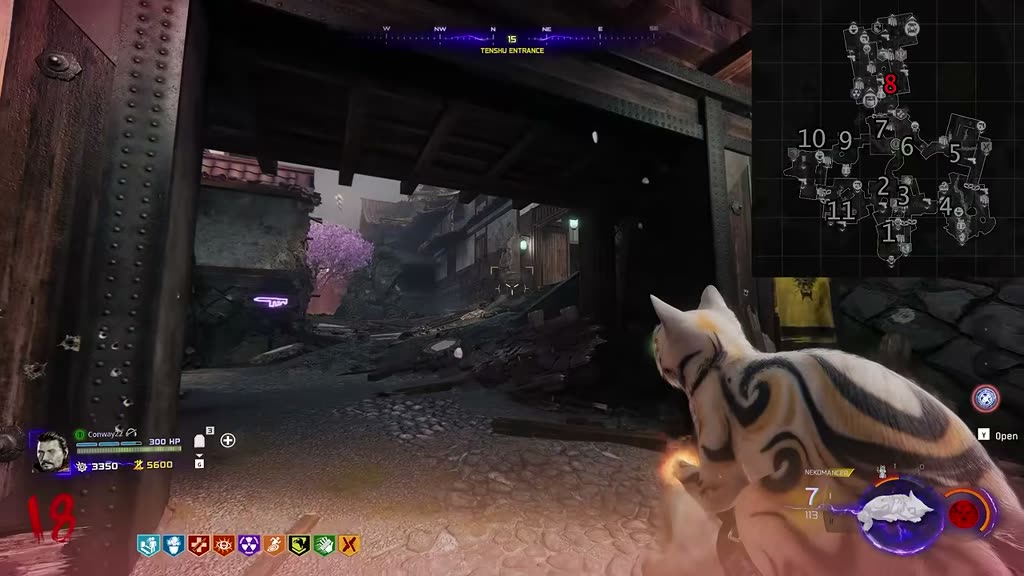
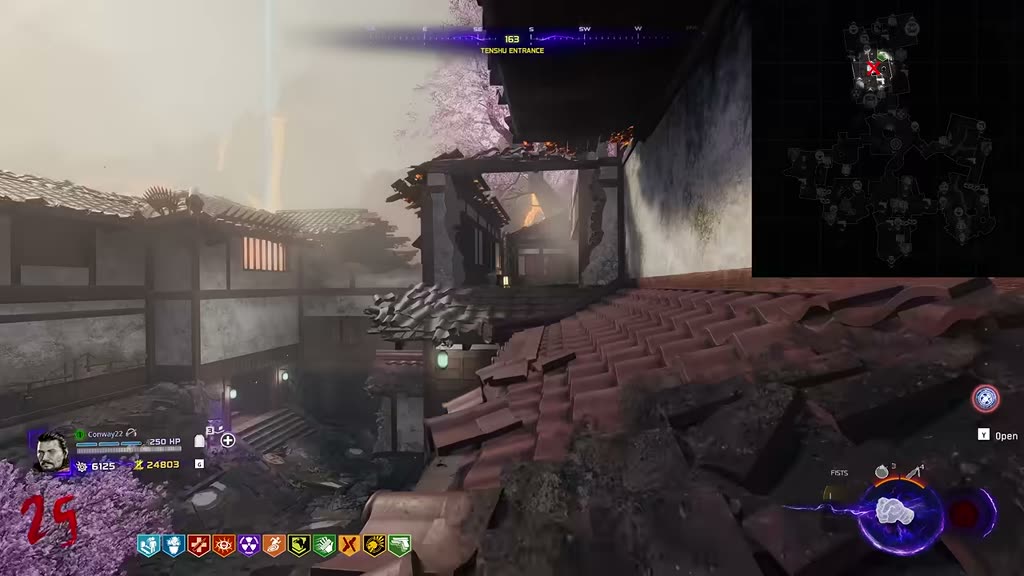
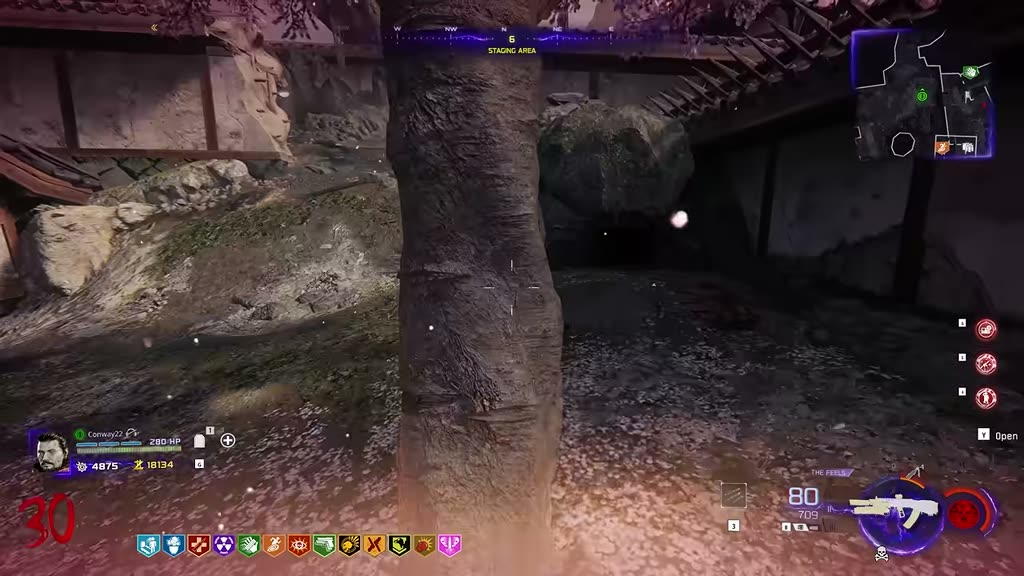
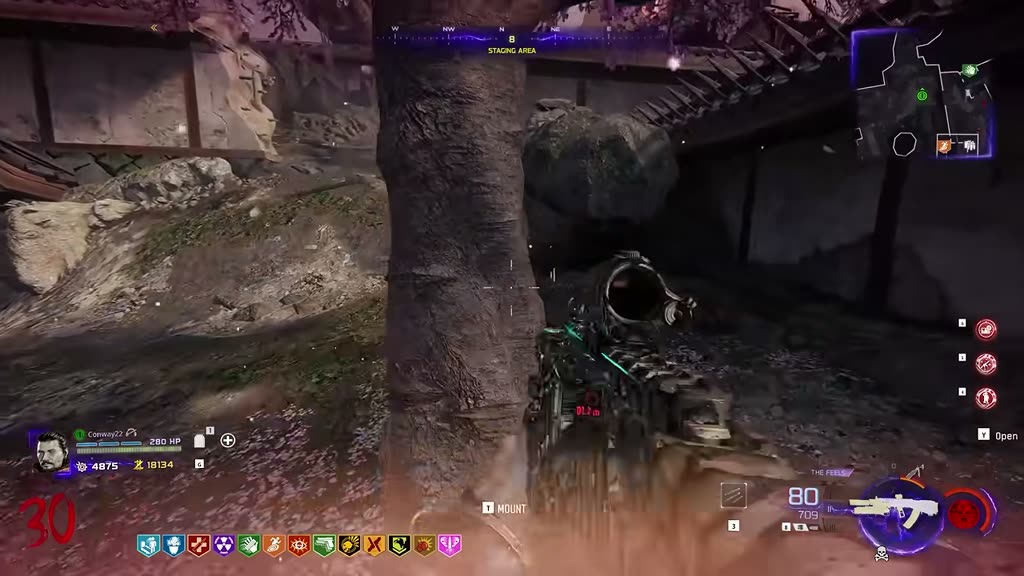
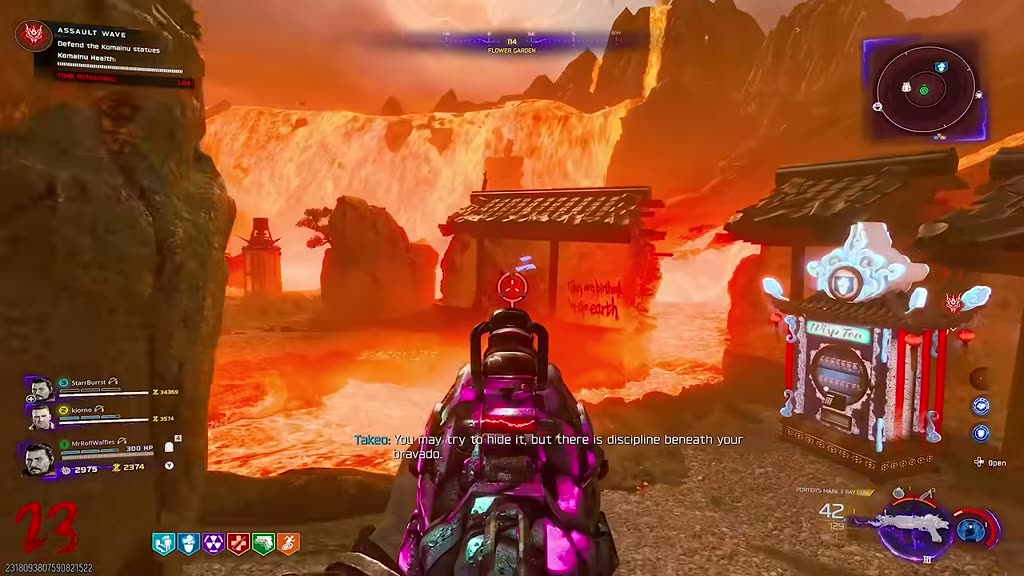
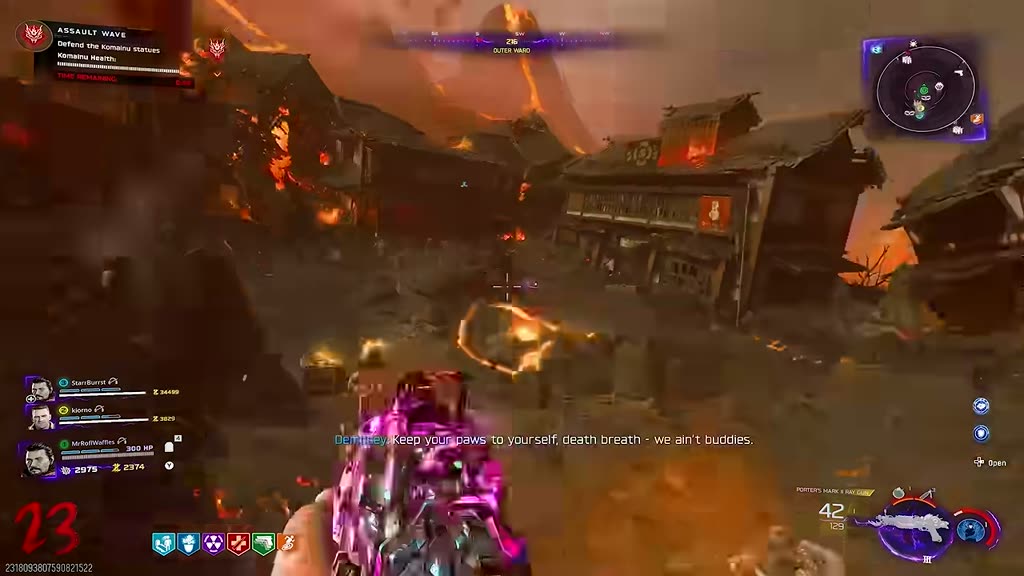
🗺️ The lantern route. Start at the Outer Ward south of spawn (1), sweep up the east side (2–5), through the Central Courtyard (6–7), up to the Tenshu entrance (8), then across the west side (9–11: Tea Garden, Training Area, Stables).
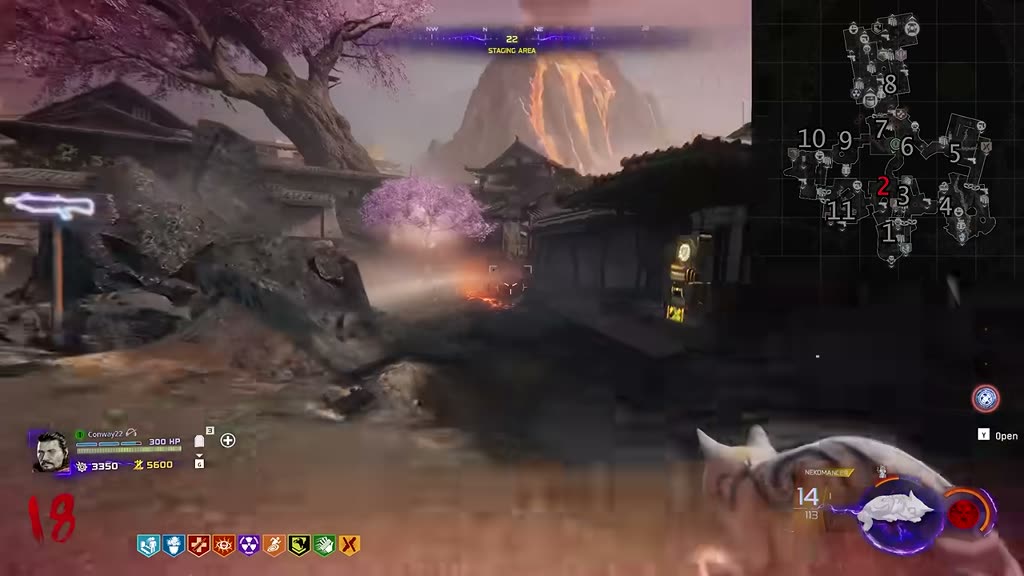
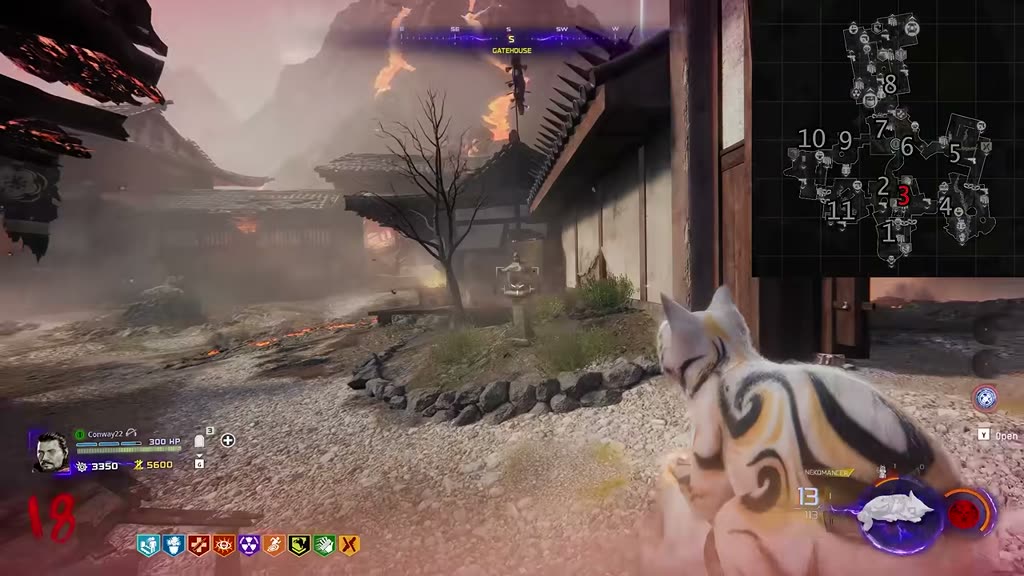
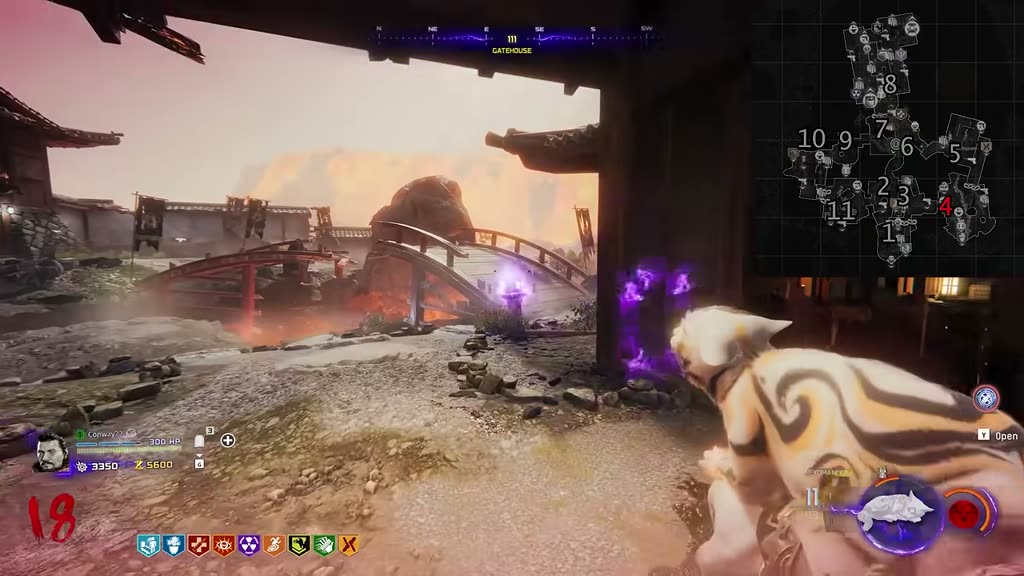
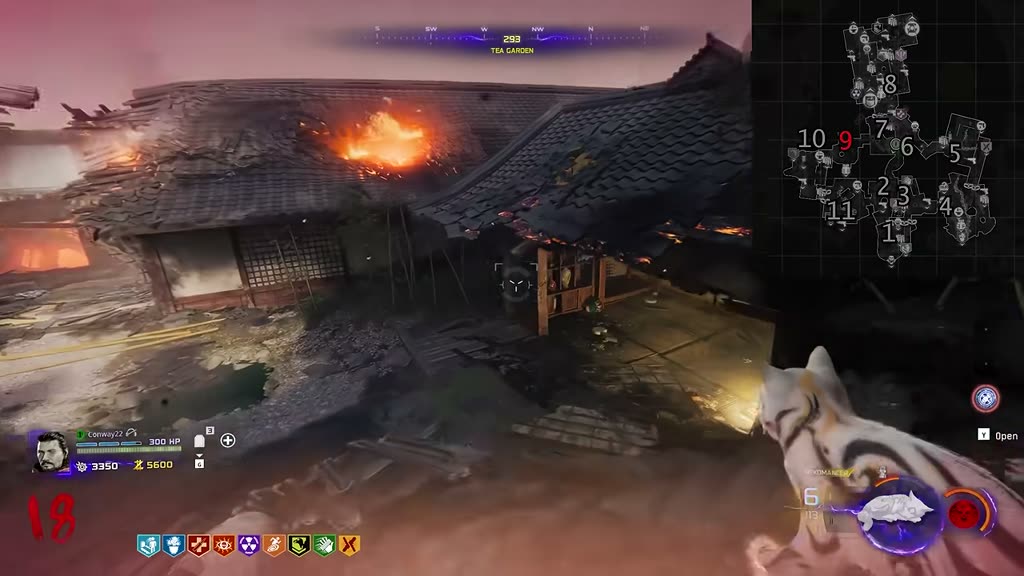
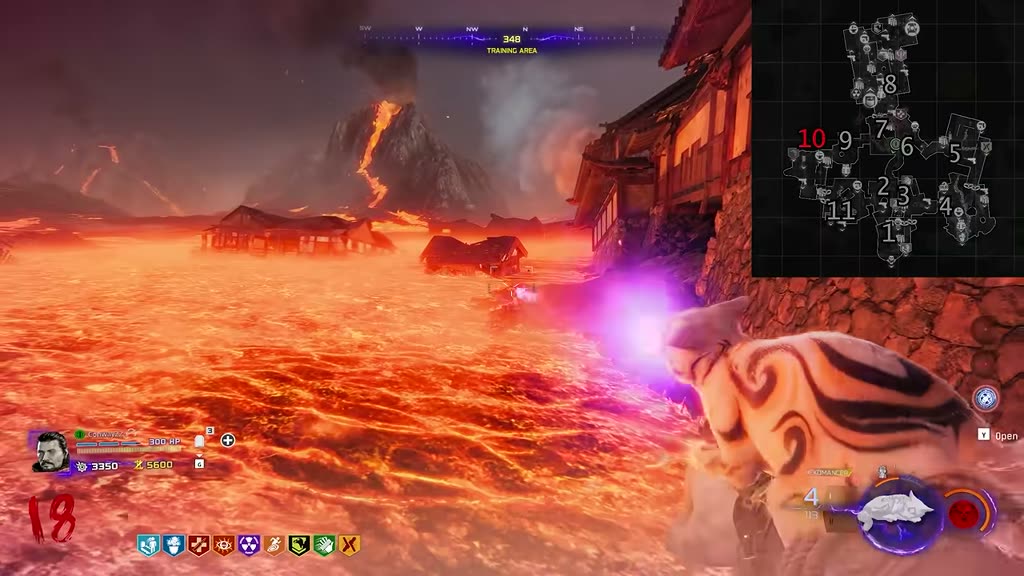
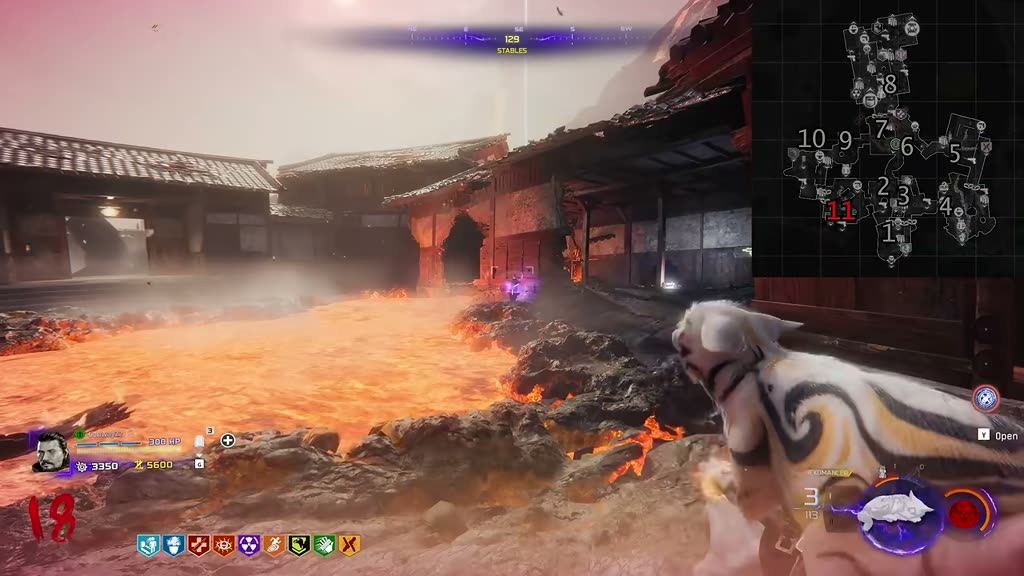
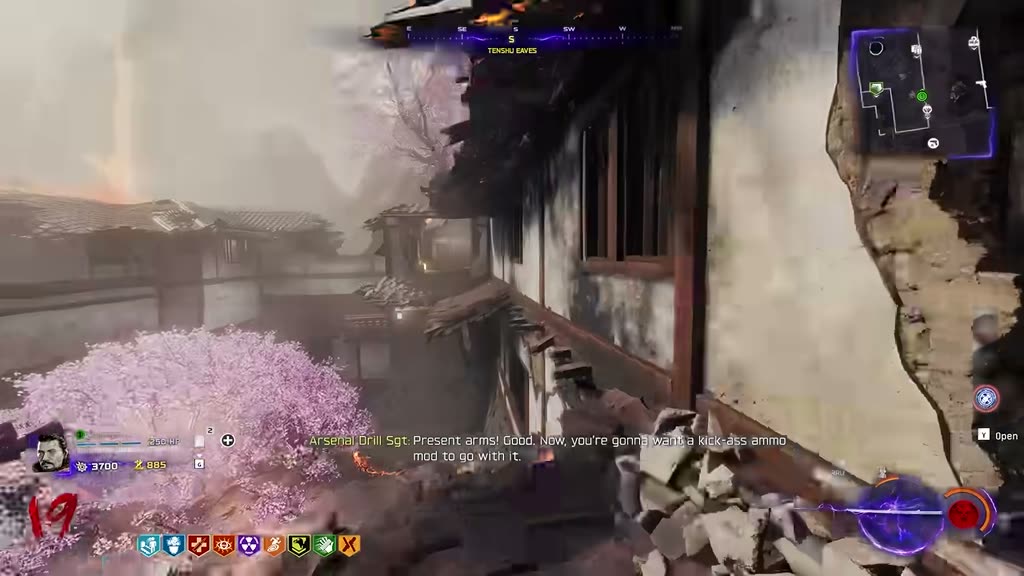
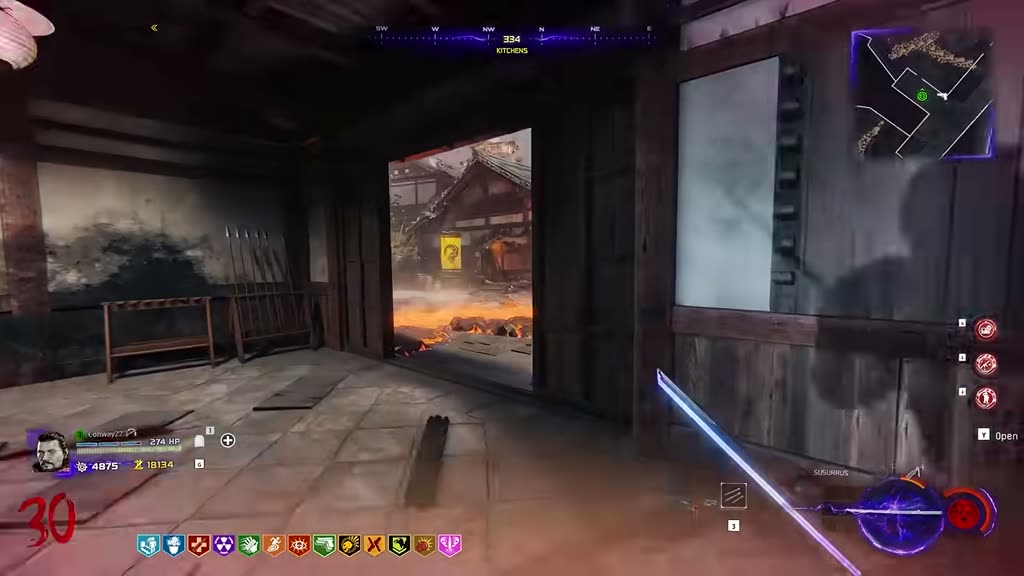
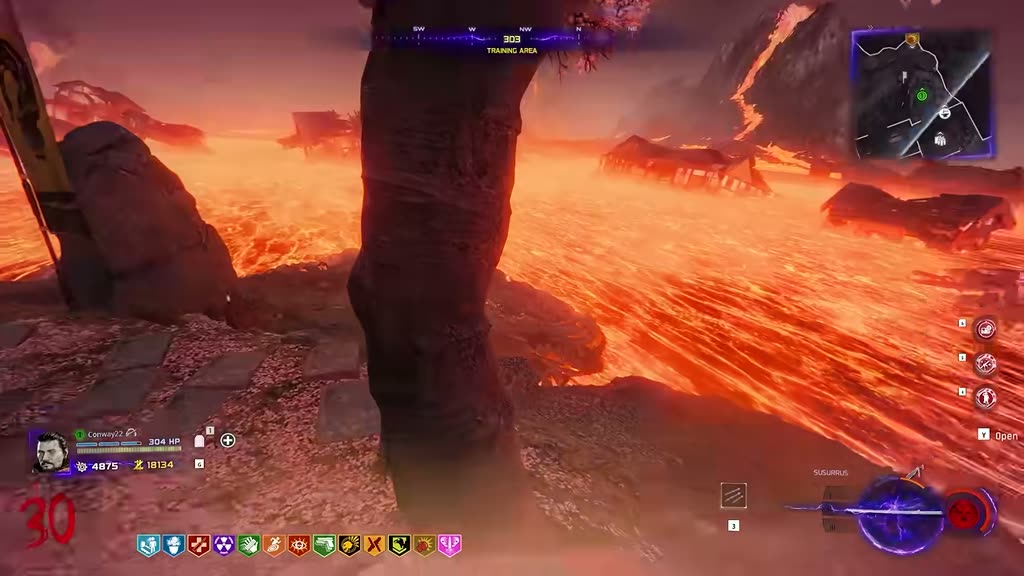
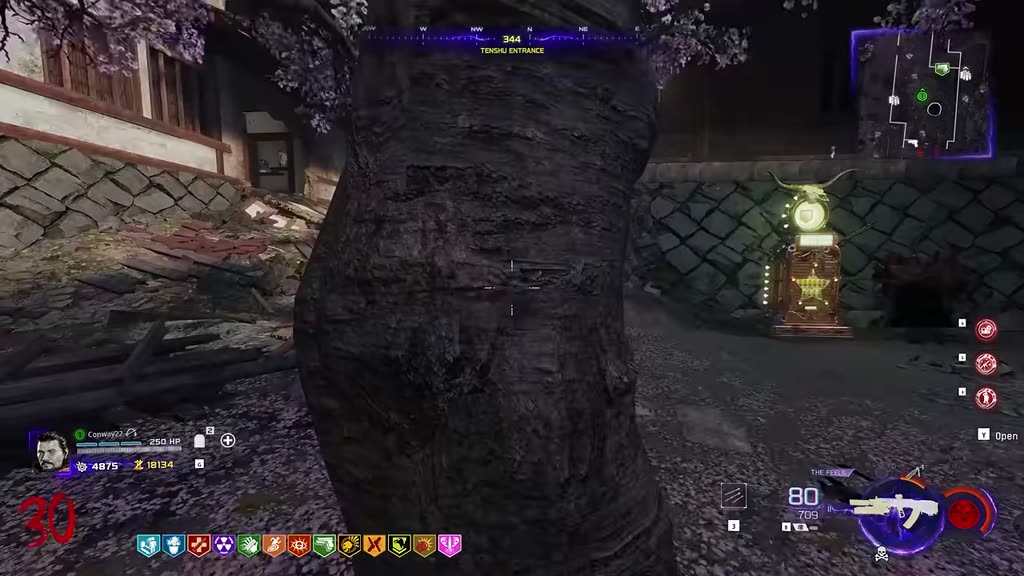
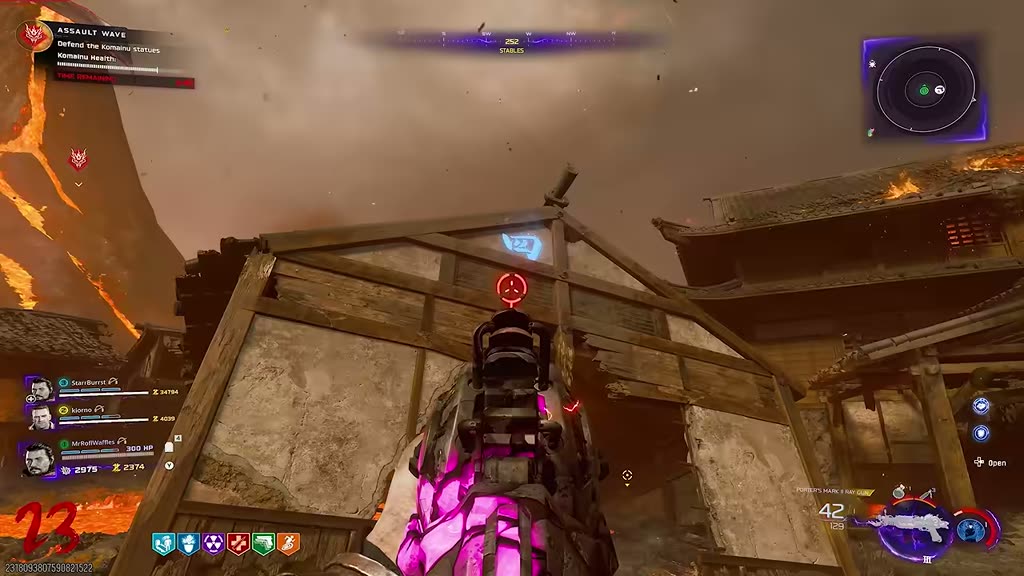
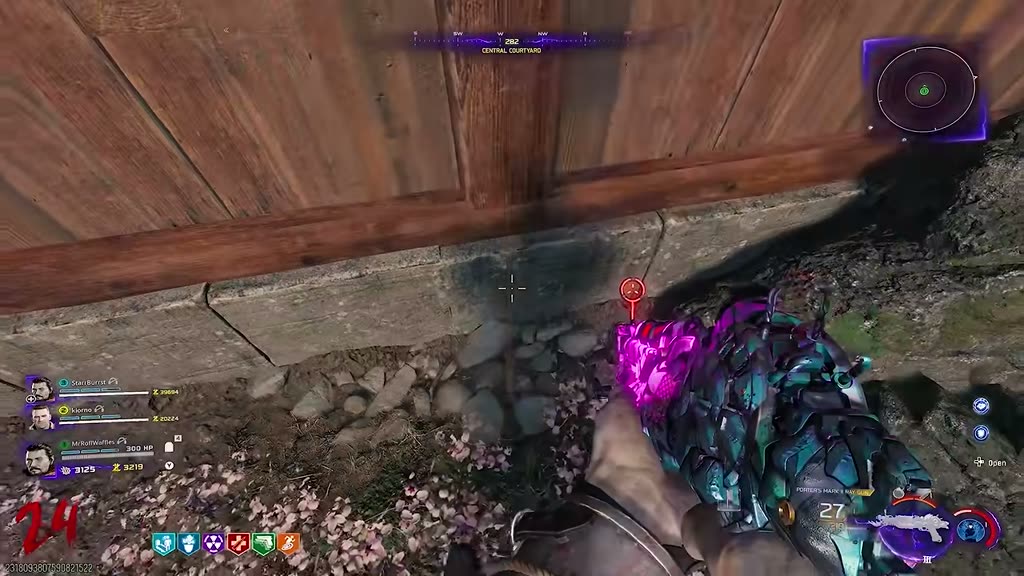
1 — Outer Ward, by the bridge south of spawn.2 — Staging Area, on the yellow machine side.3 — Gatehouse: the stone lantern by the wall.4 — By the red bridge (purple wisps mark it once lit).5 — Kitchens, by the steps of the big house.6 — Central Courtyard, hanging green lantern by the big tree.7 — North of the Central Courtyard, by the rope coil.8 — Tenshu (castle) entrance, under the iron gate.9 — Tea Garden, on the burning house.10 — Training Area, out over the lava side.11 — Stables, across the lava field. Sound cue = done!
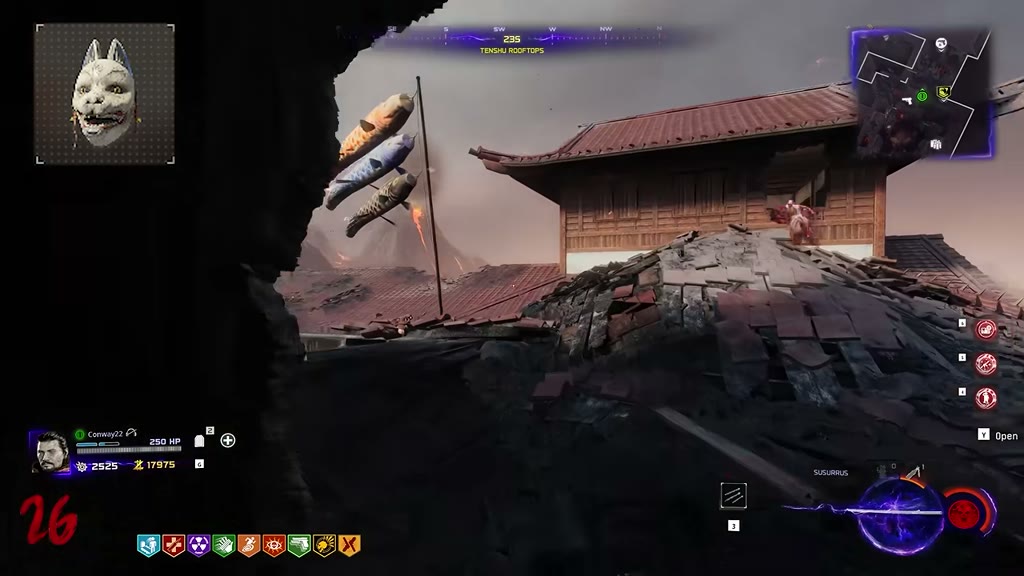
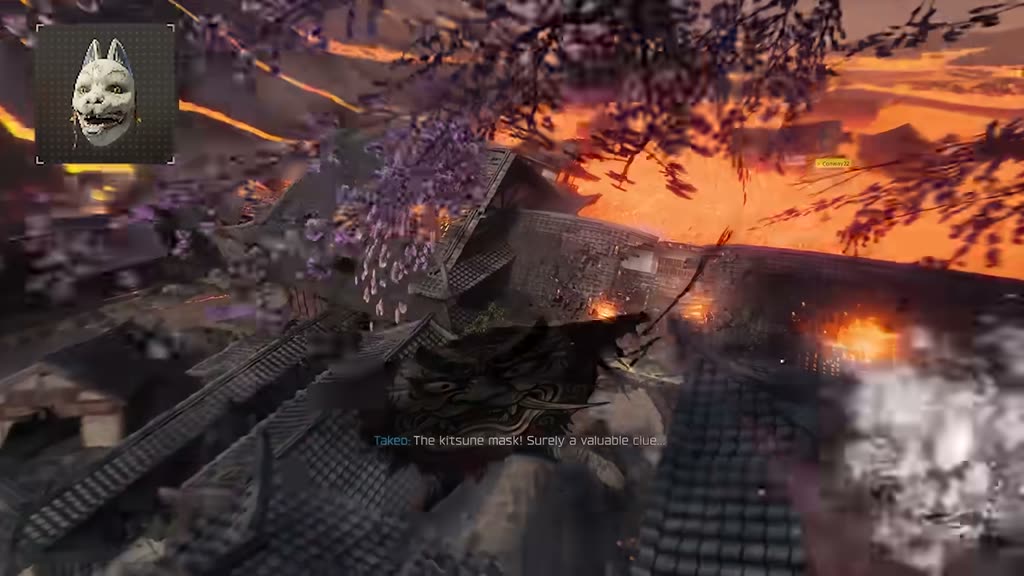
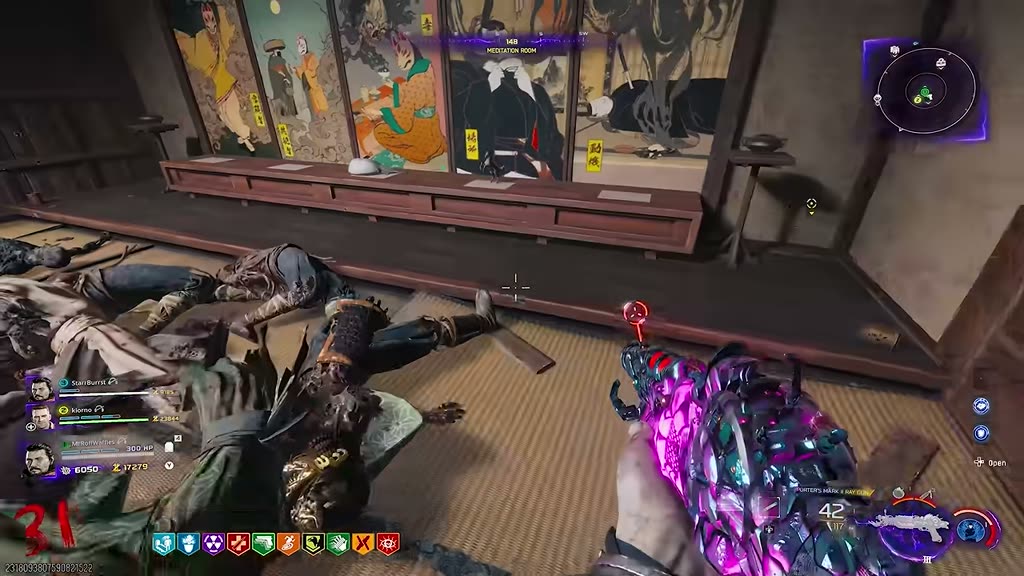
4.2 The samurai ghost & the kite ride
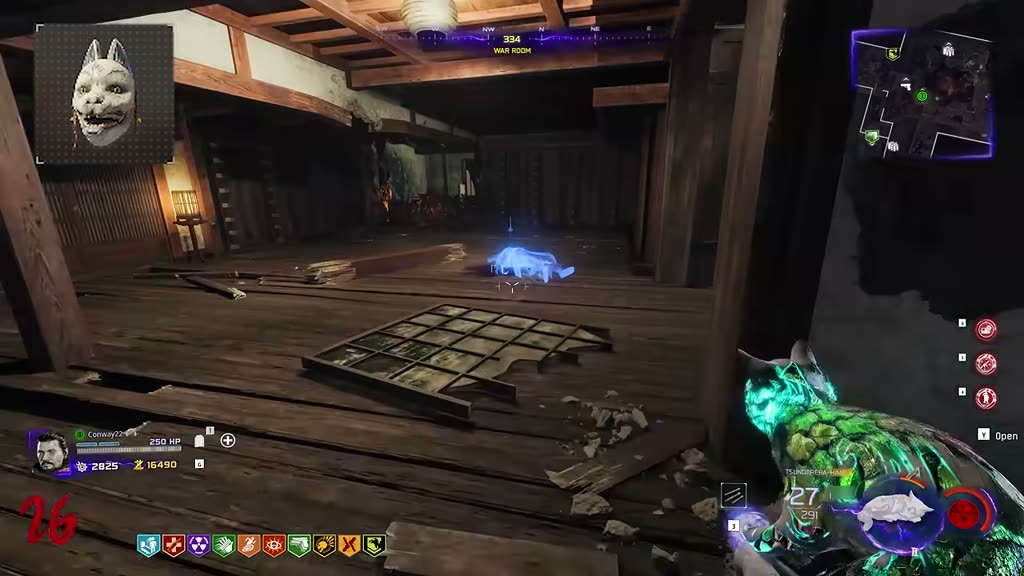
Go to the War Room — a samurai's ghostly body lies on the floor. Interact for a short cutscene.Then up to the castle roof and interact with the kite to fly down.Push RIGHT on the stick during the flight and mash the interact button — about here you'll snatch the kitsune mask mid-air ("The kitsune mask! Surely a valuable clue…").
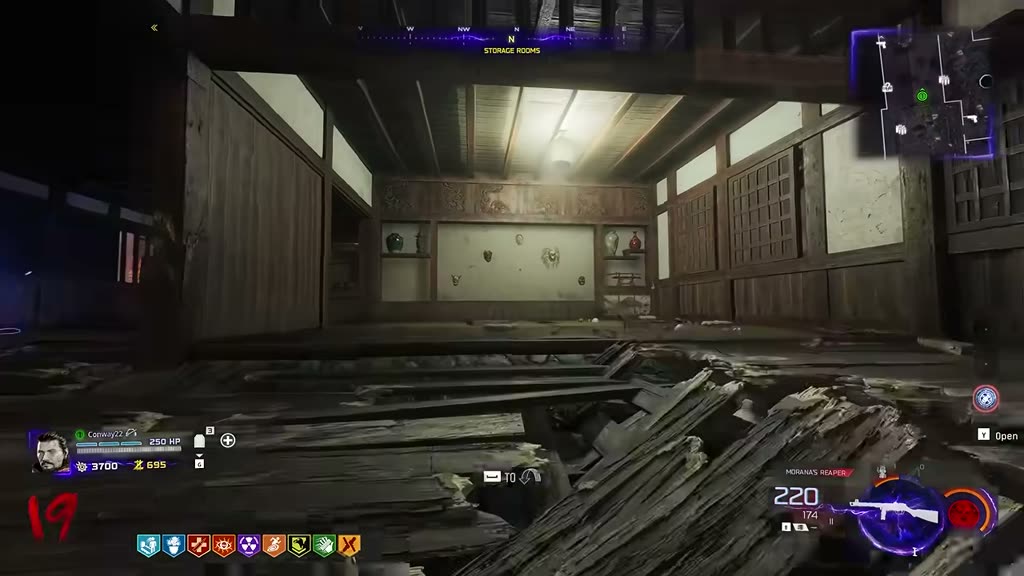
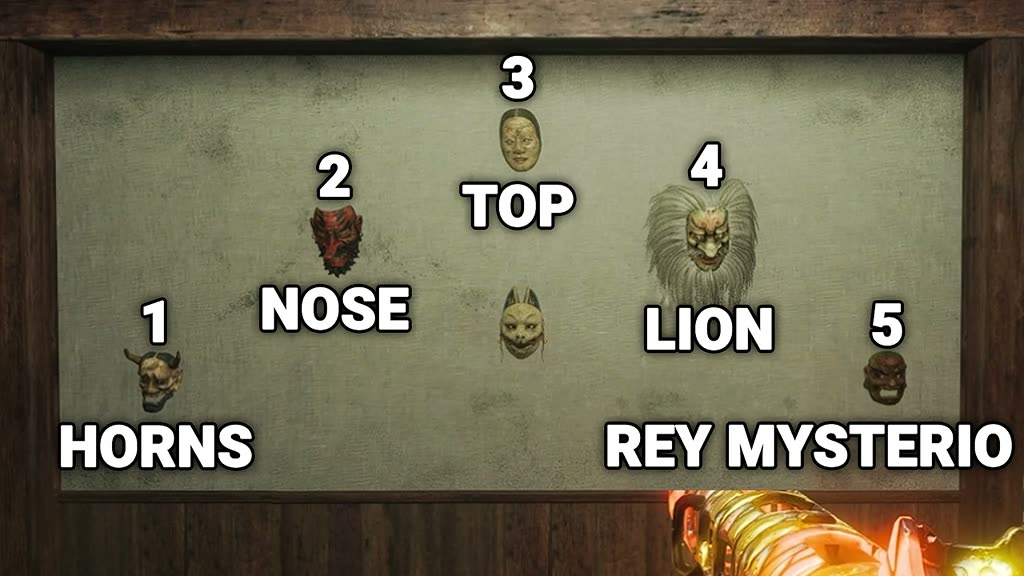
4.3 The mask wall memory game
Take the mask to the mask wall by the PhD machine (Storage Rooms) and interact to mount it.
💡 Do this at the end of a round. It's fiddly. In co-op, have a teammate hold the last zombie… away from you.
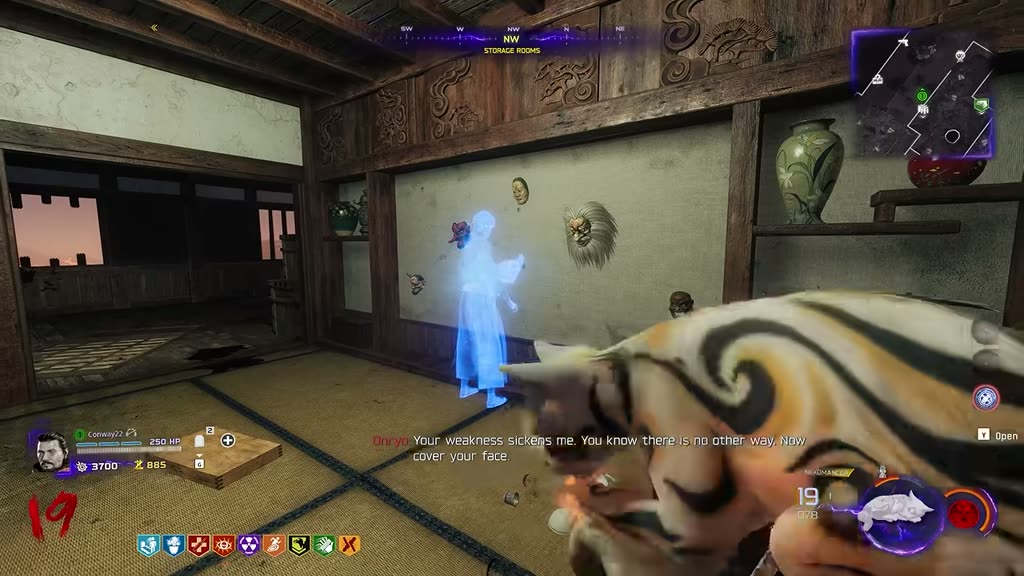
The five masks, in Milo's immortal naming scheme: 1 HORNS · 2 NOSE · 3 TOP · 4 LION · 5 REY MYSTERIO. Hold interact on the wall mask: a sequence of these lights up. Memorize the order.Now kill the zombies wearing those masks, in that exact order (write it down like Milo does). Three rounds of this: the sequence grows by one mask each time.
⚠️ Kill the wrong masked zombie and you fail the step — black smoke covers the wall mask and you must wait for the next round to retry. Be very deliberate.
After the third correct sequence the wall mask glows — interact for a cutscene ("Now cover your face"). Then the mask flies away.
4.4 Shoot the mask down in 3 locations
Shoot it down at each spot (the cat weapon's charged AoE shot makes this easy); each drops an evidence piece to pick up.
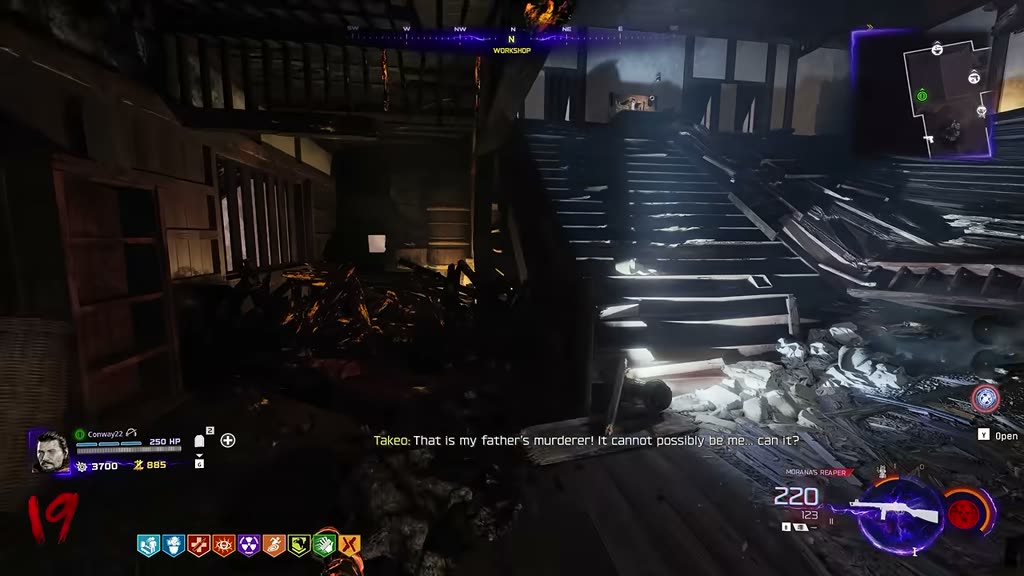
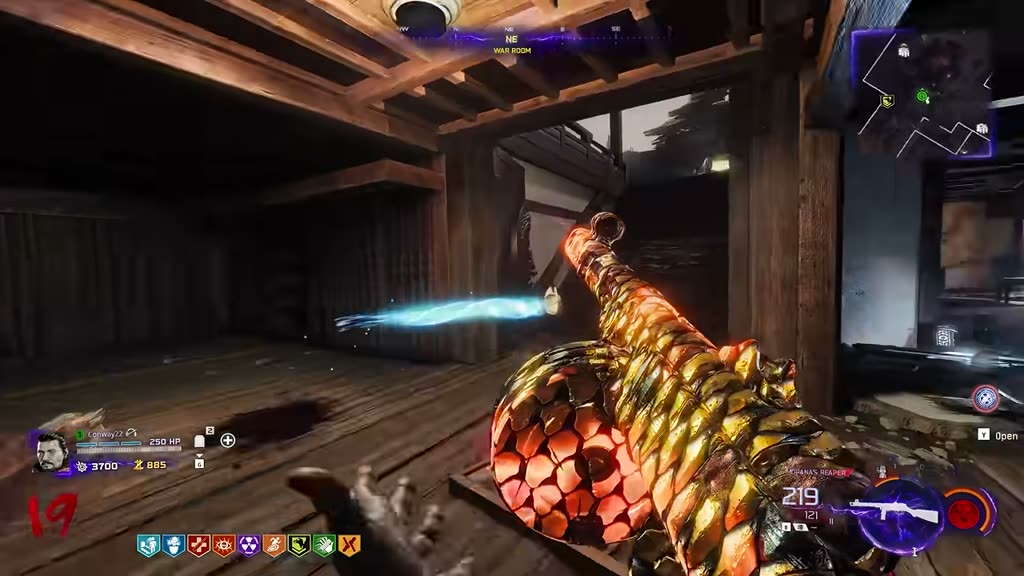
Location 1: by the barrels (War Room side). Charged shot → evidence piece 1.Location 2: collapsed study (by where Wunderfizz spawns), back corner near the roof. Drops Takeshi's Pipe.Location 3: outside by Elemental Pop — look toward the windowsill; the mask sits above a wooden bar. Knock it down → third piece.
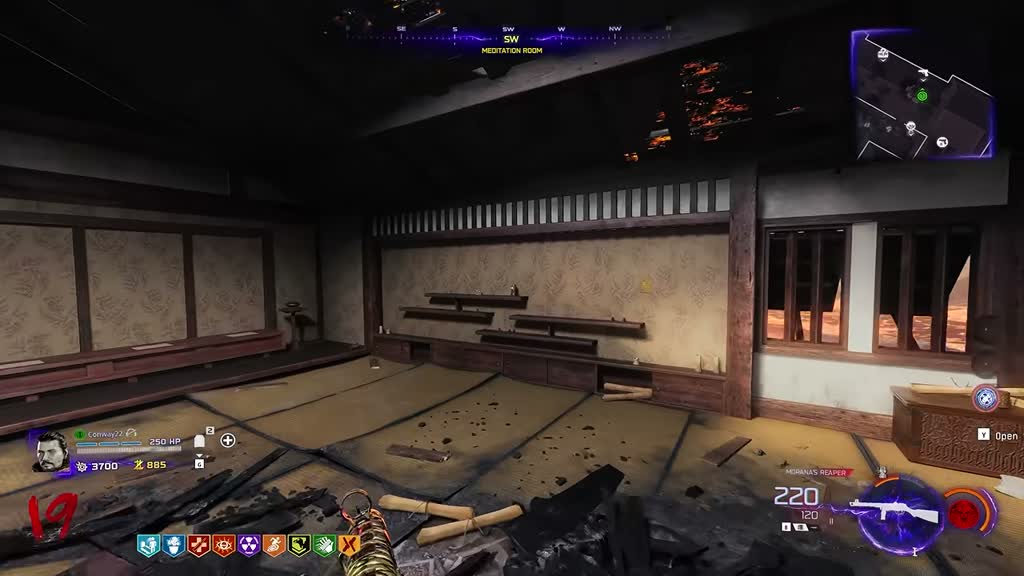
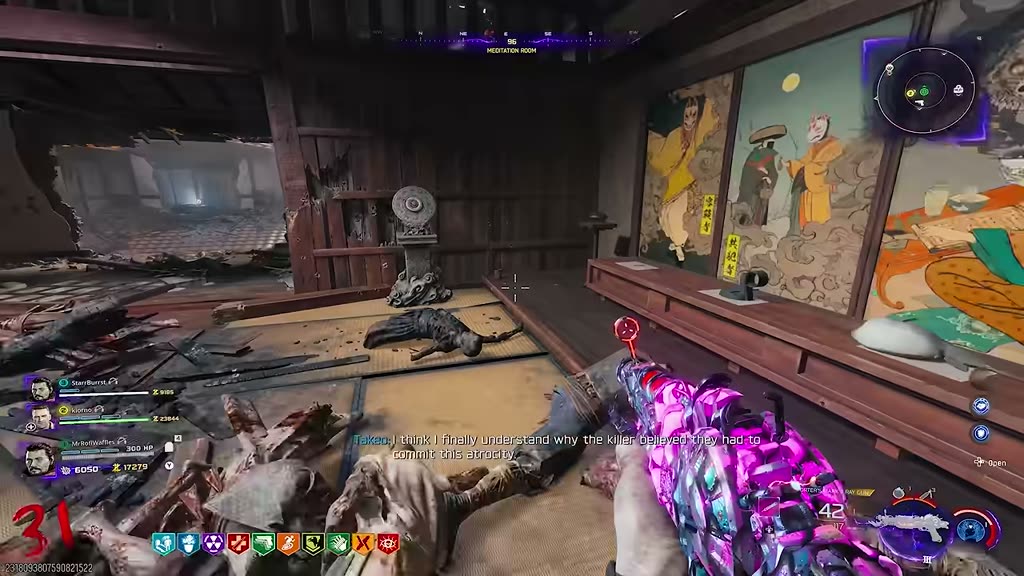
4.5 Deposit at the evidence board
Upstairs in the Meditation Room, hold interact on this wall. With all three suspect pieces deposited, the first painting appears (leftmost) — category complete.
💡 Habit to build: come back to this wall and deposit evidence every time you finish pieces — especially if you ever feel stuck.
5️⃣ Accomplice evidence I: the Coin Purse
🔒 Requires all three mask evidence pieces on the board (first painting visible).
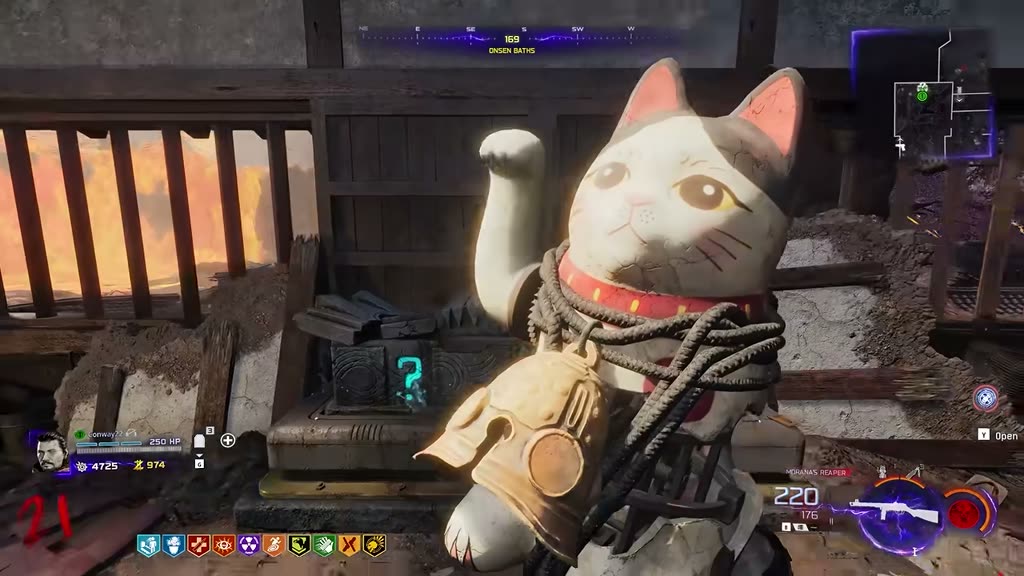
(video: 15:10) At the start of your game, one mystery box platform (the platform, not the box) has a small wooden tag on it — that's your target location. Get the box there (move it there naturally, use a Fire Sale, or the Mr. P trick below).
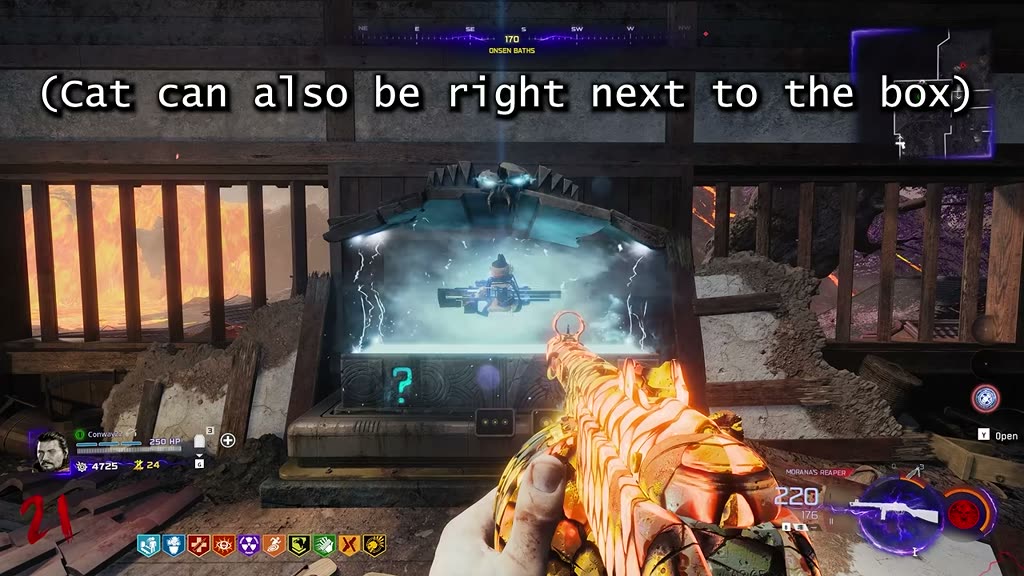
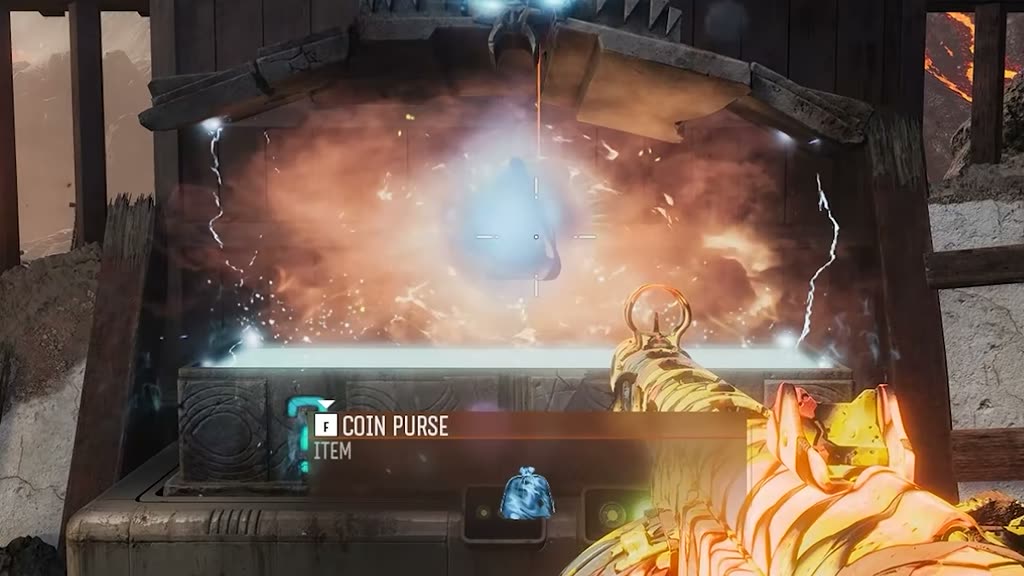
With the box on the tagged platform, throw the cat grenade on top of the box — it must sit on top (right next to it also works).While the cat sits there, hold interact to spin the box as normal.Out comes a blue floating Coin Purse — interact to grab it. Then go to the spawn area, hold interact on the blue floating purse there, and watch the short cutscene.
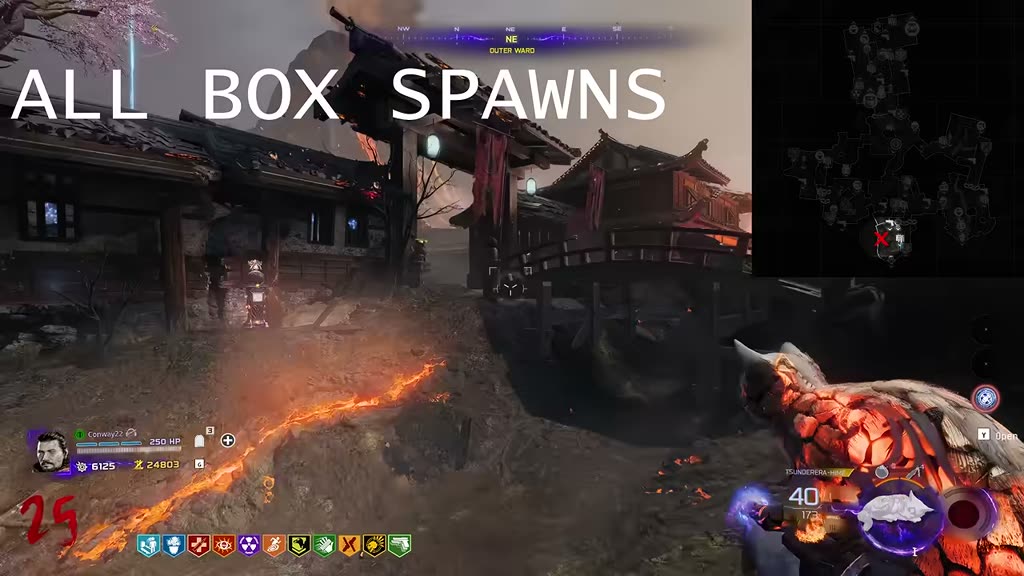
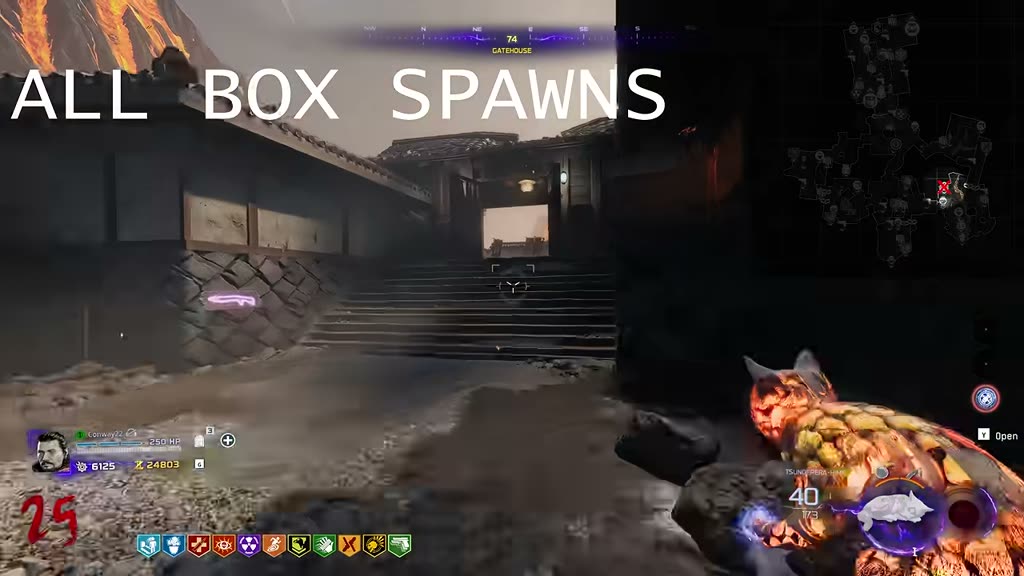
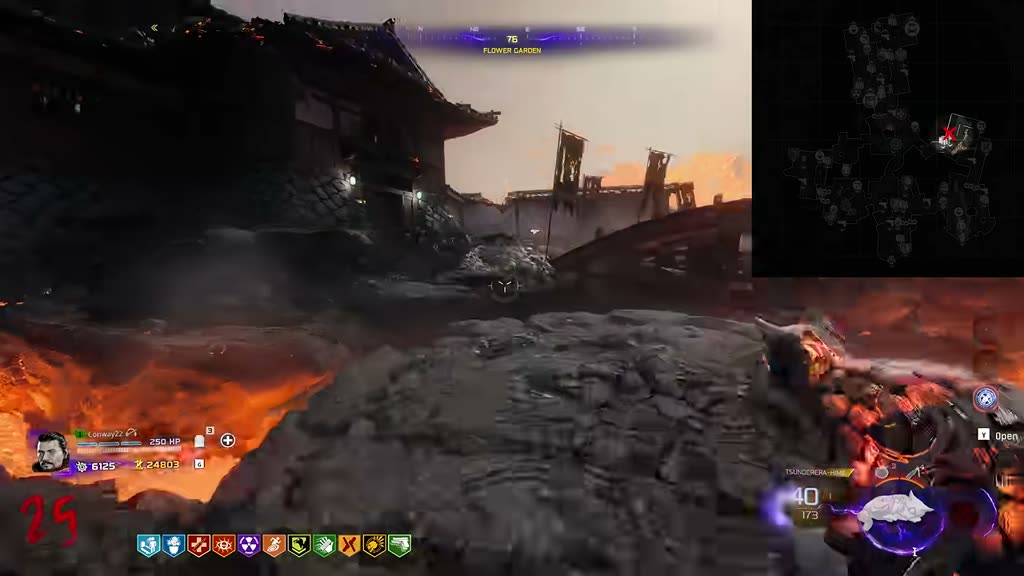
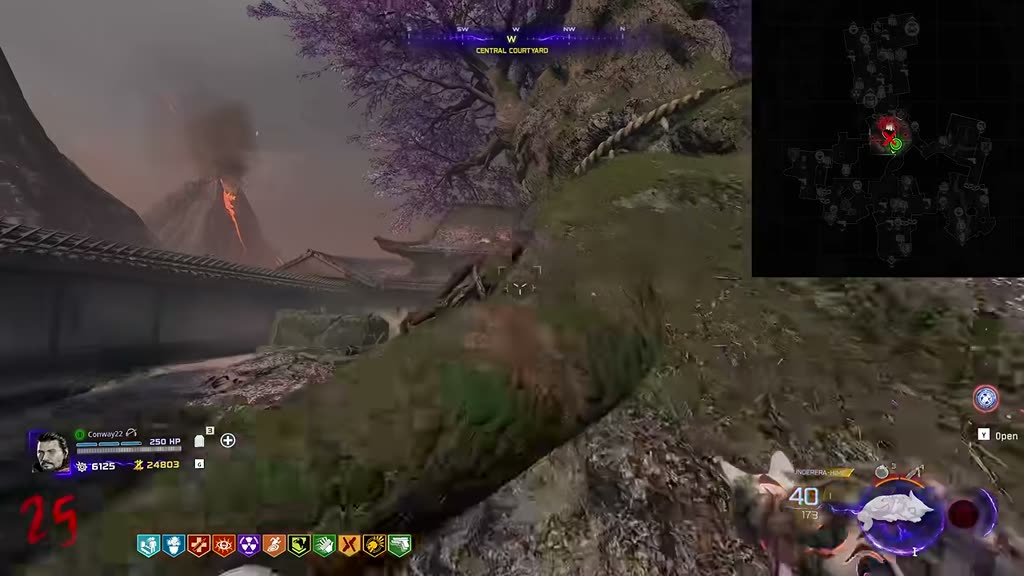
5.1 All 9 mystery box spawns (find the tag)
1 — Spawn area (Outer Ward).2 — Flower Garden side (X on the minimap).3 — Kitchens.4 — Middle of the map, by the big tree.5 — Tea Garden, in the center.6 — Stables.7 — Castle: inside the Onsen Baths, right-hand side.8 — Castle: instead of going up to PhD, go right.9 — Castle roof, all the way up.
Shortcut: the Mr. P field upgrade with the P's Favor minor augment spawns the box wherever you cast it. Throw the cat down, cast Mr. P on the tag, the box spins, grab the purse.
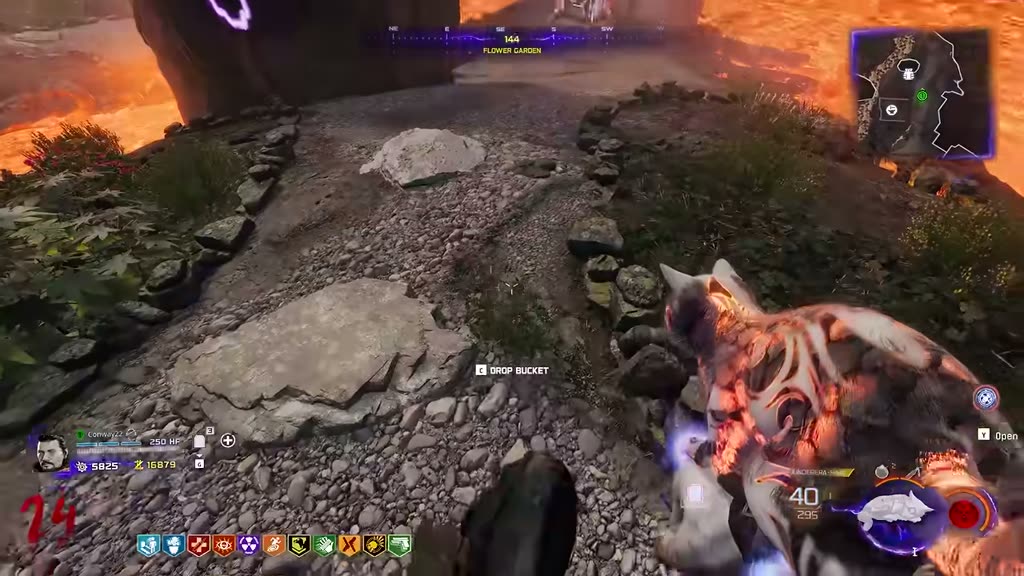
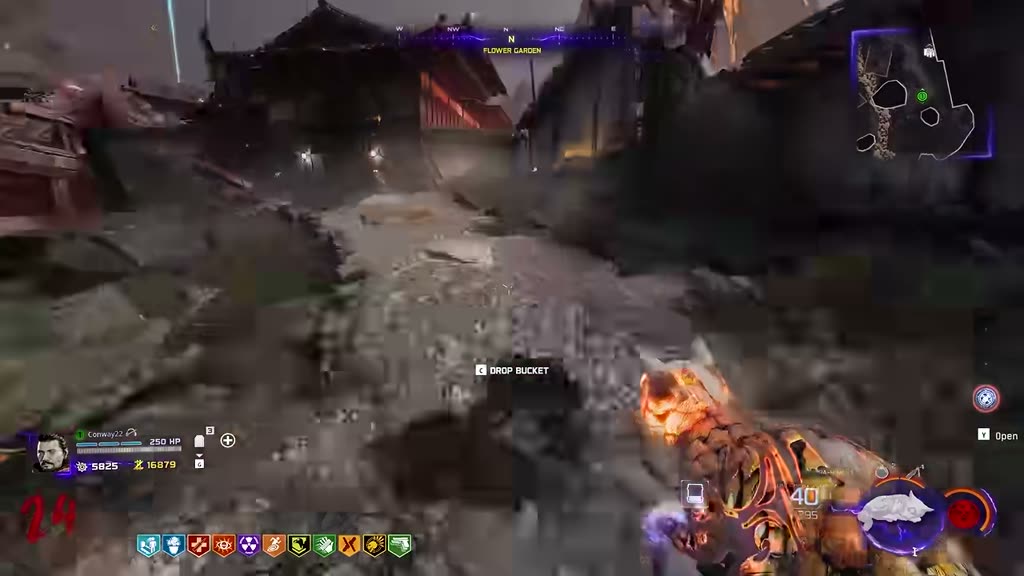
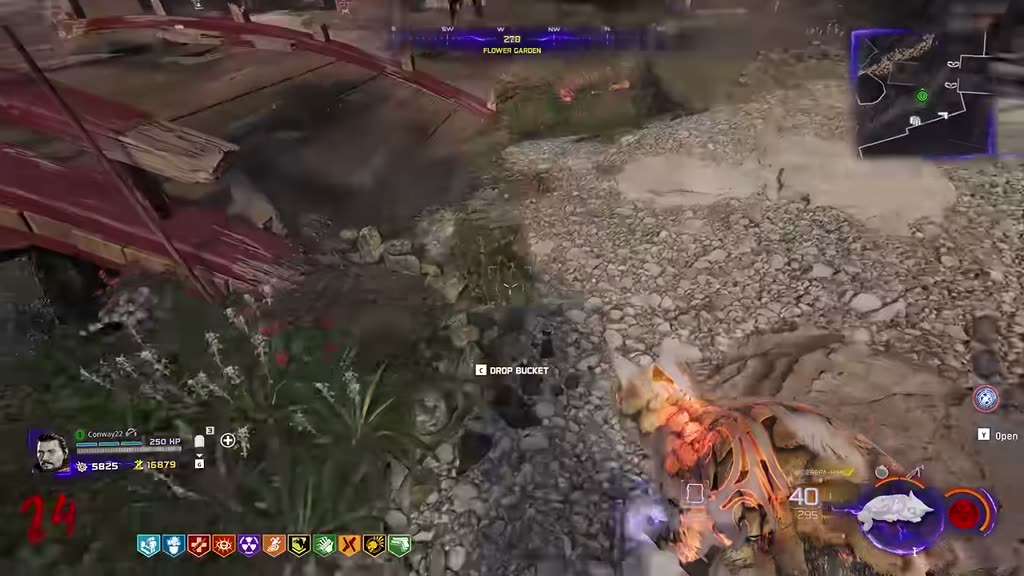
Grab a bucket — Tea Garden spawn……or the Stables spawn. (Dropped buckets despawn and reappear at spawn points.)
Fill it at this water pool (Tea Garden). You'll know it's full because it sloshes as you move.
⚠️ You lose water when zombies hit you or you take fire damage on the way. Each flower drains the bucket — refill at the same puddle as needed.
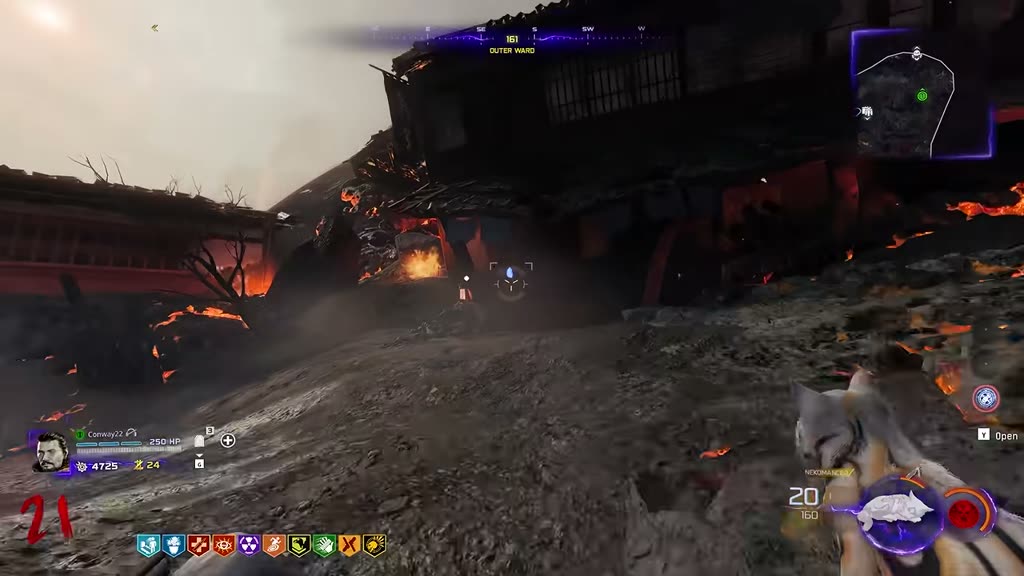
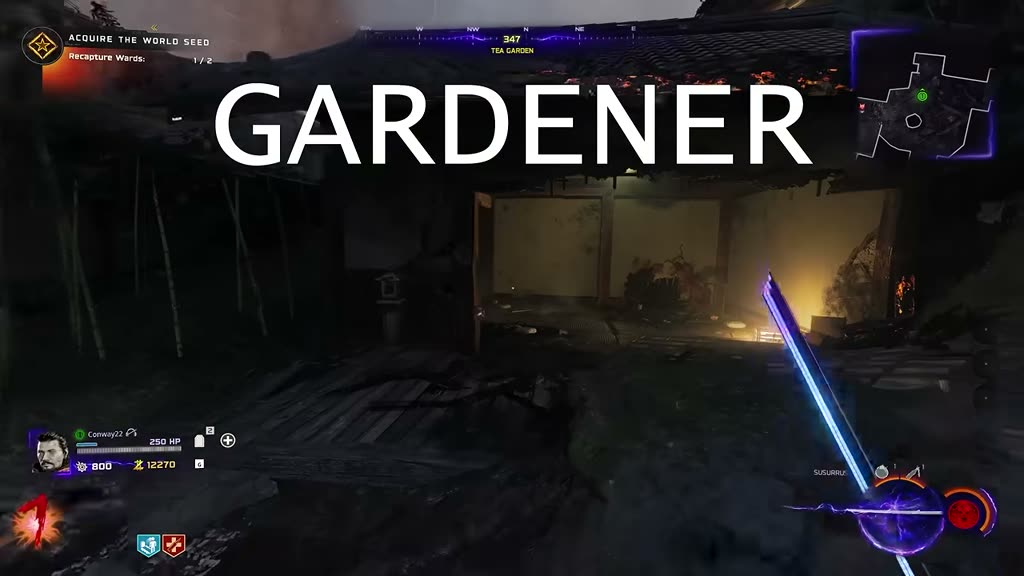
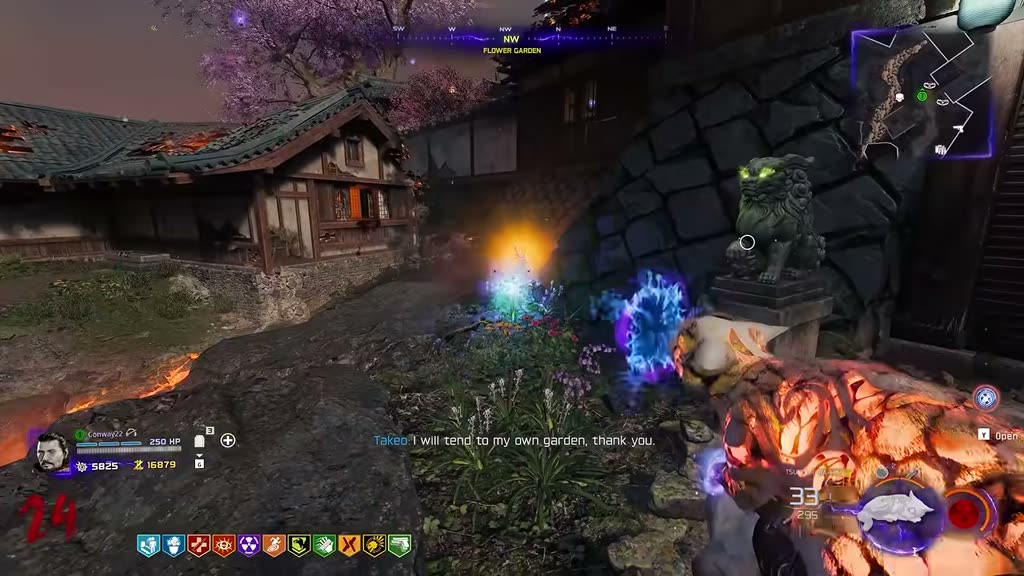
Now water the three flowers in the Flower Garden (interact with each while holding the filled bucket):
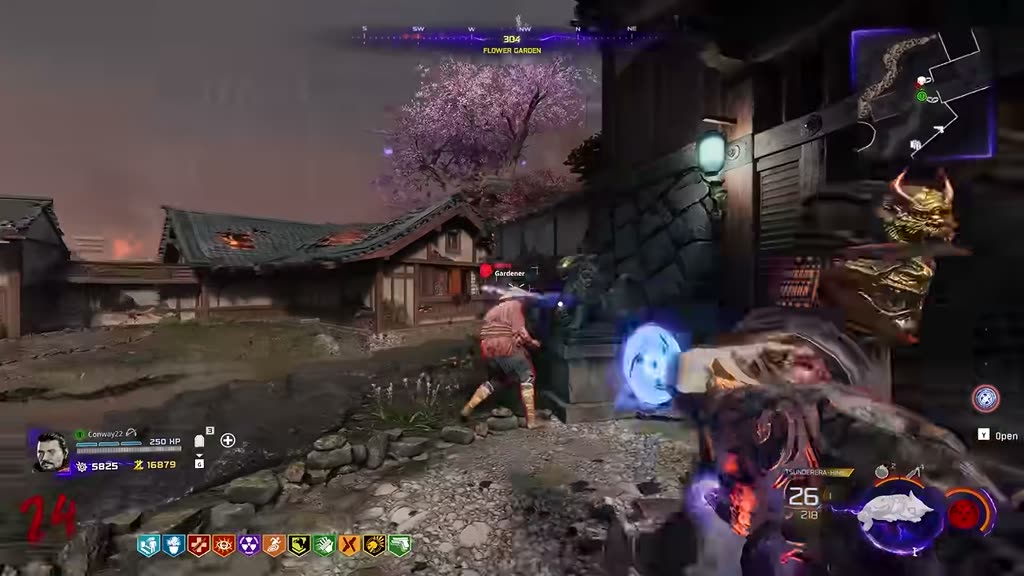
Flower 1 — on the rocky path.Flower 2 — just north, by the path.Flower 3 — near the red bridge.All three watered → the Gardener spawns, immune at first.
Shoot the two orange pots to remove its immunity, then burn it down (elite health — it's chunky). It drops the Shears and a note.
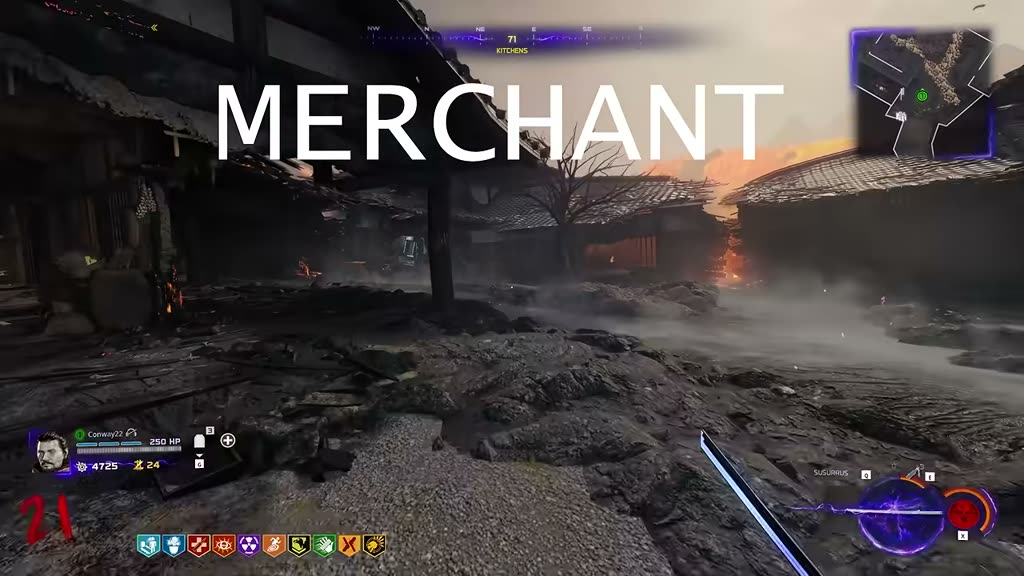
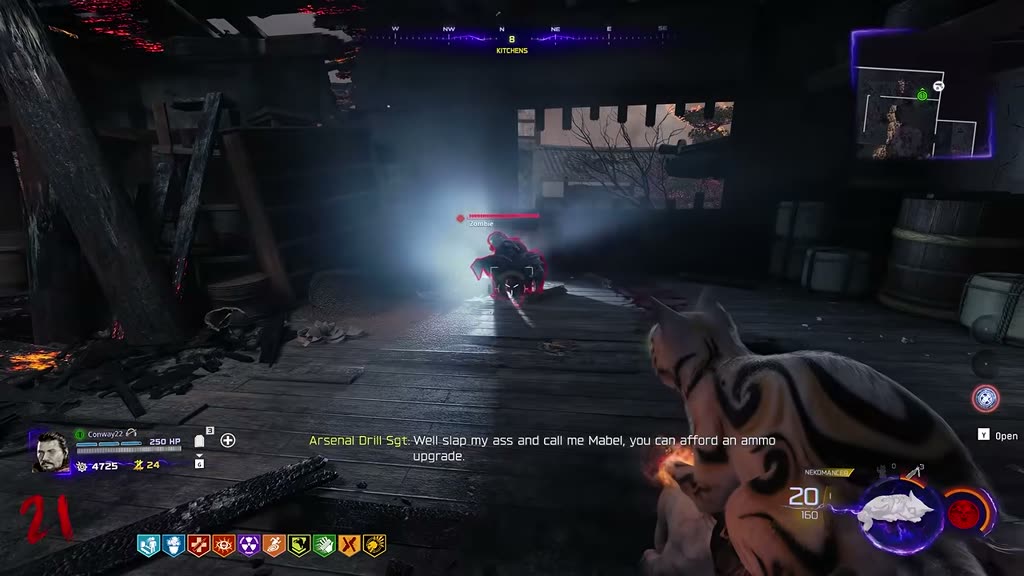
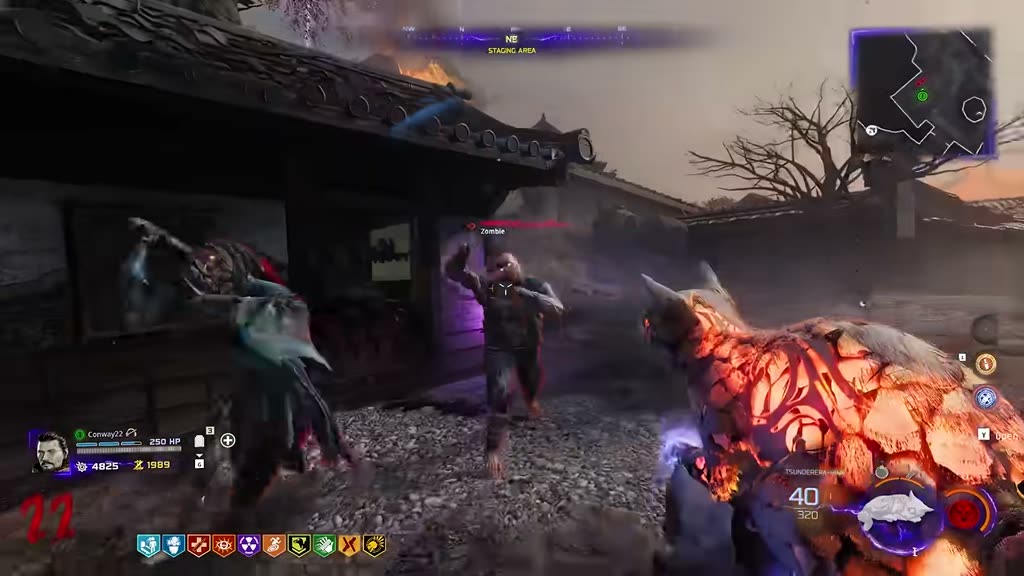
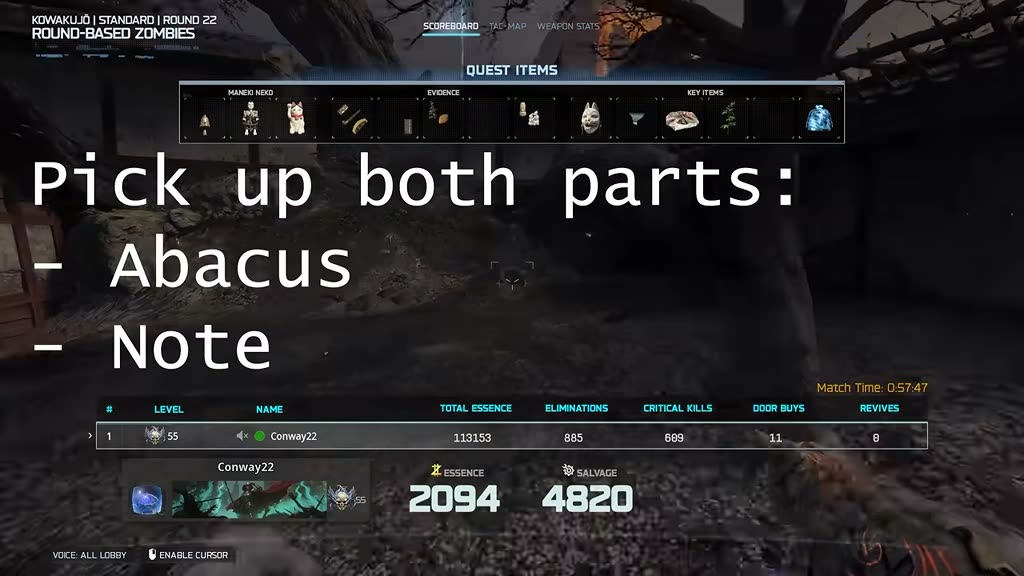
Melee this wicker basket (Kitchens) to drop a tomato. One tomato per round — if nothing drops, you already used it this round.Run far away for 60–90 seconds. When you come back, a zombie will be stuffing its face with the tomato, then chase you with it in its mouth. (Zombie not eating? You weren't far enough or long enough.)Lead that zombie to the Staging Area and kill it near this window — it drops the tomato again.The Merchant climbs out of the window and ravenously eats the tomatoes. Kill it while it eats — big health pool, bring firepower.Pick up both drops: the Abacus and the note. (Round flipped while the merchant lived? Just respawn him with a new tomato.)
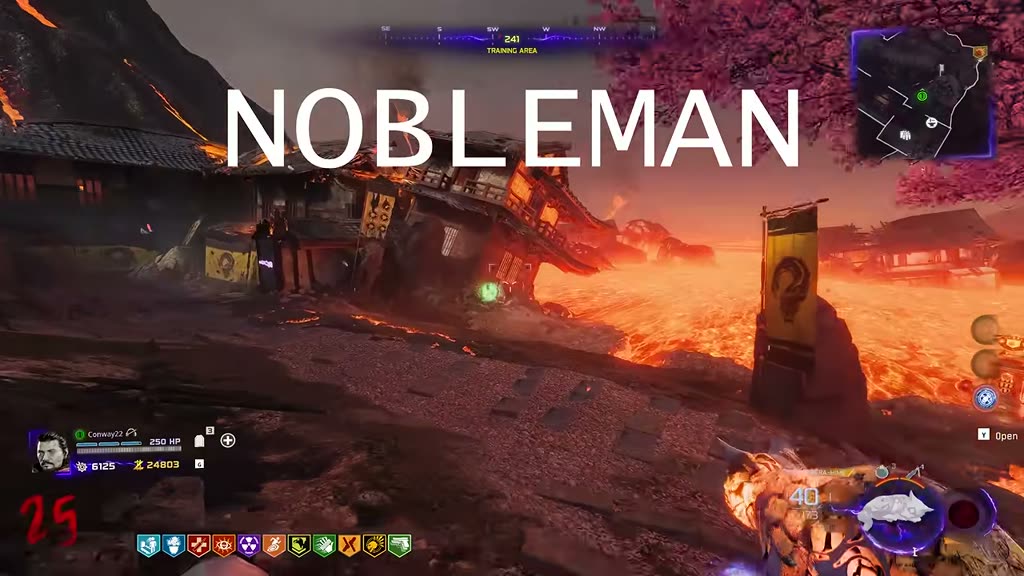
You need 3 decoys in fast succession. Spawn with them, use the Mule Kick augment to hold three, or craft extras at the bench near Memento Kiyoto.Throw one decoy onto each boarded-up window above the little gatehouse (you can see two decoys stuck up there).A zombie throws grenades down at you — throw them back, cooked, so they explode on top of him. Three times and he dies, dropping the Nobleman's Hat + a note.
That's the third accomplice piece → back to the evidence board, hold interact: second painting appears.
7️⃣ Poison evidence: plant, plum pit, pufferfish
(video: 22:28) The plant and plum pit can be done any time; the scroll puzzle and pufferfish need all accomplice evidence on the board first.
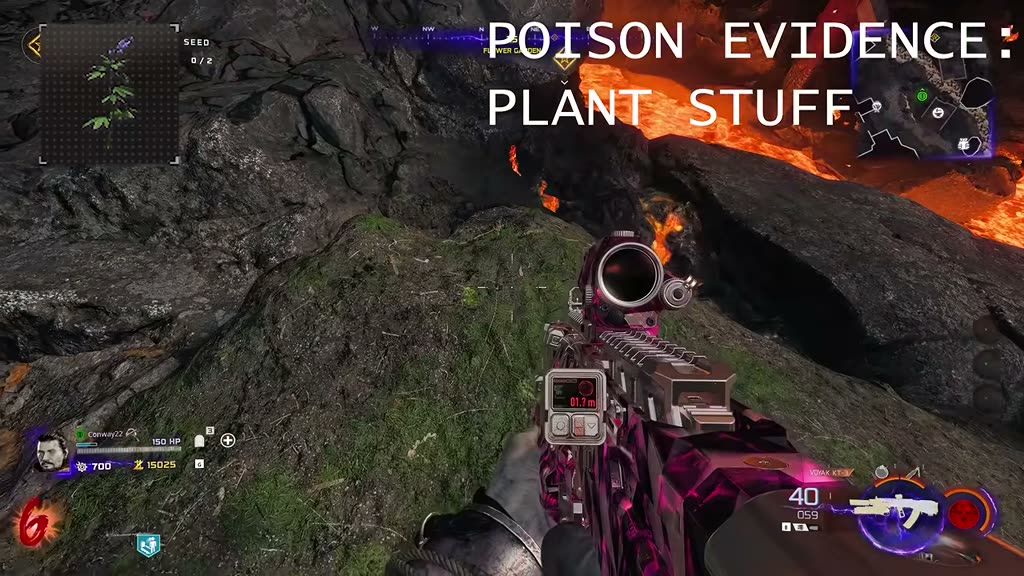
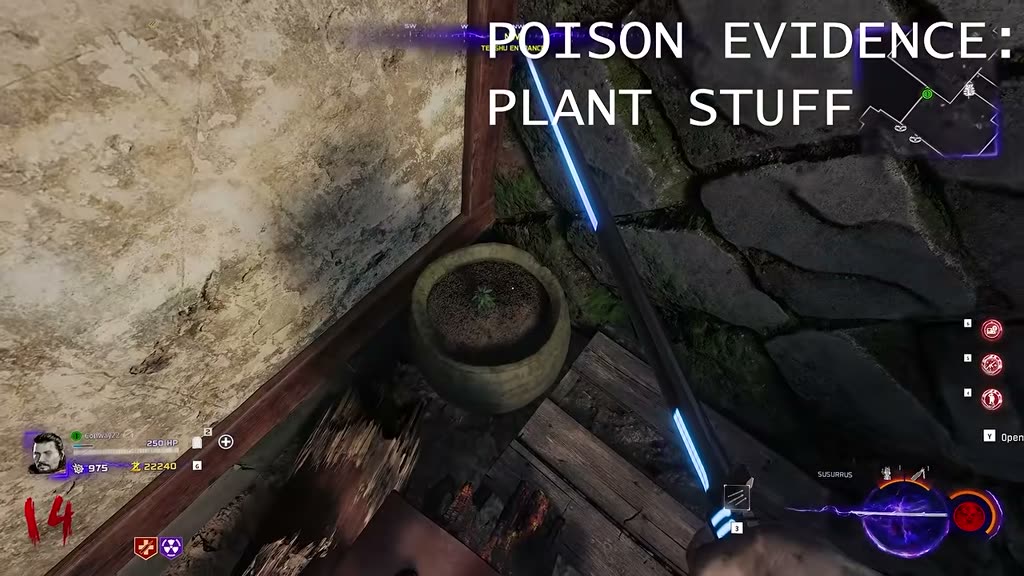
7.1 The Monkshood plant
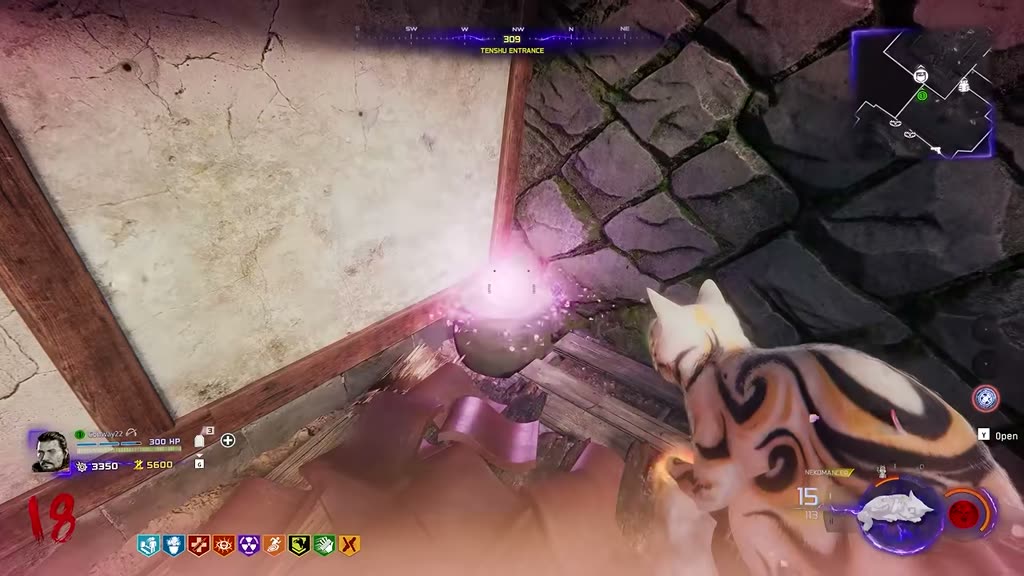
Pick the monkshood flower in the Flower Garden — near Wisp Tea, by this crack in the ground (fixed spawn).Plant it in this flowerpot (far left-hand side, Tenshu entrance ledge).Get the empty ash pouch: it hangs in the rafters above the gate between Training Area and Tea Garden. Shoot it down with the cat weapon's charged shot, then pick it up.
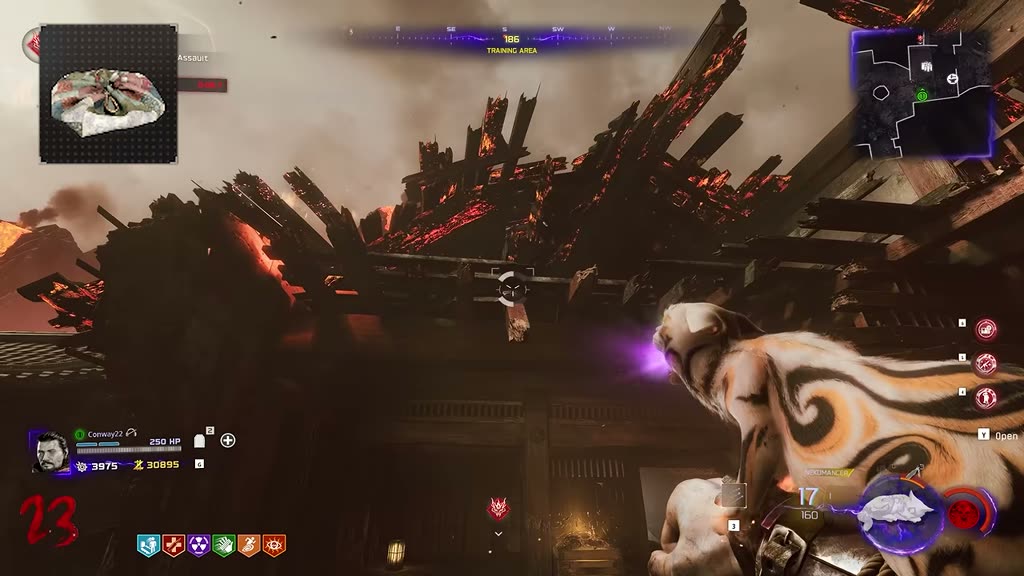
7.2 Collect volcanic ash at a fissure
Wait for a fissure: a red icon on your map — a crack spewing smoke that makes an area ashy. No fissure? Finish the round holding a zombie and wait; do other steps meanwhile.Stand in the ash and let your health drain below half (~55 HP without Jug, ~half with it). Don't take zombie hits. The "Volcanic Ash" pop-up appears on the right of your screen. Then fertilize the flowerpot.
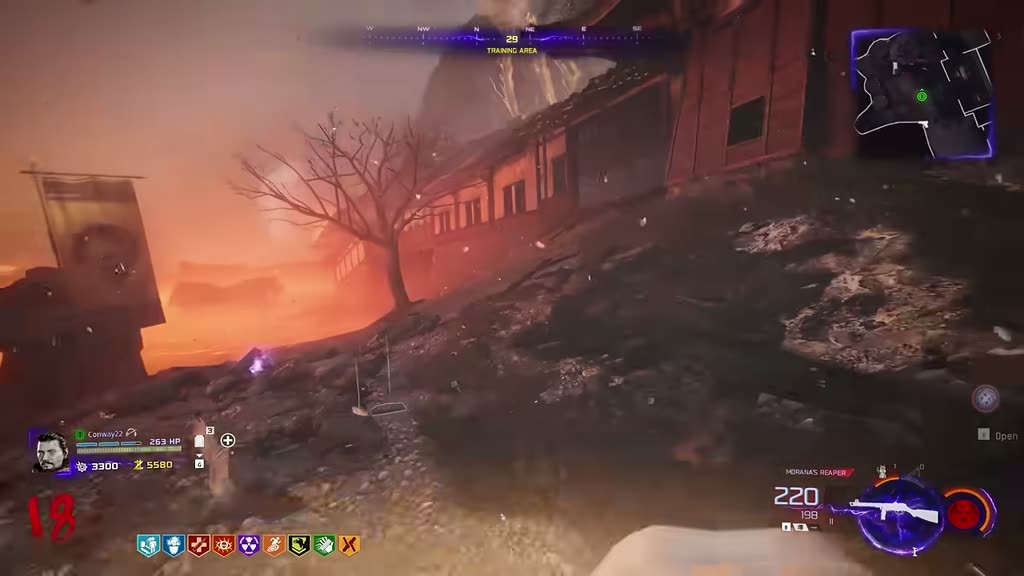
7.3 Tree buff + flower power
Stand under a glowing cherry tree a few seconds: you get overhealed (green bar) and a glowy screen. Tree not glowing? Melee it a couple of times. Dead tree? Use another.
Tree 1 — Staging Area (big tree).Tree 2 — Kitchens.Tree 3 — by Melee Macchiato.Tree 4 — up in the castle itself.
With the buff, run in circles by the plant pot until you drop a flower-power speed boost — it infuses the plant, and you can pick it up. Not dropping? Run wider circles, or wait ~30s if you recently dropped one. (Green overhealed bar + ringing sound = buff still active.)
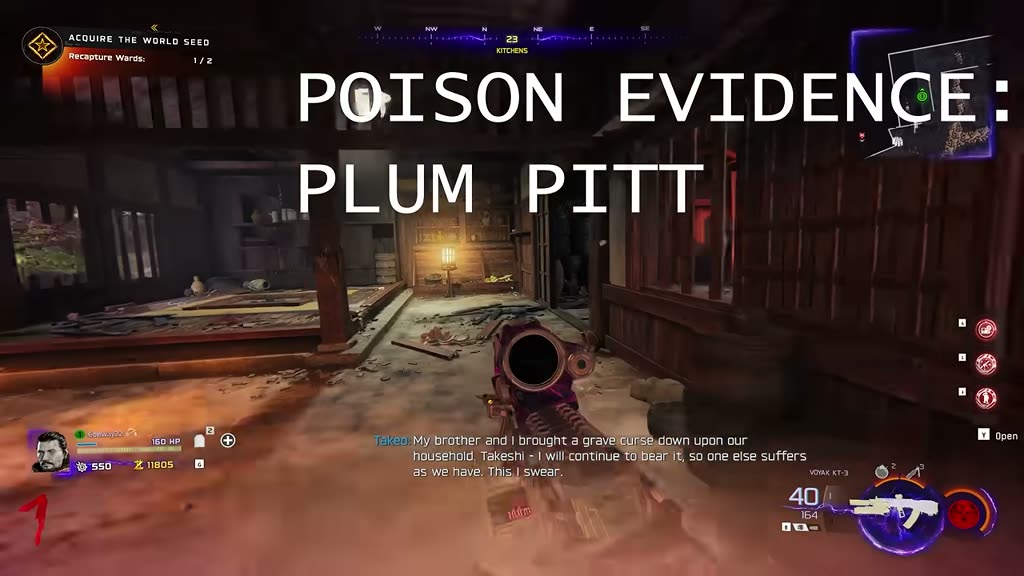
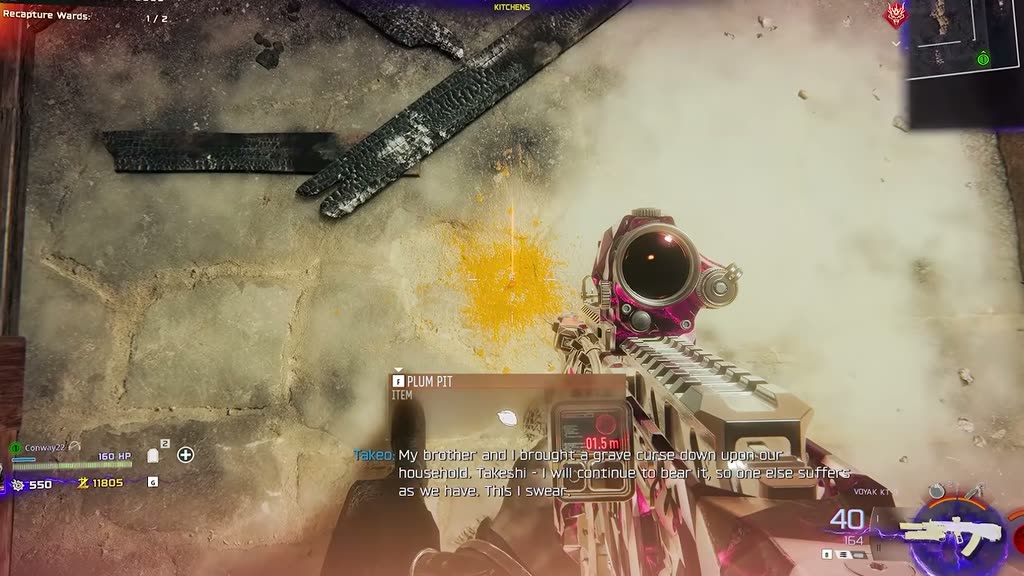
7.4 The Plum Pit (fast & easy)
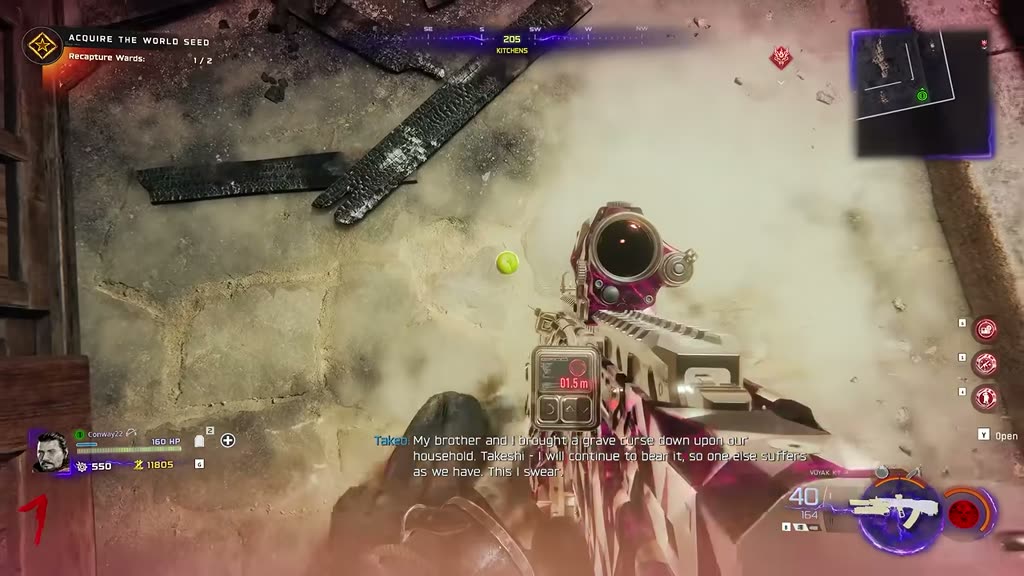
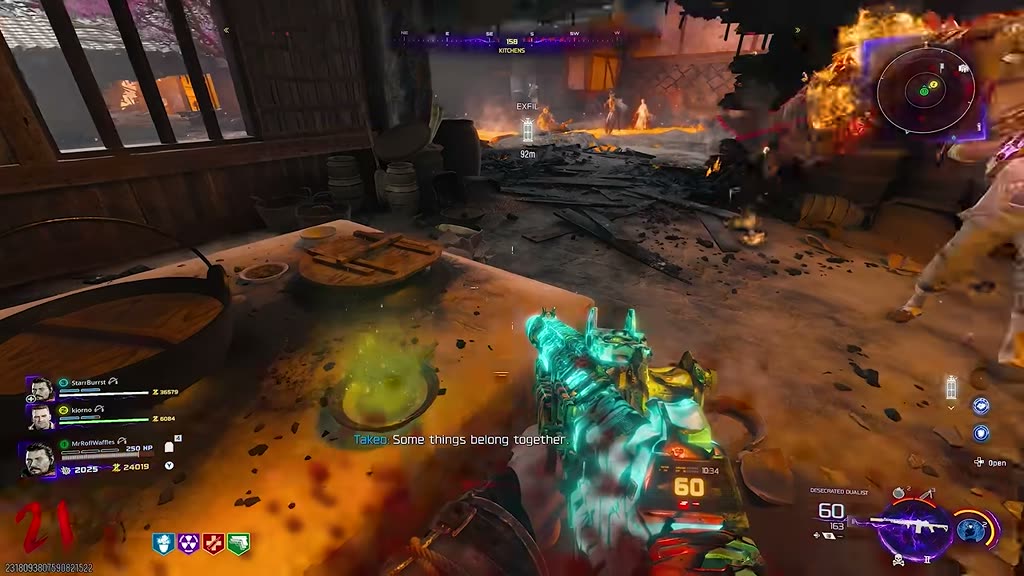
Melee this box on the shelf (Kitchens interior).A green apple-looking thing drops — it's a plum.
Jump on the plum repeatedly until it squashes → pick up the Plum Pit.
7.5 The scroll puzzle
🔒 Requires all accomplice evidence on the wall (second painting visible).
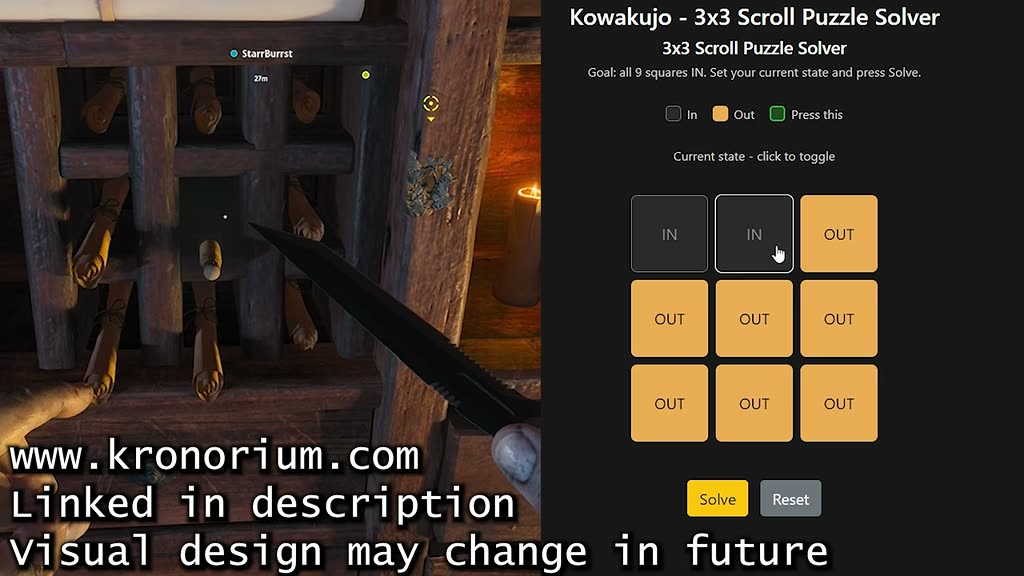
The 3×3 scroll grid (Storage Rooms). Meleeing a scroll toggles it and its adjacent scrolls in/out — a classic "lights out" logic puzzle. Goal: all scrolls pushed IN.Don't want to logic it? Use Milo's free automatic solver on kronorium.com: click squares to match your in-game state (double-check the tricky perspectives!), hit Solve, and it tells you exactly which scrolls to melee once. Completing it drops the Pestle part + a letter.
7.6 The Pufferfish
Hold interact on this bowl in the Kitchens (with the Pestle), then……get zombie kills with a Brain Rot-modded gun (Arsenal machine) or the charged cat attack nearby — souls fill the bowl until the pestle glows blue.Hold interact for a short ghost sequence — when it ends, turn to your side: the Pufferfish is in the cupboard. That's poison piece 3 → evidence board, third painting.
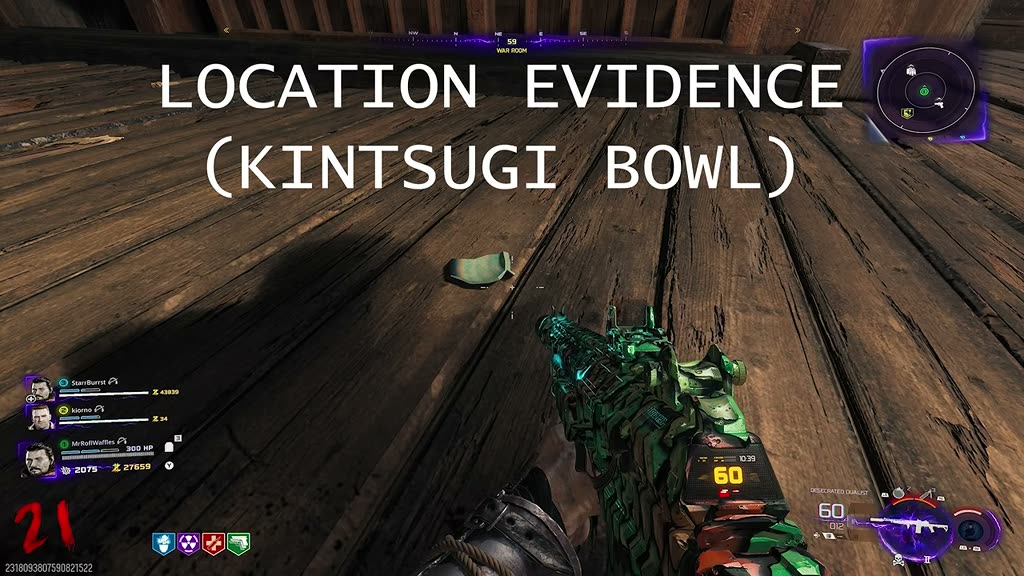
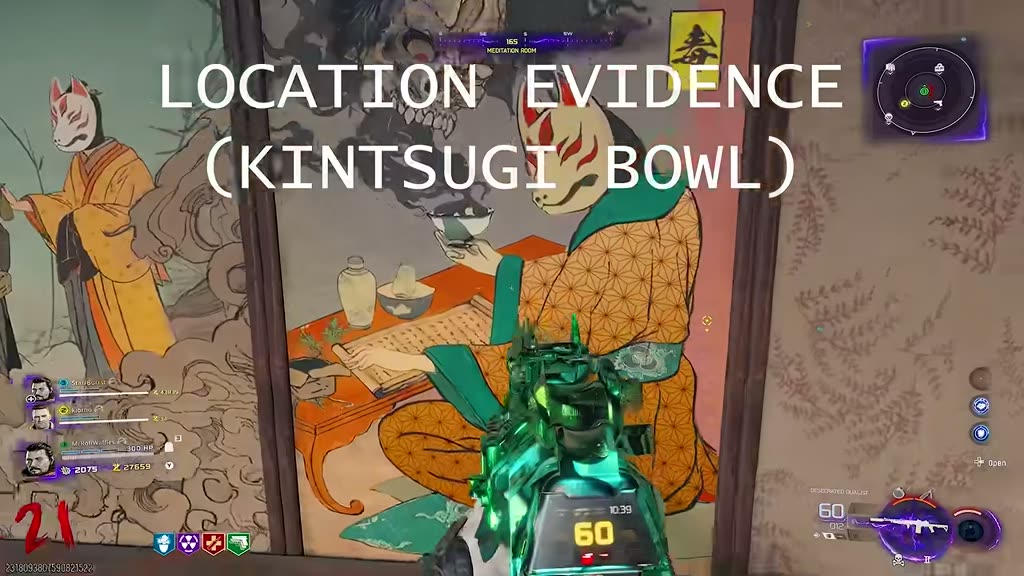
8️⃣ Location evidence: the Kintsugi bowl
(video: 30:24) We repair a broken bowl (kintsugi), then use it in three defenses.
8.1 Collect the two ceramic pieces
Piece 1 — on the floor by the Pack-a-Punch stairs (available from early game, once the first Oni is dead).Piece 2 — attached to the poison painting in the Meditation Room (only after that painting is revealed).
Craft the bowl in the Tea Garden (hold interact), then go to the next round, hold interact on the bowl again for a ghost cutscene, and pick the bowl up.
8.2 Three defenses, three items
123
Defense order: 1 Japan-map room (castle, right side) → 2 roof near Wunderfizz → 3 Tea Garden (dog steals the item!).
⚠️ Protect the bowl! Kill zombies from every spawn point or they'll sneak up and destroy it. If it breaks: wait a round, recraft, replace the bowl at the failed spot, and don't let it get hit this time.
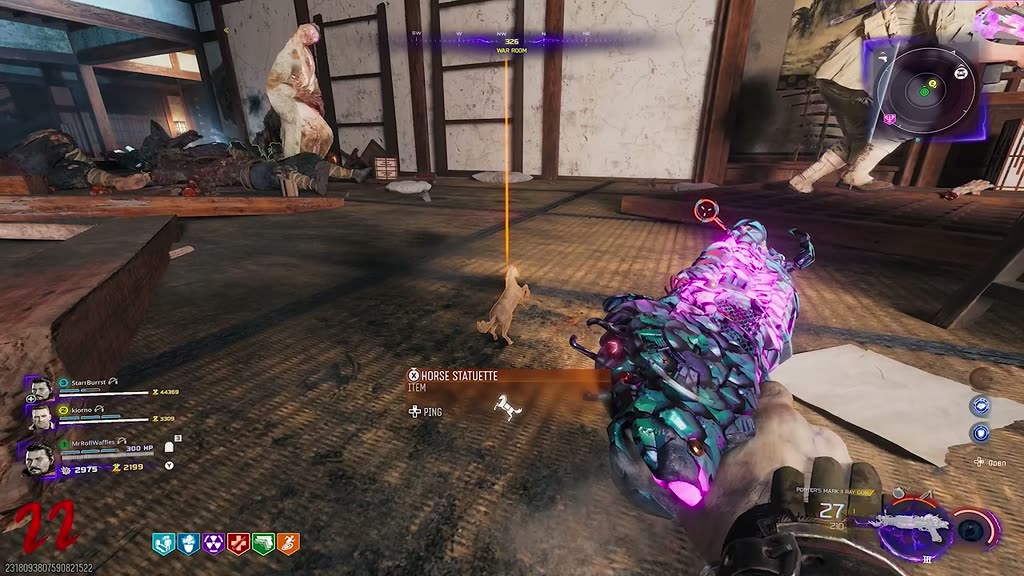
Defense 1 — the big Japan-map room (right-hand side of the castle). Place the bowl on the little tray and defend.
The defense in progress — watch every doorway.Success → the Horse Statuette pops out (remember it for later!).
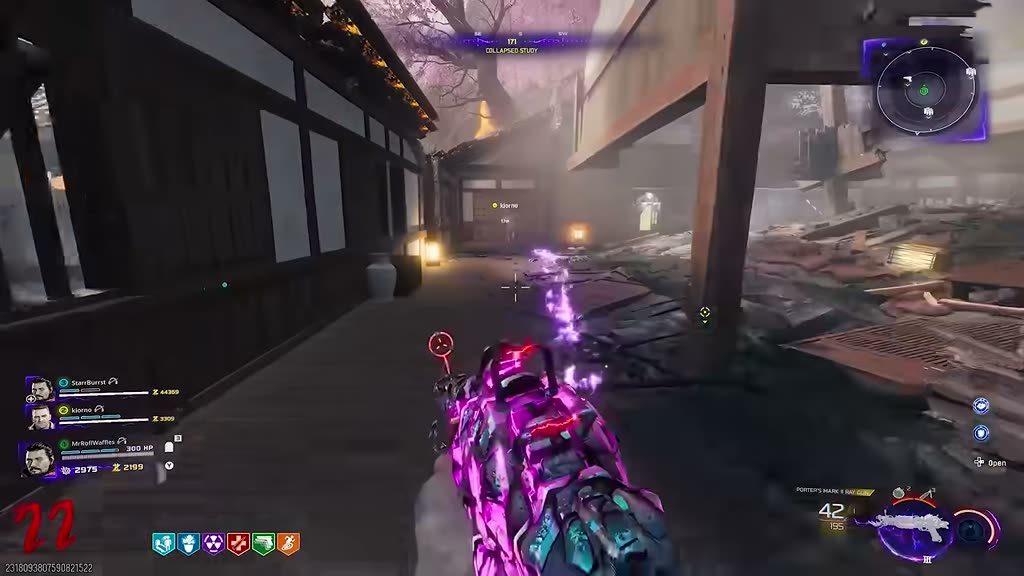
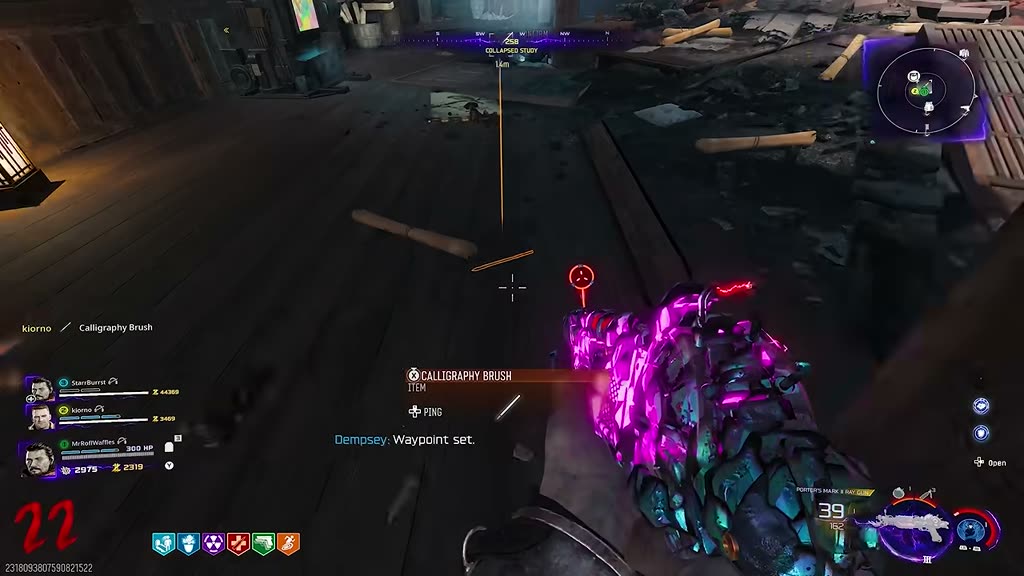
Defense 2 — roof near the Wunderfizz machine (via the collapsed study). Same drill: tray, defend……and collect the Calligraphy Brush.
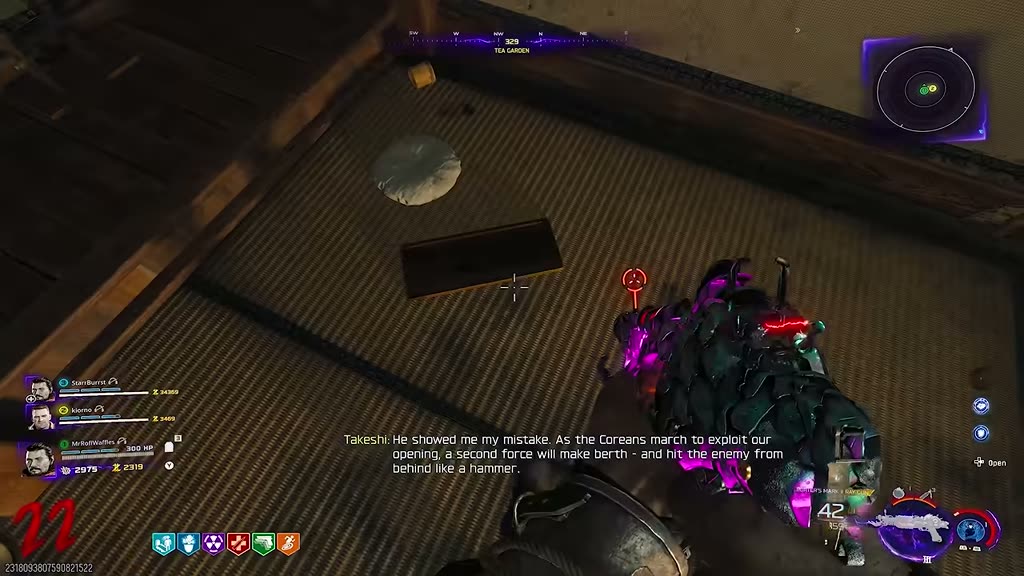
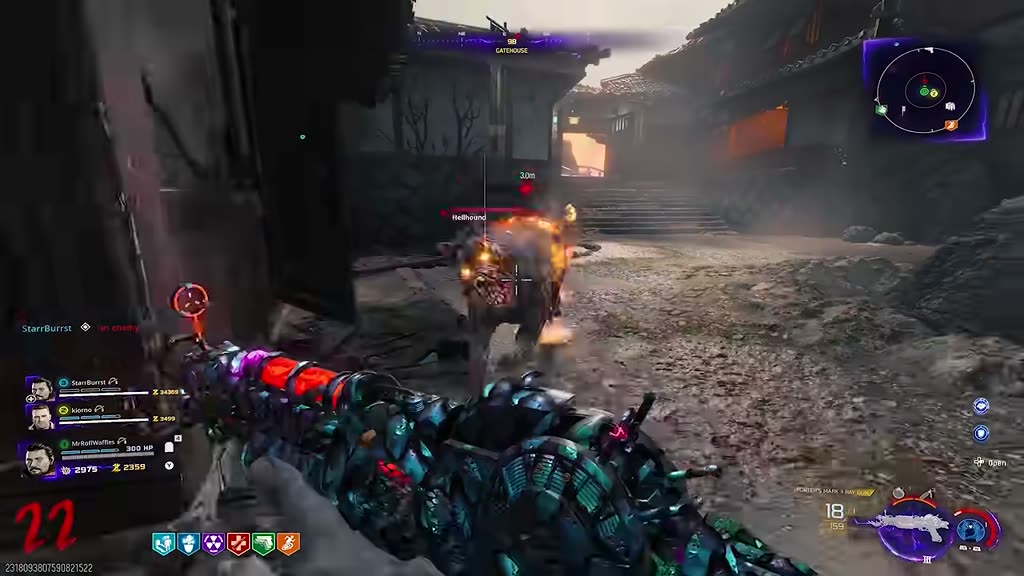
Defense 3 — Tea Garden tray. At the end, a dog steals the item!The dog circles the map — run the opposite way to meet it, kill it, take the Whisk from its mouth.
Horse, Calligraphy Brush, Whisk → evidence wall → fourth painting. Now the final evidence set unlocks.
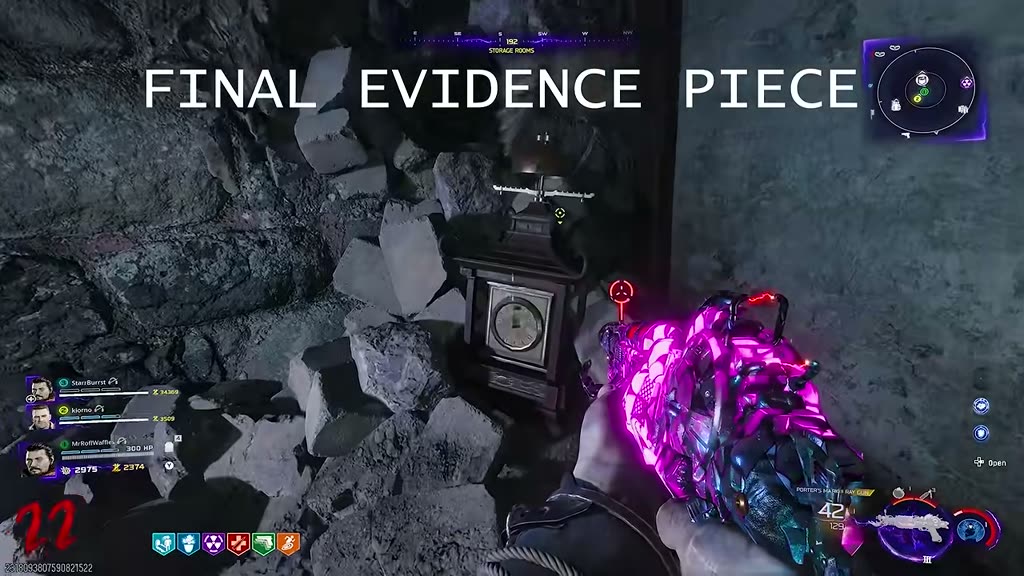
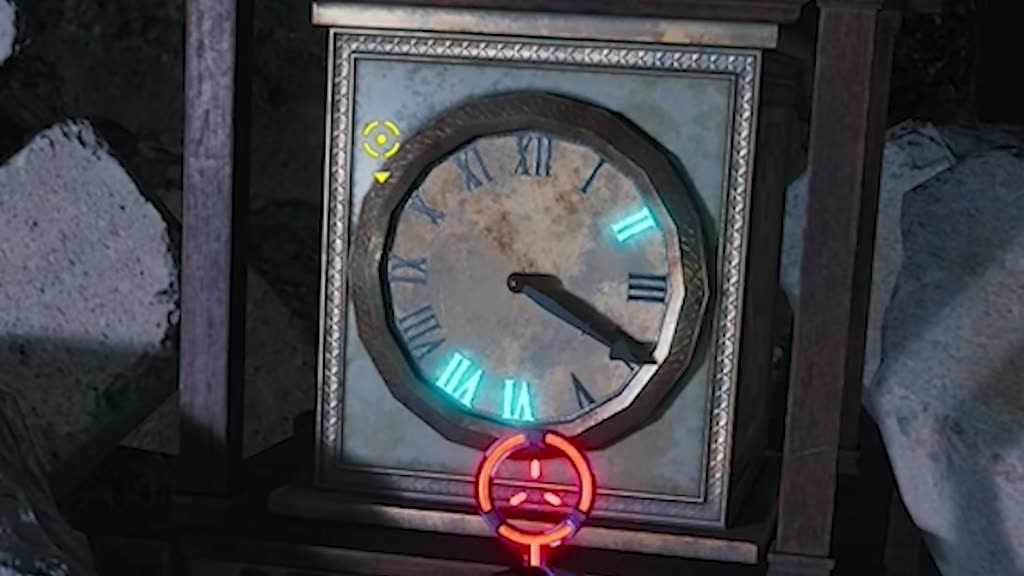
9️⃣ Final evidence: the Clock & the Flags
🔒 Requires all Kintsugi/location evidence on the board (fourth painting).
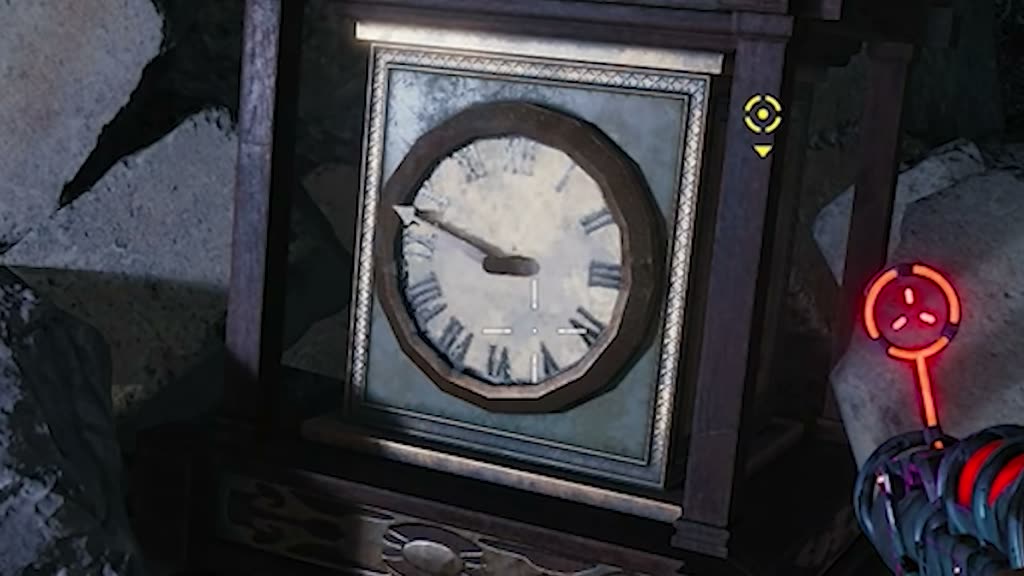
Downstairs near the PhD machine, the rubble now reveals a clock. Interact: it shows four numbers in sequence via the clock hand.Yes, you need to read an analog clock. Milo's example: 6, 4, 6, 4. Write your four numbers down. Missed them? Interact again to replay.
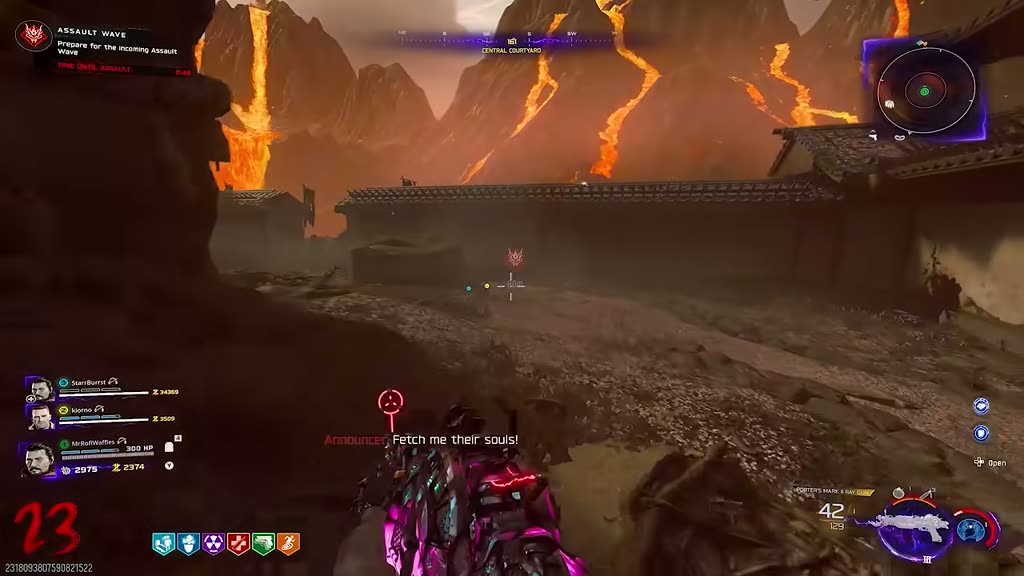
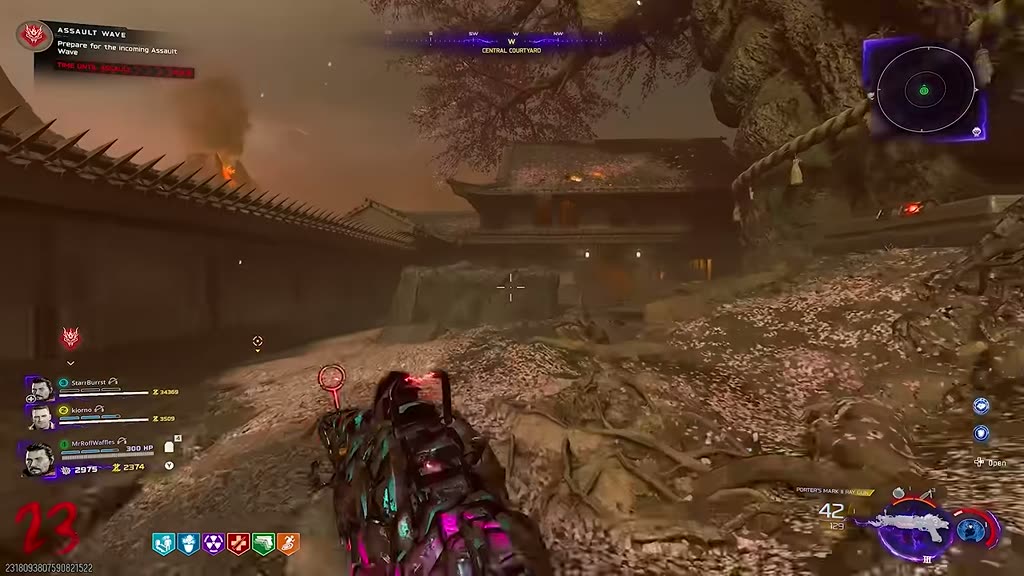
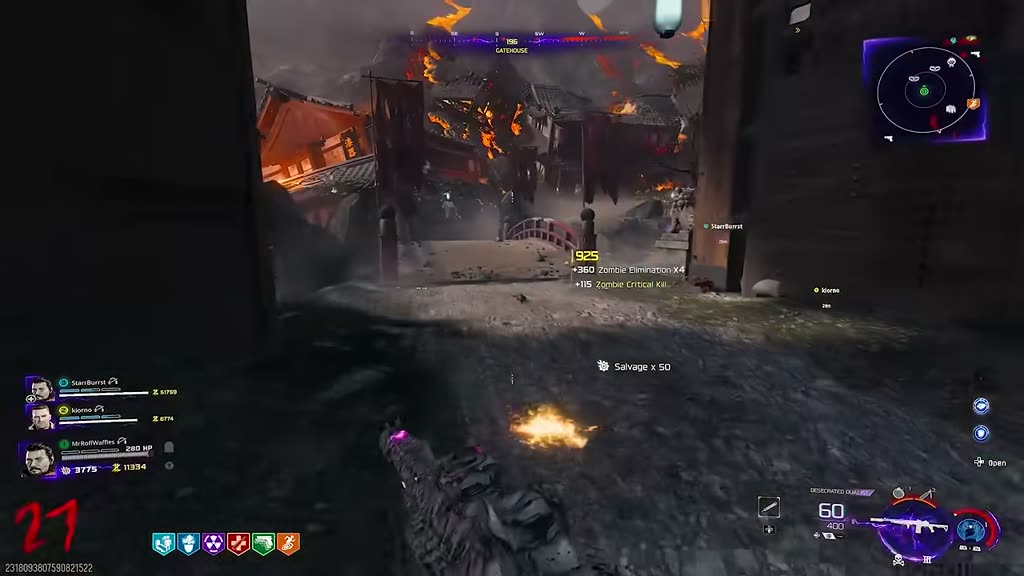
9.2 Flag defense round
Go to the next round → a defense round starts. Kill the flag-carrying zombies; their wisps fly to the Staging Area. Finish the defense, then play the following normal round to its end (hold a zombie or two).
9.3 The flag math
The flags are now in the Staging Area. Each flag's value = how many symbols it shows (this one is a 6 — as Milo notes, "very obviously").
Four wall locations each show a Japanese numeral (1–4) — the order differs per game. Your job: at location #1, place flags totaling your first clock number; at #2 your second number; and so on.
Location A — Central Courtyard wall.Location B — Flower Garden, by Wisp Tea.Location C — Outer Ward side.Location D — Stables (glowing blue numeral on the gable).
Plant flags in the bamboo shoots next to each blue number. One 6-flag can satisfy a "6"; or combine (3+1 for a 4, etc.).
⚠️ Each flag can only be used once. Repeated clock numbers (like Milo's two 6s) force combinations — a 6 here, a 5+1 there. If the math stops working, reshuffle which flags go where.
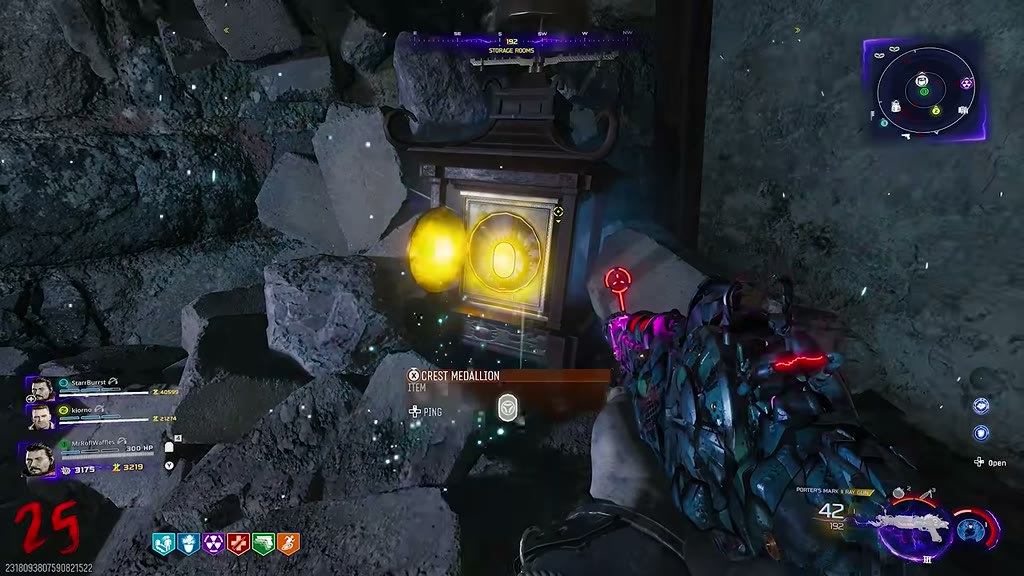
Verify at the clock: exactly your four clock numbers should be lit. A wrong number lit (e.g. a stray 7) = your totals are off somewhere.Hold interact on the clock — it pops open with the Crest Medallion. Place it on the evidence board: final piece done. You're close now.
🔎 The Deduction (traps, paintings, wheel)
(video: 37:36) The trickiest step. Take it slow, double-check everything, and remember Milo's advice: if something doesn't match, check the video description & pinned comment for updates.
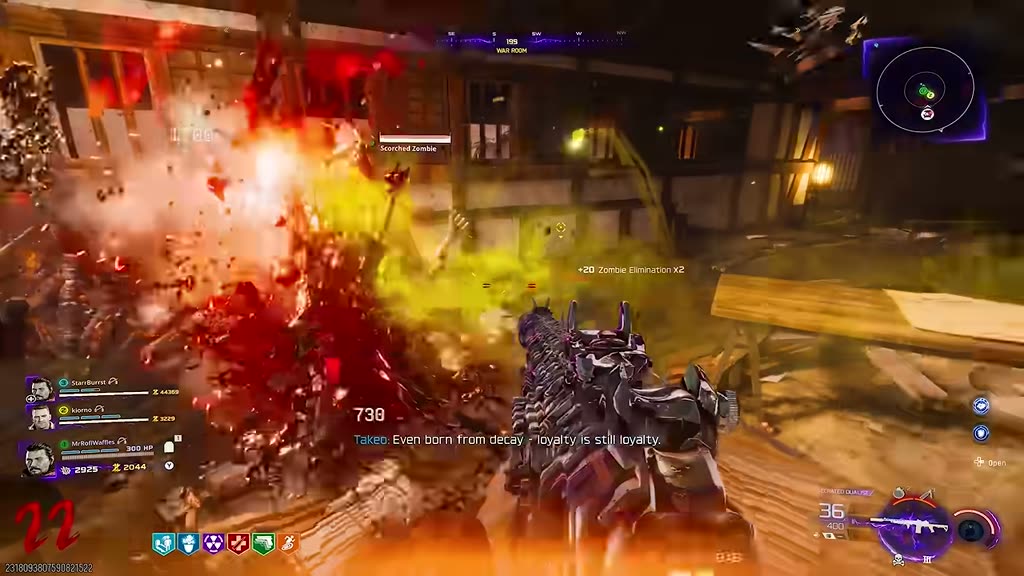
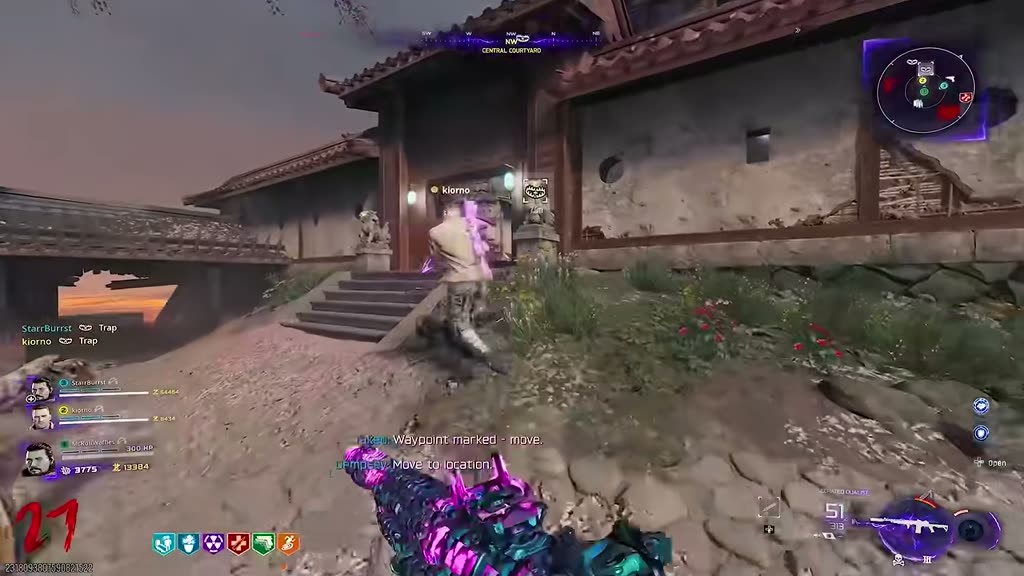
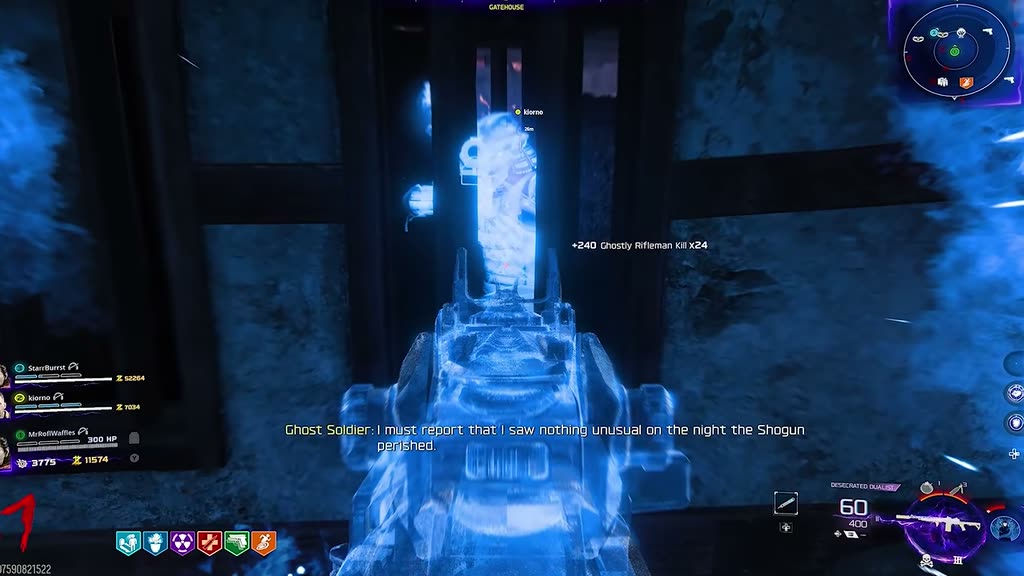
10.1 Ghost traps: find your accomplice
Three of the four archer traps matter. At each: activate the trap, get 15–20 zombie kills with it during one activation, then look for a ghost facing the wrong way and interact. Turn subtitles on: the ghost either has "nothing to report" (→ try another trap) or names a character: merchant, gardener, or nobleman (sometimes called the courtier). That's your accomplice.
123
Check the traps in any order until a ghost names someone: 1 near spawn · 2 Flower Garden · 3 by the big tree (Central Courtyard).
Trap 1 — near spawn; the ghost appears in the window.Trap 2 — Flower Garden side.Trap 3 — near the big tree; ghost on the back of the wall.A ghost with "nothing unusual" — move on to the next trap.
💡 Ghost won't spawn? Flip the round, make sure ALL paintings/evidence are deposited, and get the kills within a single trap activation.
10.2 Place the first four items
The five paintings, numbered 1–5 left to right. Each gets an item placed on the shelf in front of it.
Painting
What to place
How you know
1 (leftmost)
Comb
Always.
2
Accomplice's item
Nobleman/courtier → Nobleman's Hat · Gardener → Shears · Merchant → Abacus (the rectangular box)
3
Murder weapon (poison)
See the table in 10.3 below
4
Horse / Calligraphy Pen / Whisk
Look at the painting's background: Mountain → Horse · Bird → Calligraphy Pen · Fish → Whisk
5
Crest Medallion
Always (from the clock).
Grab items from the evidence shelves and place them under the right paintings.Painting 4 check — "I have mountain!" → place the Horse.
⚠️ Before touching painting 3 or the wheel, re-verify paintings 1, 2, 4, 5. One mistake there ruins everything that follows.
10.3 Painting 3: the murder weapon
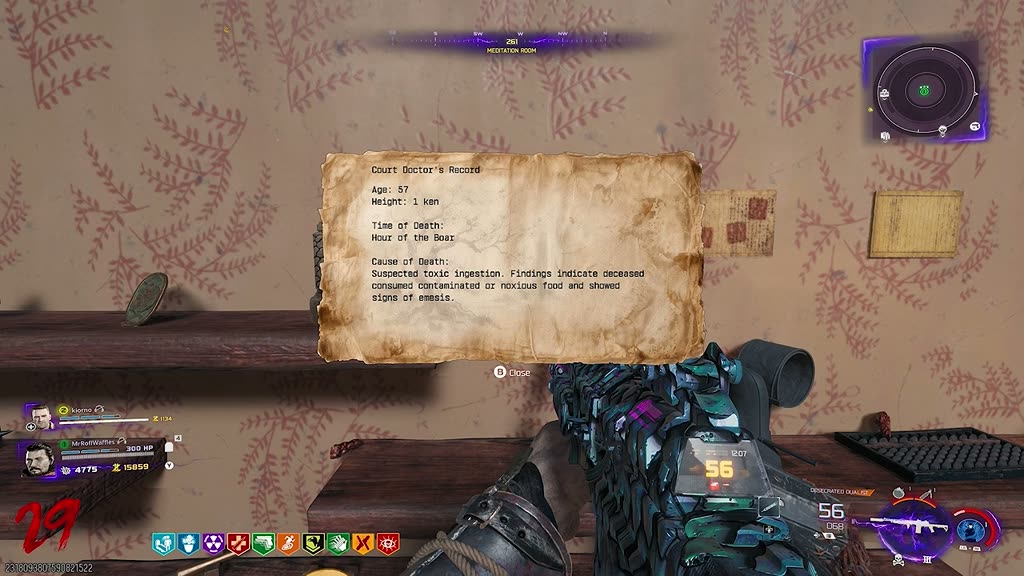
Read the Court Doctor's Record (left-hand note on the wall): note the cause of death wording, and the Time of Death animal (here: "Hour of the Boar") — you'll need both.
Your accomplice
Doctor's note says…
Place in painting 3
Nobleman (courtier)
"…emesis"
Pufferfish
"…noxious plant"
Monkshood Flower
Gardener
"…noxious food, emesis"
Plum Pit
"…paralysis"
Monkshood Flower
Merchant
"…noxious plant"
Plum Pit
anything else
Likely Pufferfish — but check the video's pinned comment for confirmed info
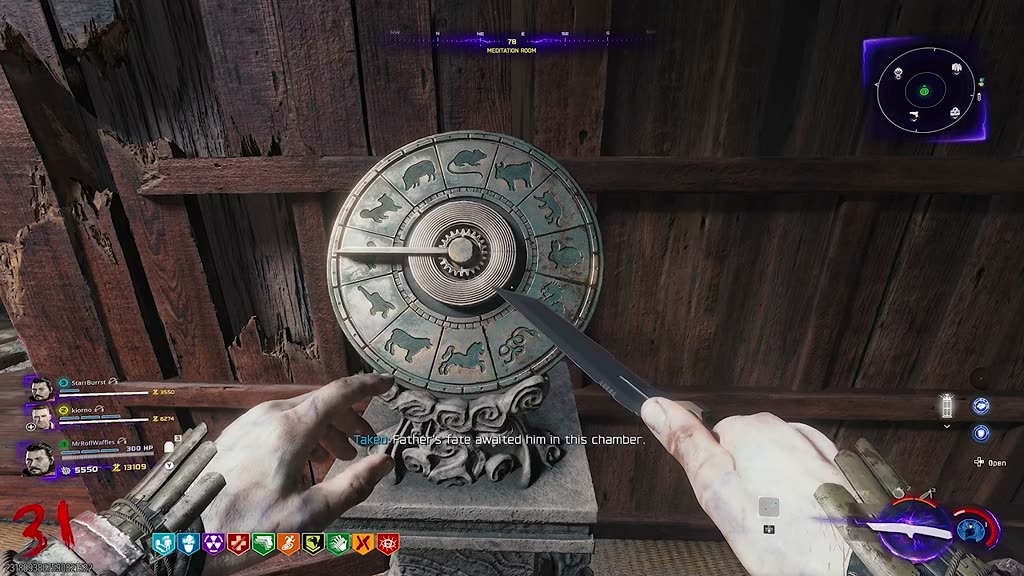
10.4 The zodiac wheel
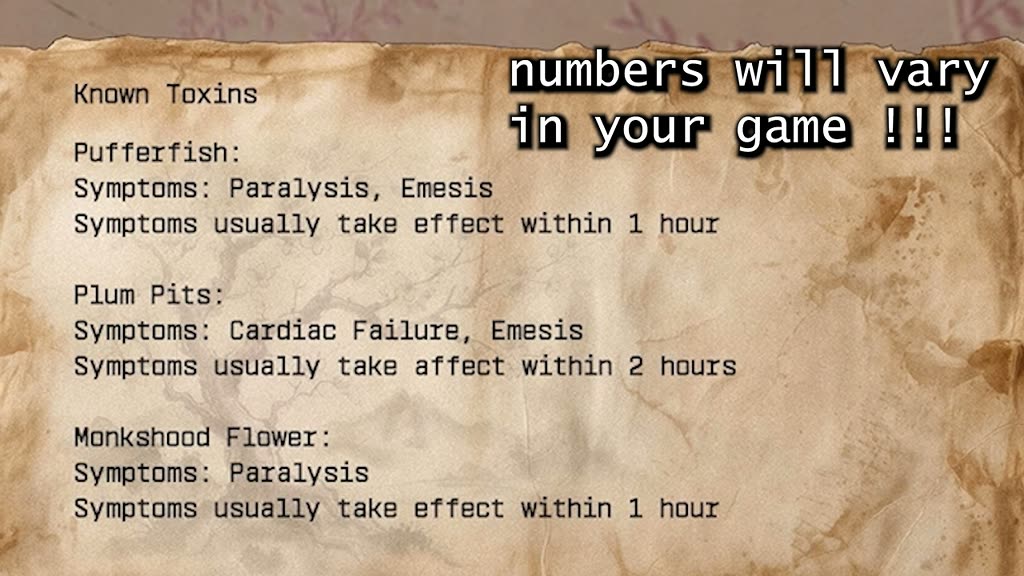
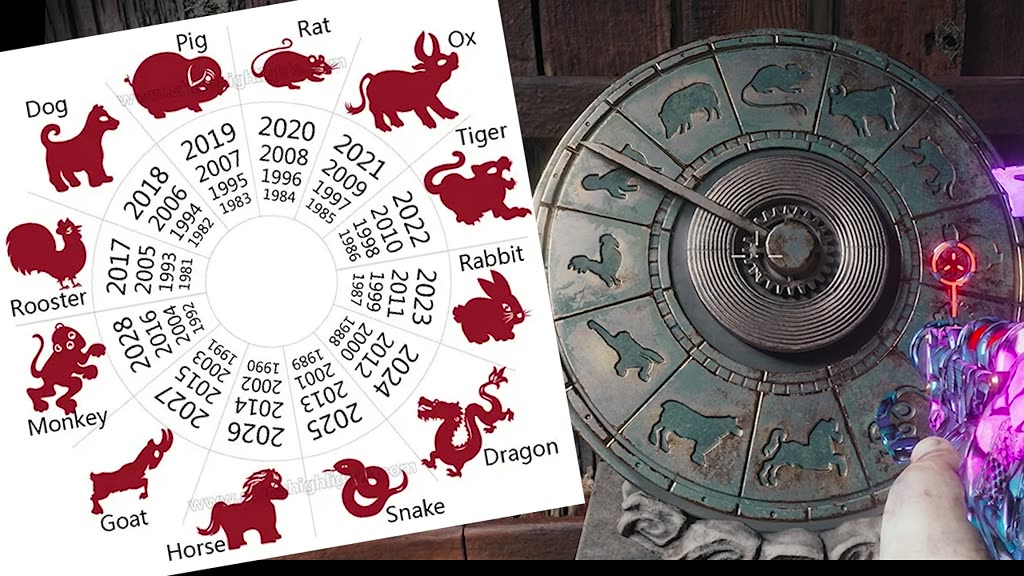
Read the poison table (rightmost note): find your painting-3 poison and its "takes effect within X hours". Numbers vary per game!The metal wheel (left side of the room). Find the doctor's-note Time-of-Death animal on it, then rotate the pointer anticlockwise by X positions (the poison's hours). Milo: boar, pufferfish = 1 hour → one space anticlockwise from the boar.Trouble identifying the animals? They're the Chinese zodiac. Names may differ slightly: a boar is the pig, a stallion is the horse, etc.
10.5 Light the incense (submit)
Hold interact on the incense at the left AND right sides of the paintings — that's the submit button. Careful: it's easy to accidentally turn the wheel while lighting the left incense.
⚠️ If it fails: a special zombie spawns and you must wait a round to retry. Re-check items 1/2/4/5 first, then your painting-3 poison — and remember: if you swap the poison, you must redo the wheel with that poison's hours. Check the pinned comment for edge cases.
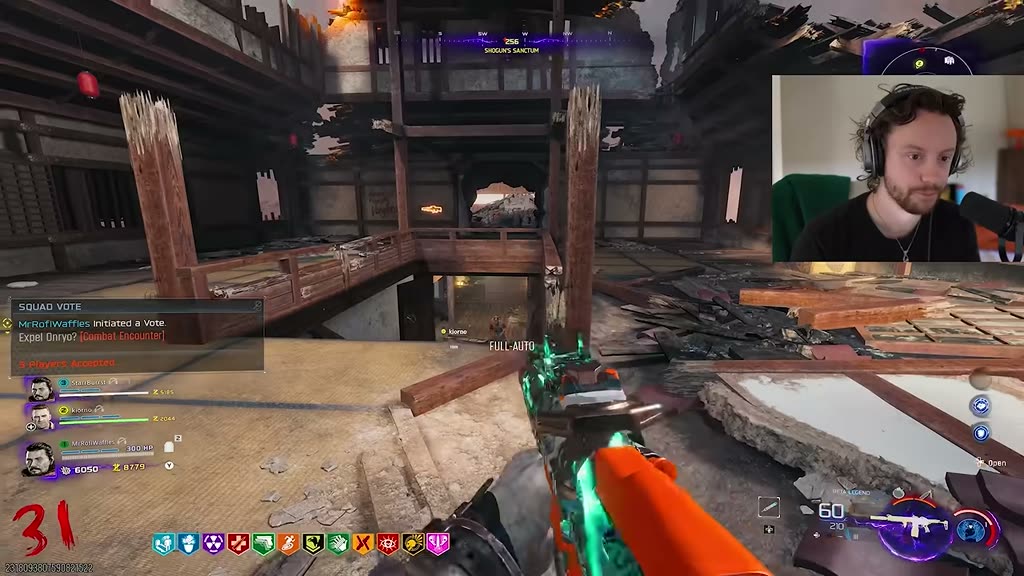
Success → a spark flies into the World Seed. Interact to vote and teleport into a mini-boss fight (a strong Oni — not the final boss).Beat the Oni, spawn back, do your final prep. Then hold interact on the kites to vote for the boss fight.
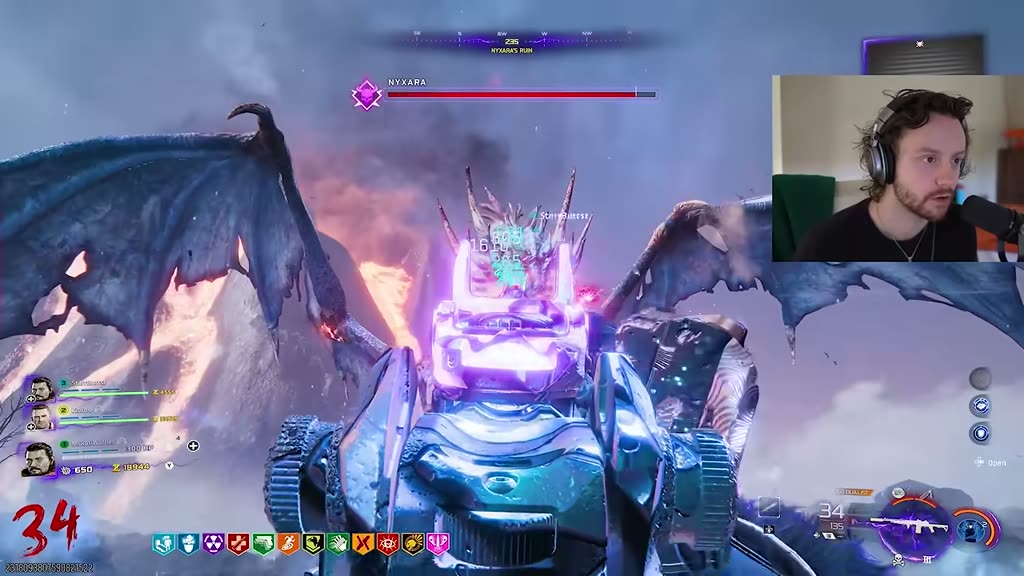
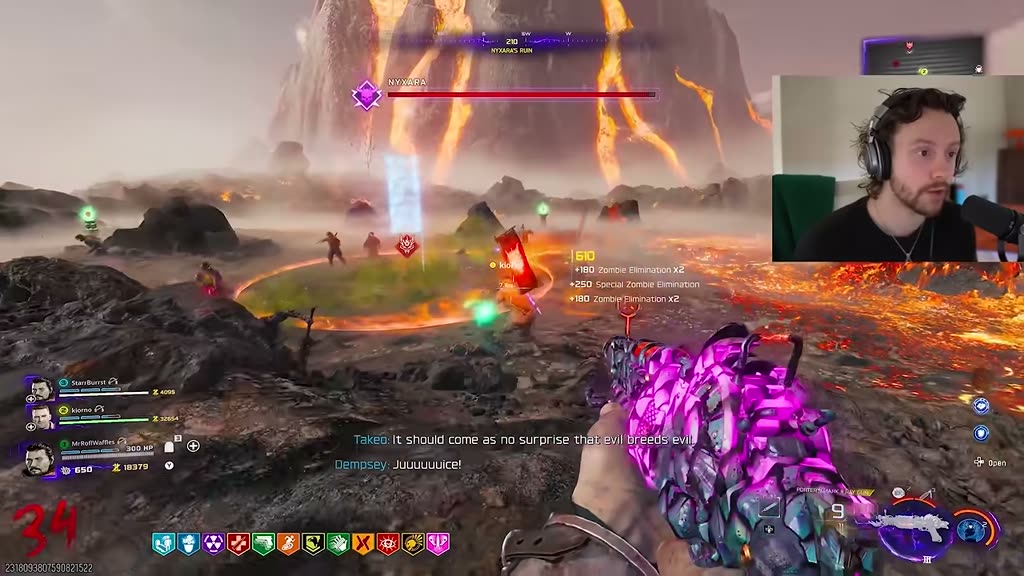
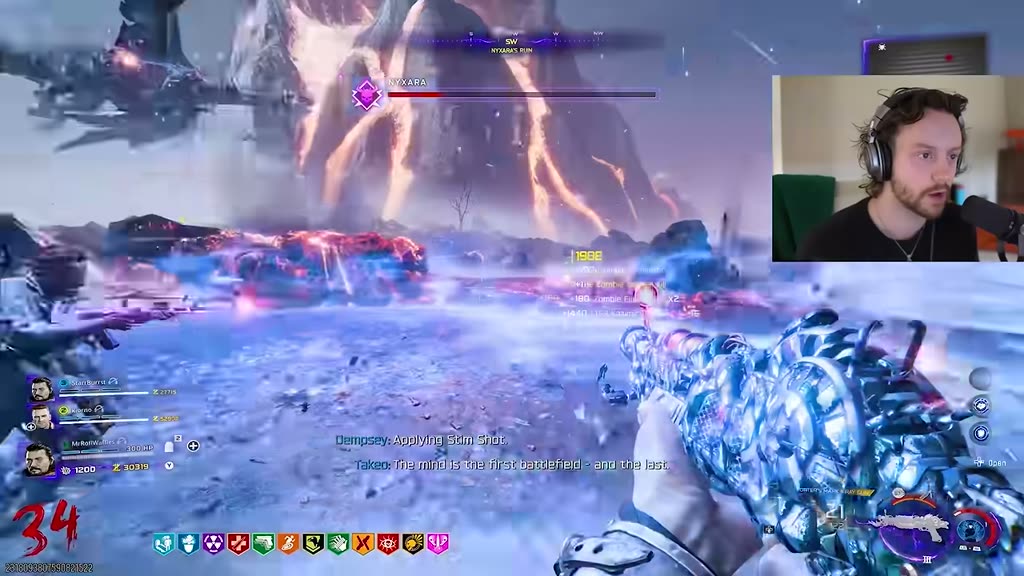
🐉 Boss fight: Nyxara
(video: 47:23) In Milo's words: "actually very straightforward… just quite chaotic."
Nyxara. The fight is three identical phases, each unlocking a safe damage zone.
11.1 The loop: Oni → flag → capture → damage
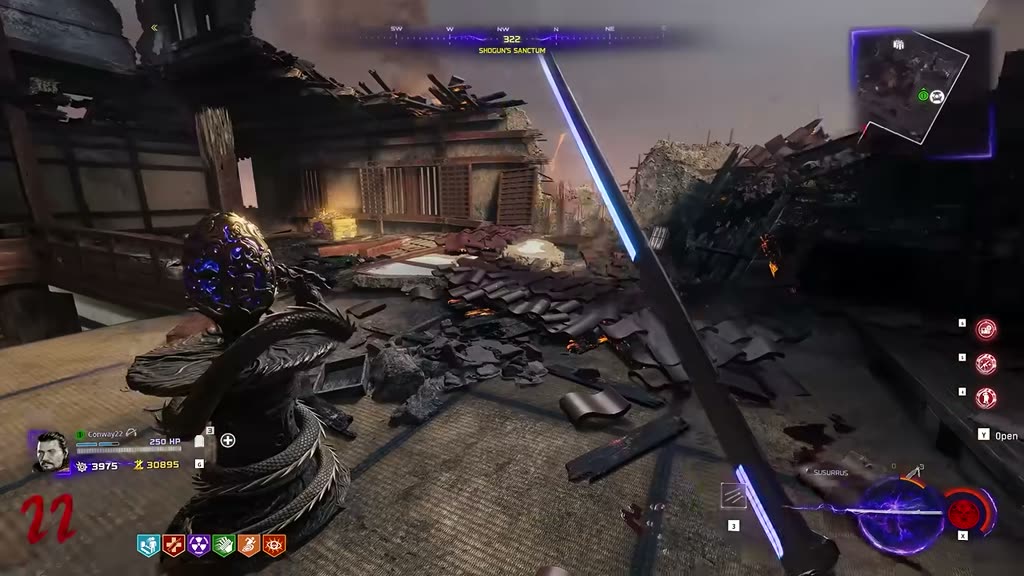
Kill the Oni carrying a flag on its back, and run through the flag it drops.
Go to the main area where the flag can be planted, and stand in the zone to capture (you can leave and return — the capture holds).
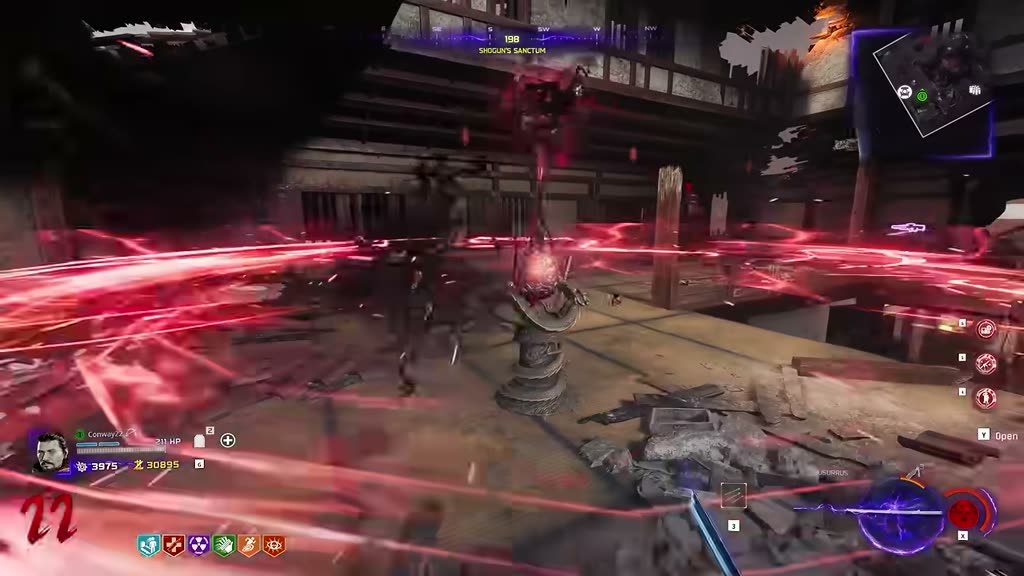
Stand in the blue immunity area that appears — you're safe from zombies AND the boss.
Pour damage into the glowing yellow weak spots. One third of the boss HP per phase.
Phase 2 needs two Oni flags; phase 3 needs three. Same loop each time.
The flag-carrying Oni.Flag planted — stand in the circle to charge it.The blue immunity zone — your damage platform.Melt the glowing weak spots (ranged weapon = why we built the loadout this way).
11.2 Freebies, buffs & survival
You get a free Max Ammo and full armor during the fight — and ammo crates exist if you run dry. Feel free to burn a Kazimir or two between immunity phases.Grab Shadow Smith blessings around the arena.
Shadow Smith
How to spot him
Buff
Vethorian
"A massive baldy"
Loot (e.g. a Pack-a-Punch crystal)
Dravokahr
Viking braids
Immediate damage circle
Kalpherris
Horns
A "gun buddy" that shoots for you
🔥 When the arena catches fire, get to a safe spot — usually behind a rock; the arena edges are often safe too. Work the boss down phase by phase, and that's the Kowakujo Easter egg done. GG!
 CASTLE (TENSHU)
PhD · STORAGE
CENTRAL COURTYARD
FLOWER GARDEN
KITCHENS
TEA GARDEN
TRAINING
STABLES
STAGING
GATEHOUSE
SPAWN / OUTER WARD
CASTLE (TENSHU)
PhD · STORAGE
CENTRAL COURTYARD
FLOWER GARDEN
KITCHENS
TEA GARDEN
TRAINING
STABLES
STAGING
GATEHOUSE
SPAWN / OUTER WARD